Ursula's Den: The Kitchen
I really should write these post more frequently, a lot of progress has been made, so strap in, long post incoming!
Where to start the story.... Because the first part is a bit boring (also didn’t take pictures), for the most part it involved me staring into nothing, trying to channel Ursula and imagine the kitchen, where to put the fridge, where would I hide my salmon and honey if I were a bear, I need a dishwasher too, the sink must be in front of a window, etc...
Once I had the idea for the layout, it was time to put it on paper and have Ursula walk about on the plan to make sure that there was plenty of space. After making the floor and wall sandwiches, all it needed was some tiling.
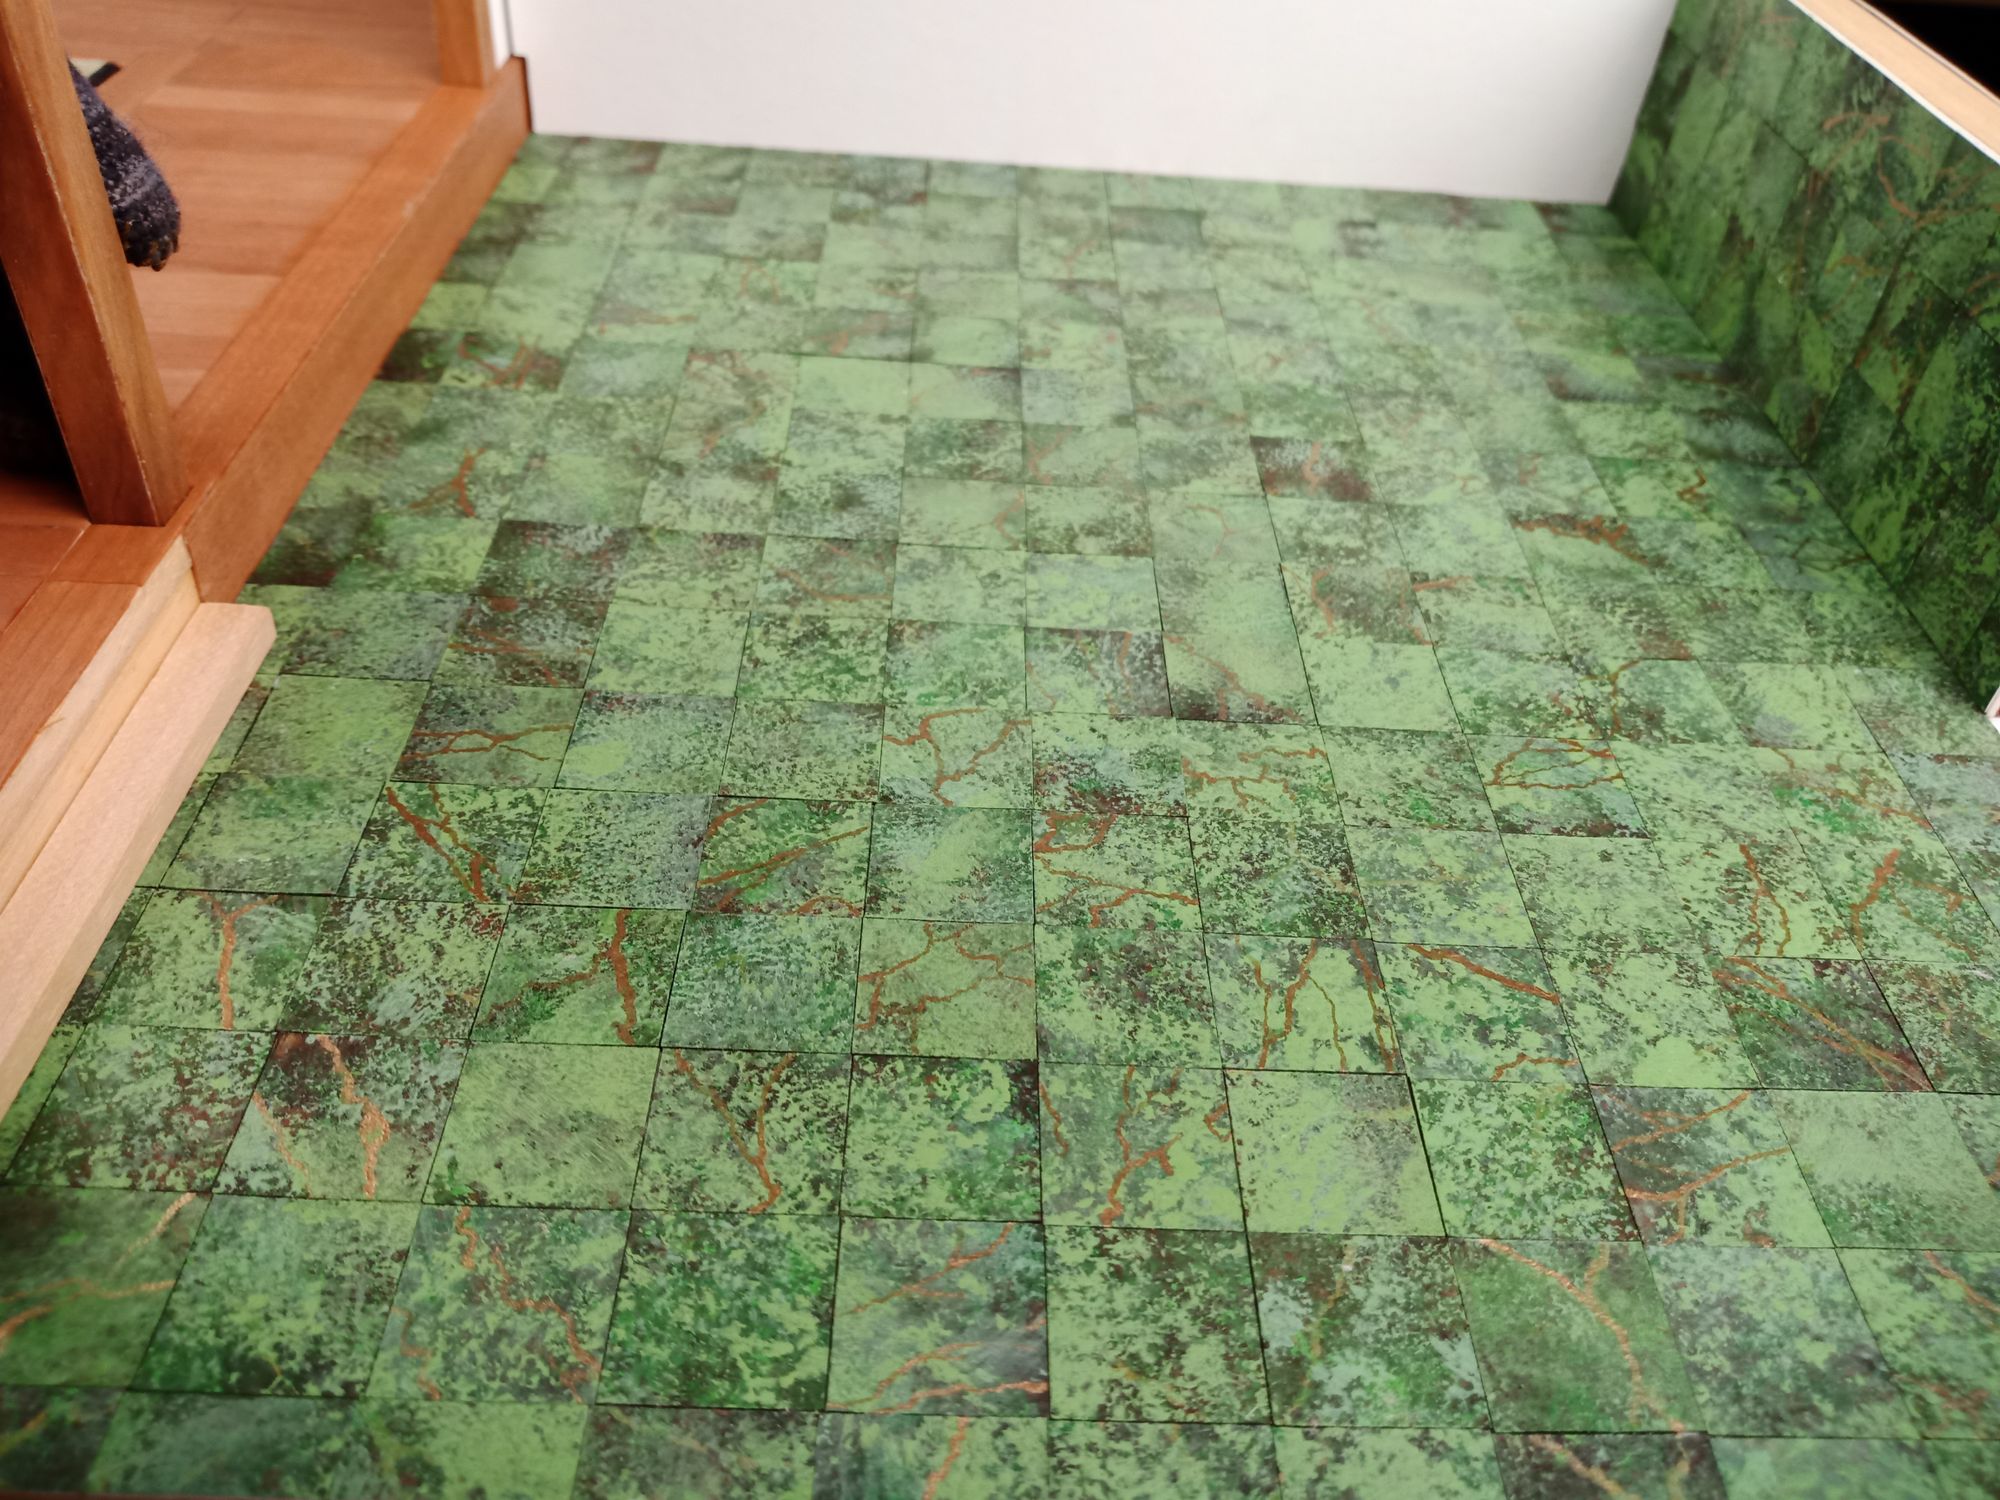
I really liked the slate floor at the entrance but I didn't have enough to cover the whole floor. Off to the shops (Stacey's Miniature Masonry to be specific), of course I looked around and fell in love with a green real marble floor, even the husband was impressed! Let’s calculate just how much tile I need for the kitchen….umm it's around 120 tiles, so that's 5 packs, each at £53. Instead of spending a whopping £265, I attempted painting a marble floor.

I used a heavy paper intended for watercolour, and acrylic paints. I let my cutting machine do the precise work, I reduced the blade depth so it didn't cut through completely, and because that paper is not cheap I opted for a square grid instead of individual tiles arranged on the paper. (I also know that if I let the machine do lots of squares there will be some tiny size differences, which is not ideal if you want the tiles to be flush against each other without grout lines.)
Once I had my scored paper, I gave it a coat of Raw Umber, then when it dried I dabbed on Burnt Umber and Burnt Sienna with natural sponge. In hindsight the next bit I could have skipped, after the browns were down, I painted on with Iridescent Bronze some veins, which was almost completely covered later with the greens…oh well, lesson learned. I mixed the Green Gold and Permanent Green Light into a lime green kind of colour, it was too vivid so added a bit of Oxide of Chromium Green. Nice, but still a bit too dark. Let's add some white…
When I decided that’s enough paint on the paper, it didn't look much. There were lighter and darker big splotches, but then I cut up the sheets and each tile looked pretty. It was time to add those bronze veins back on, at least on half the tiles (No, I’m not lazy this time. It would have been too busy if all of them were veined, at least that's what I have been telling myself .)
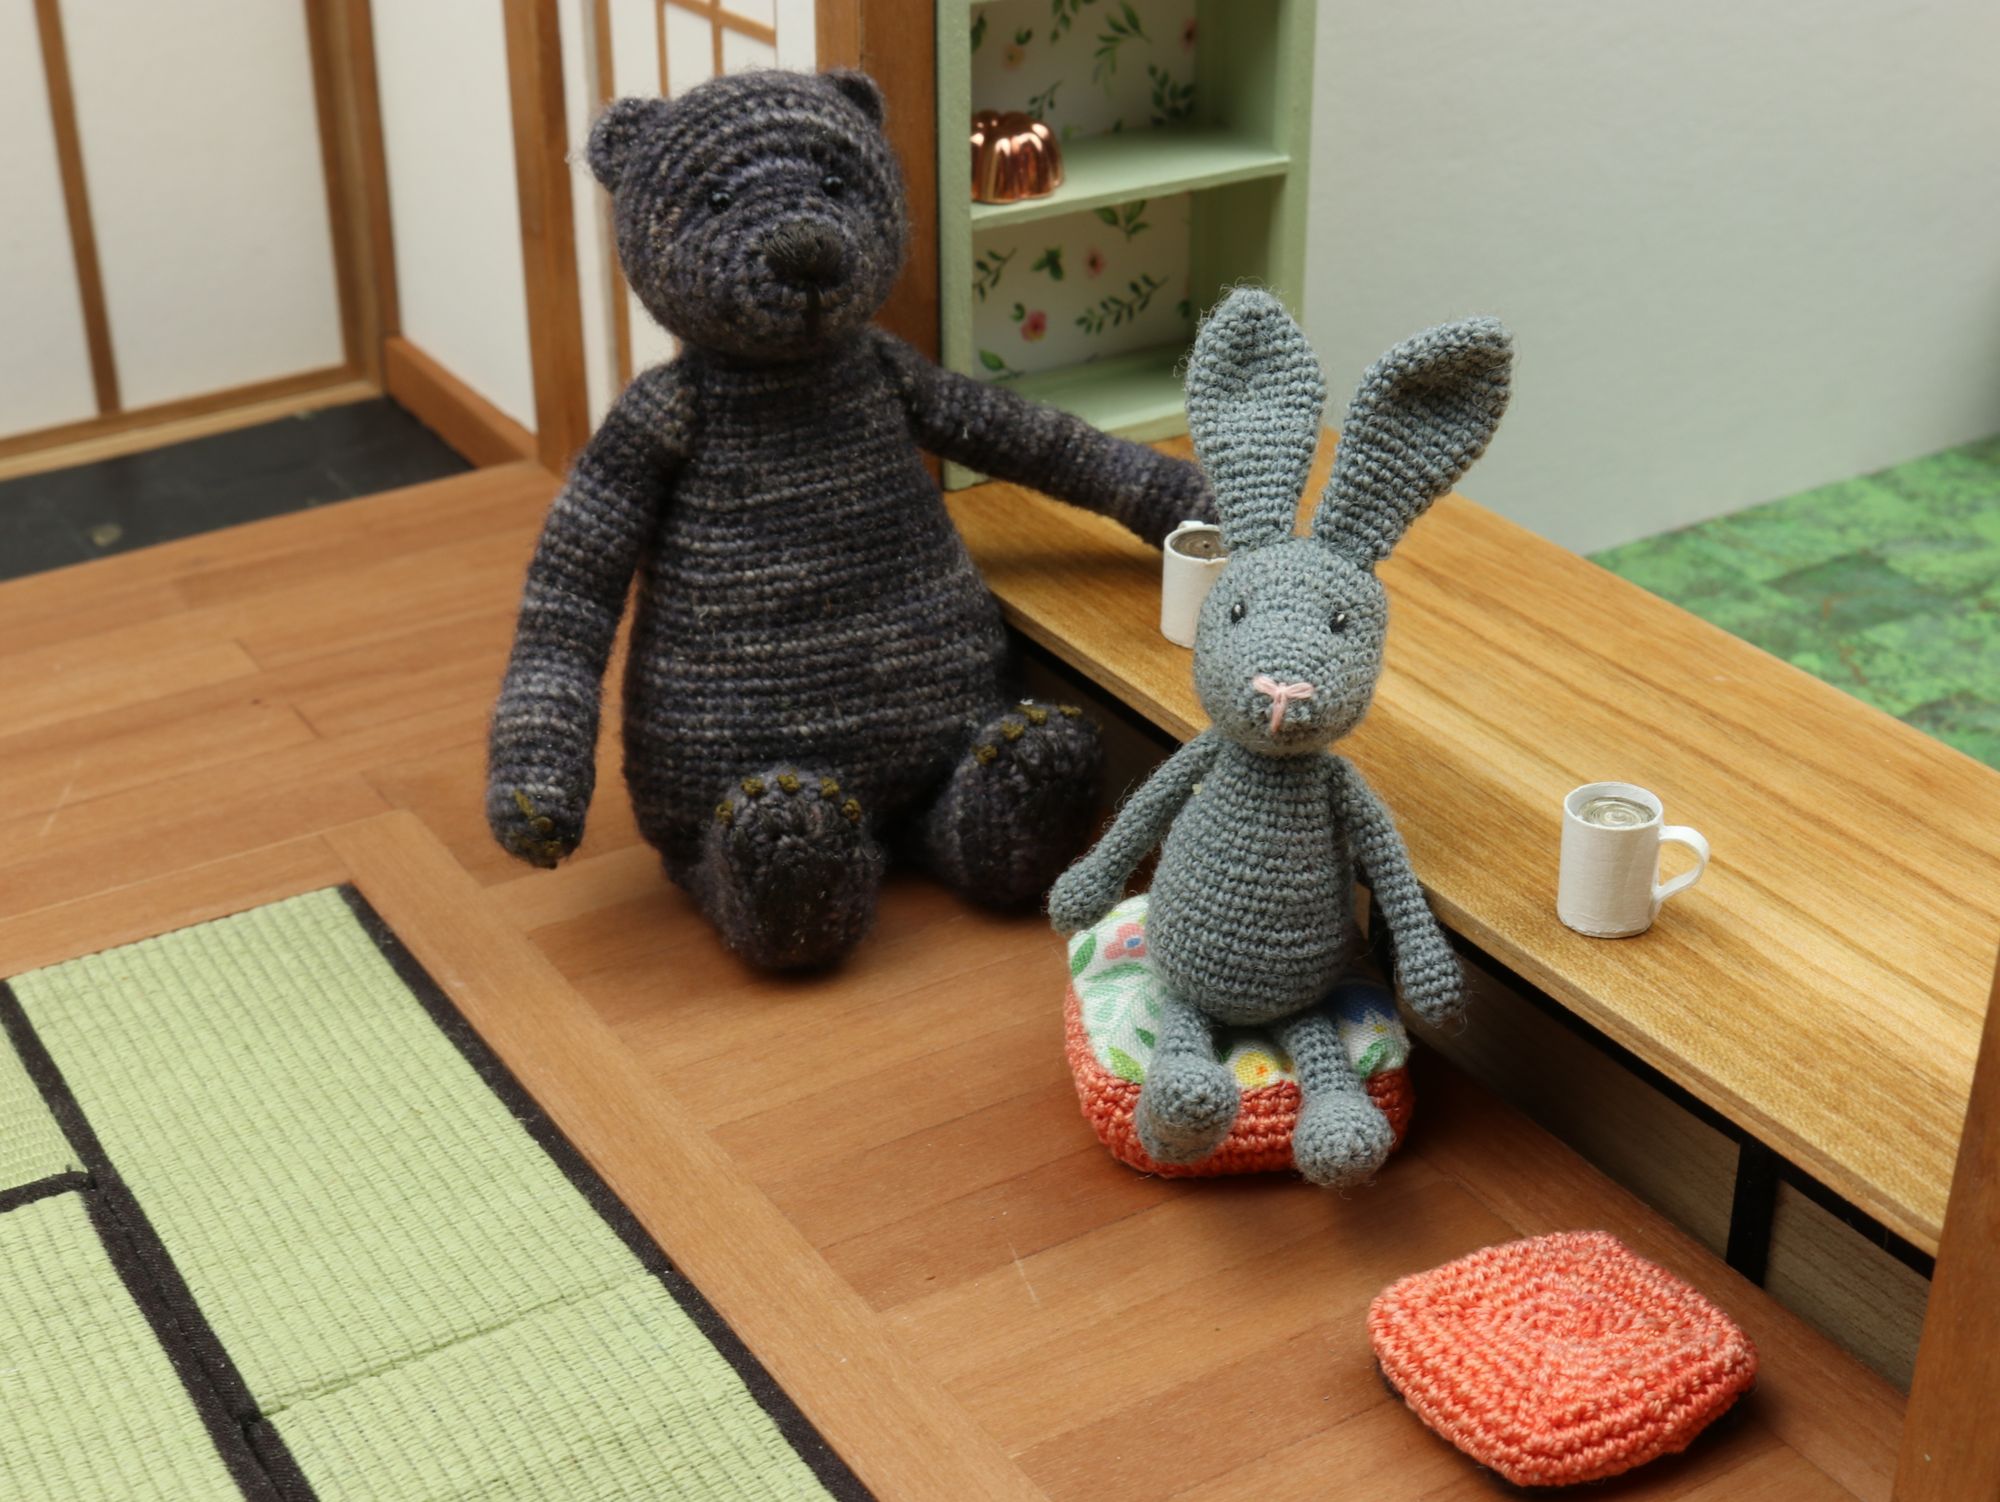
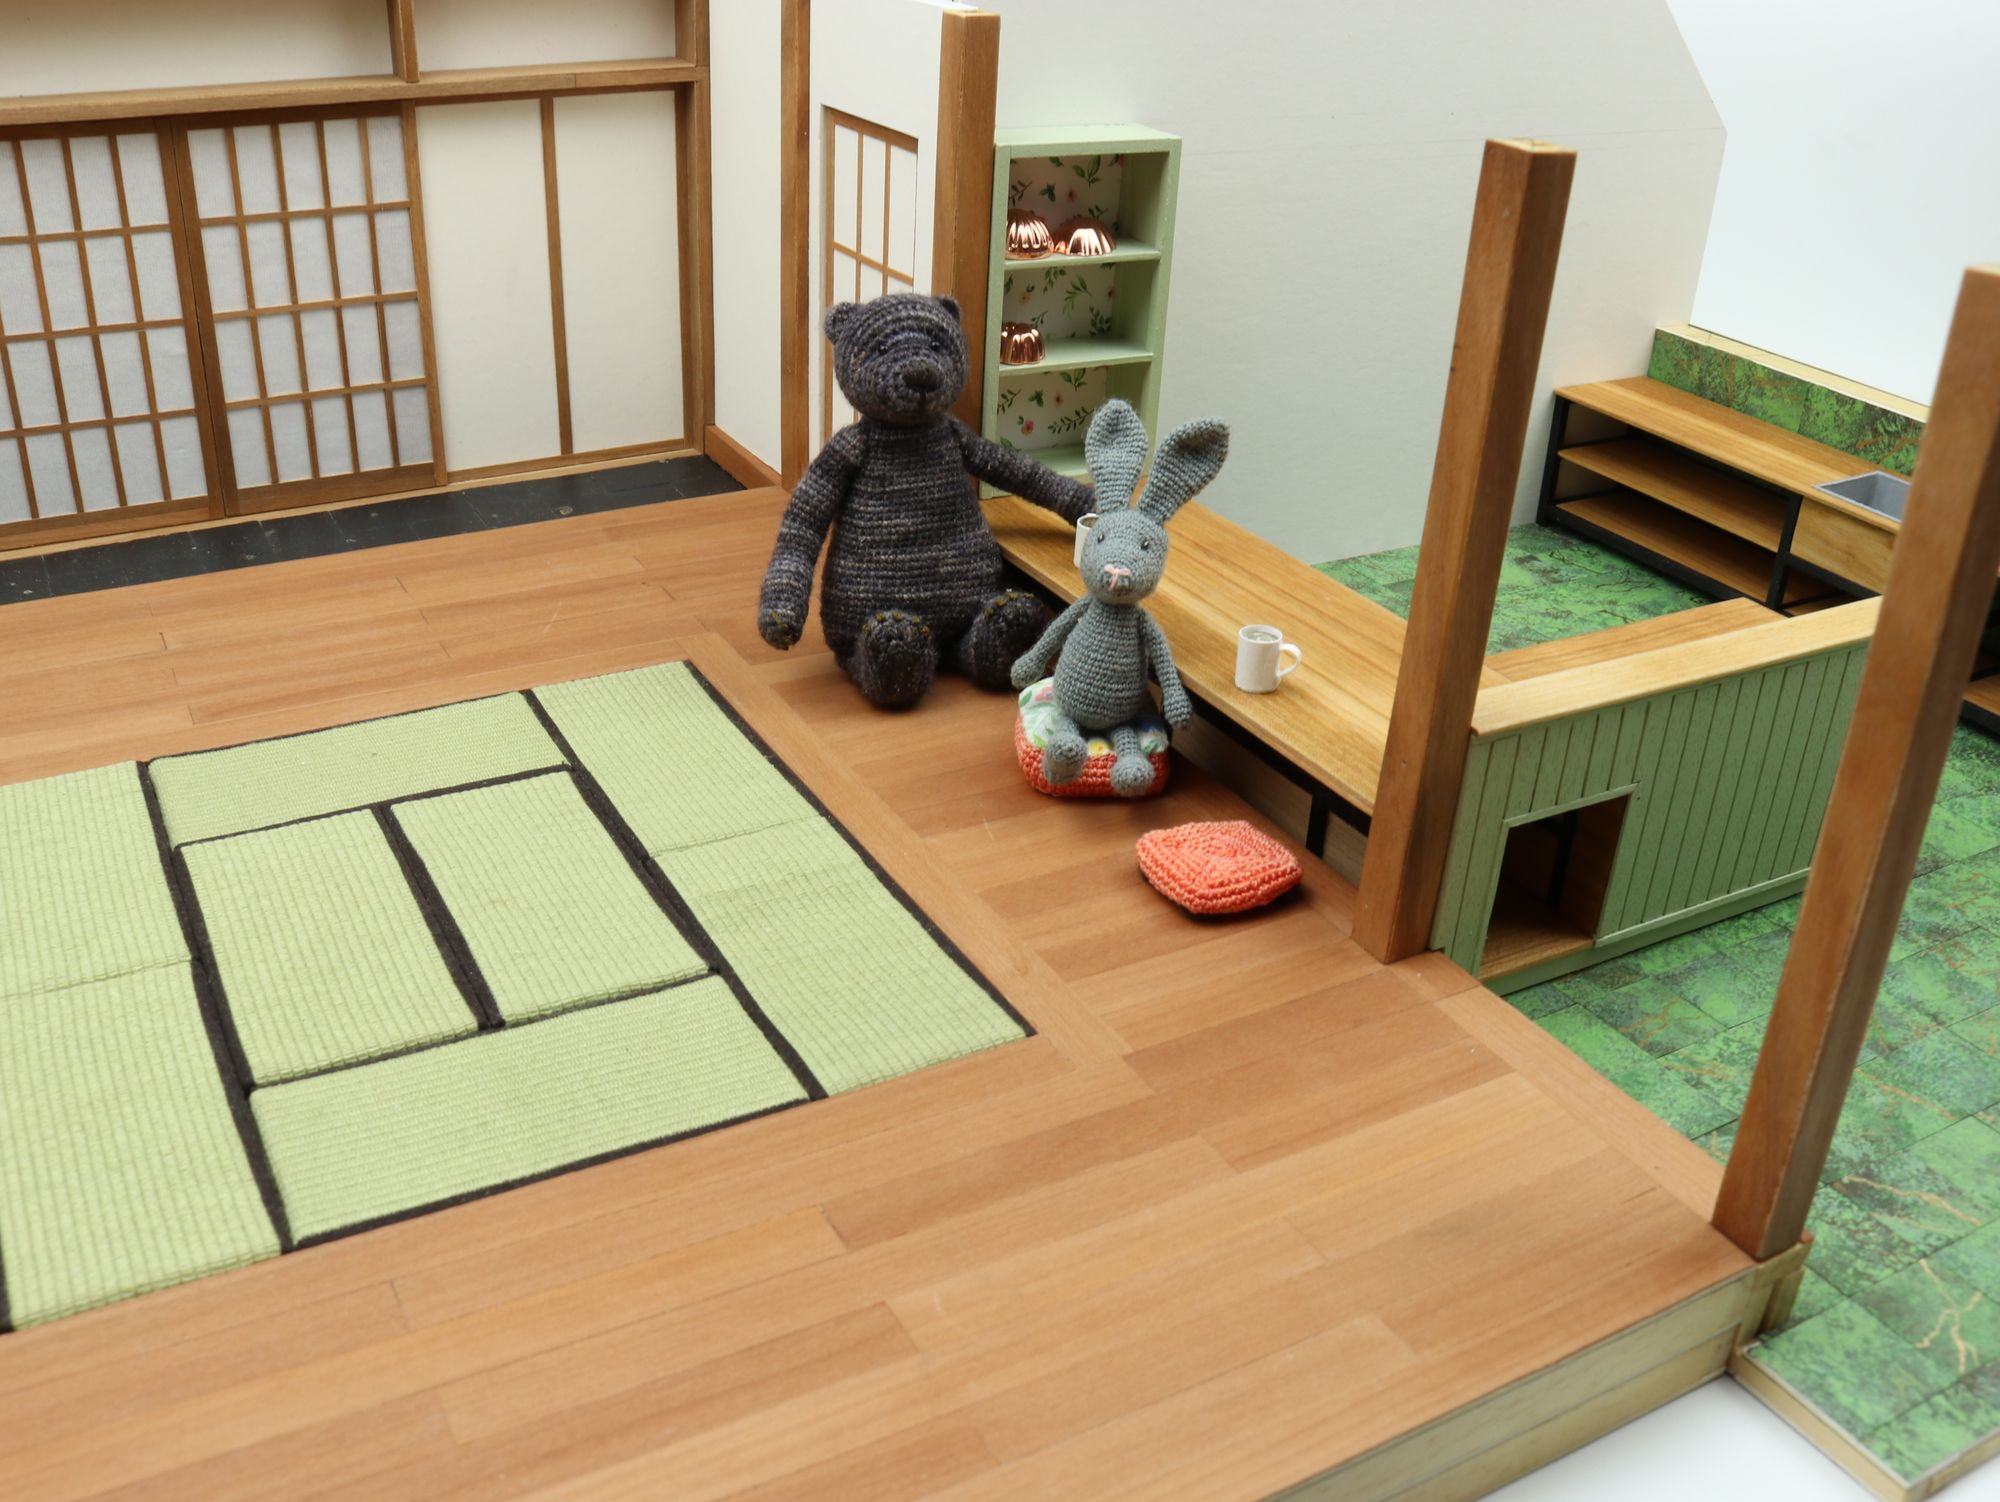
Every time I make a prop I have to consider who will use it, it's not just a simple scale down of a human furniture. Everything needs to be a little shorter and a bit wider and deeper. For Ursula the counter height is 45mm, depth is 40 (I've yet to decide on width.)
What I knew is that I don't want to make lots of doors on the counters, drawers maybe, but no doors. For the time being it will be open shelves. I wanted cherry counters and shelves, and black legs.
It was important that the legs are more or less the same size and as square as can be. I made a little jig for cutting and assembling. Cut and sanded all the pieces, then glued them together and strengthened the middle joint with a bit of wire.
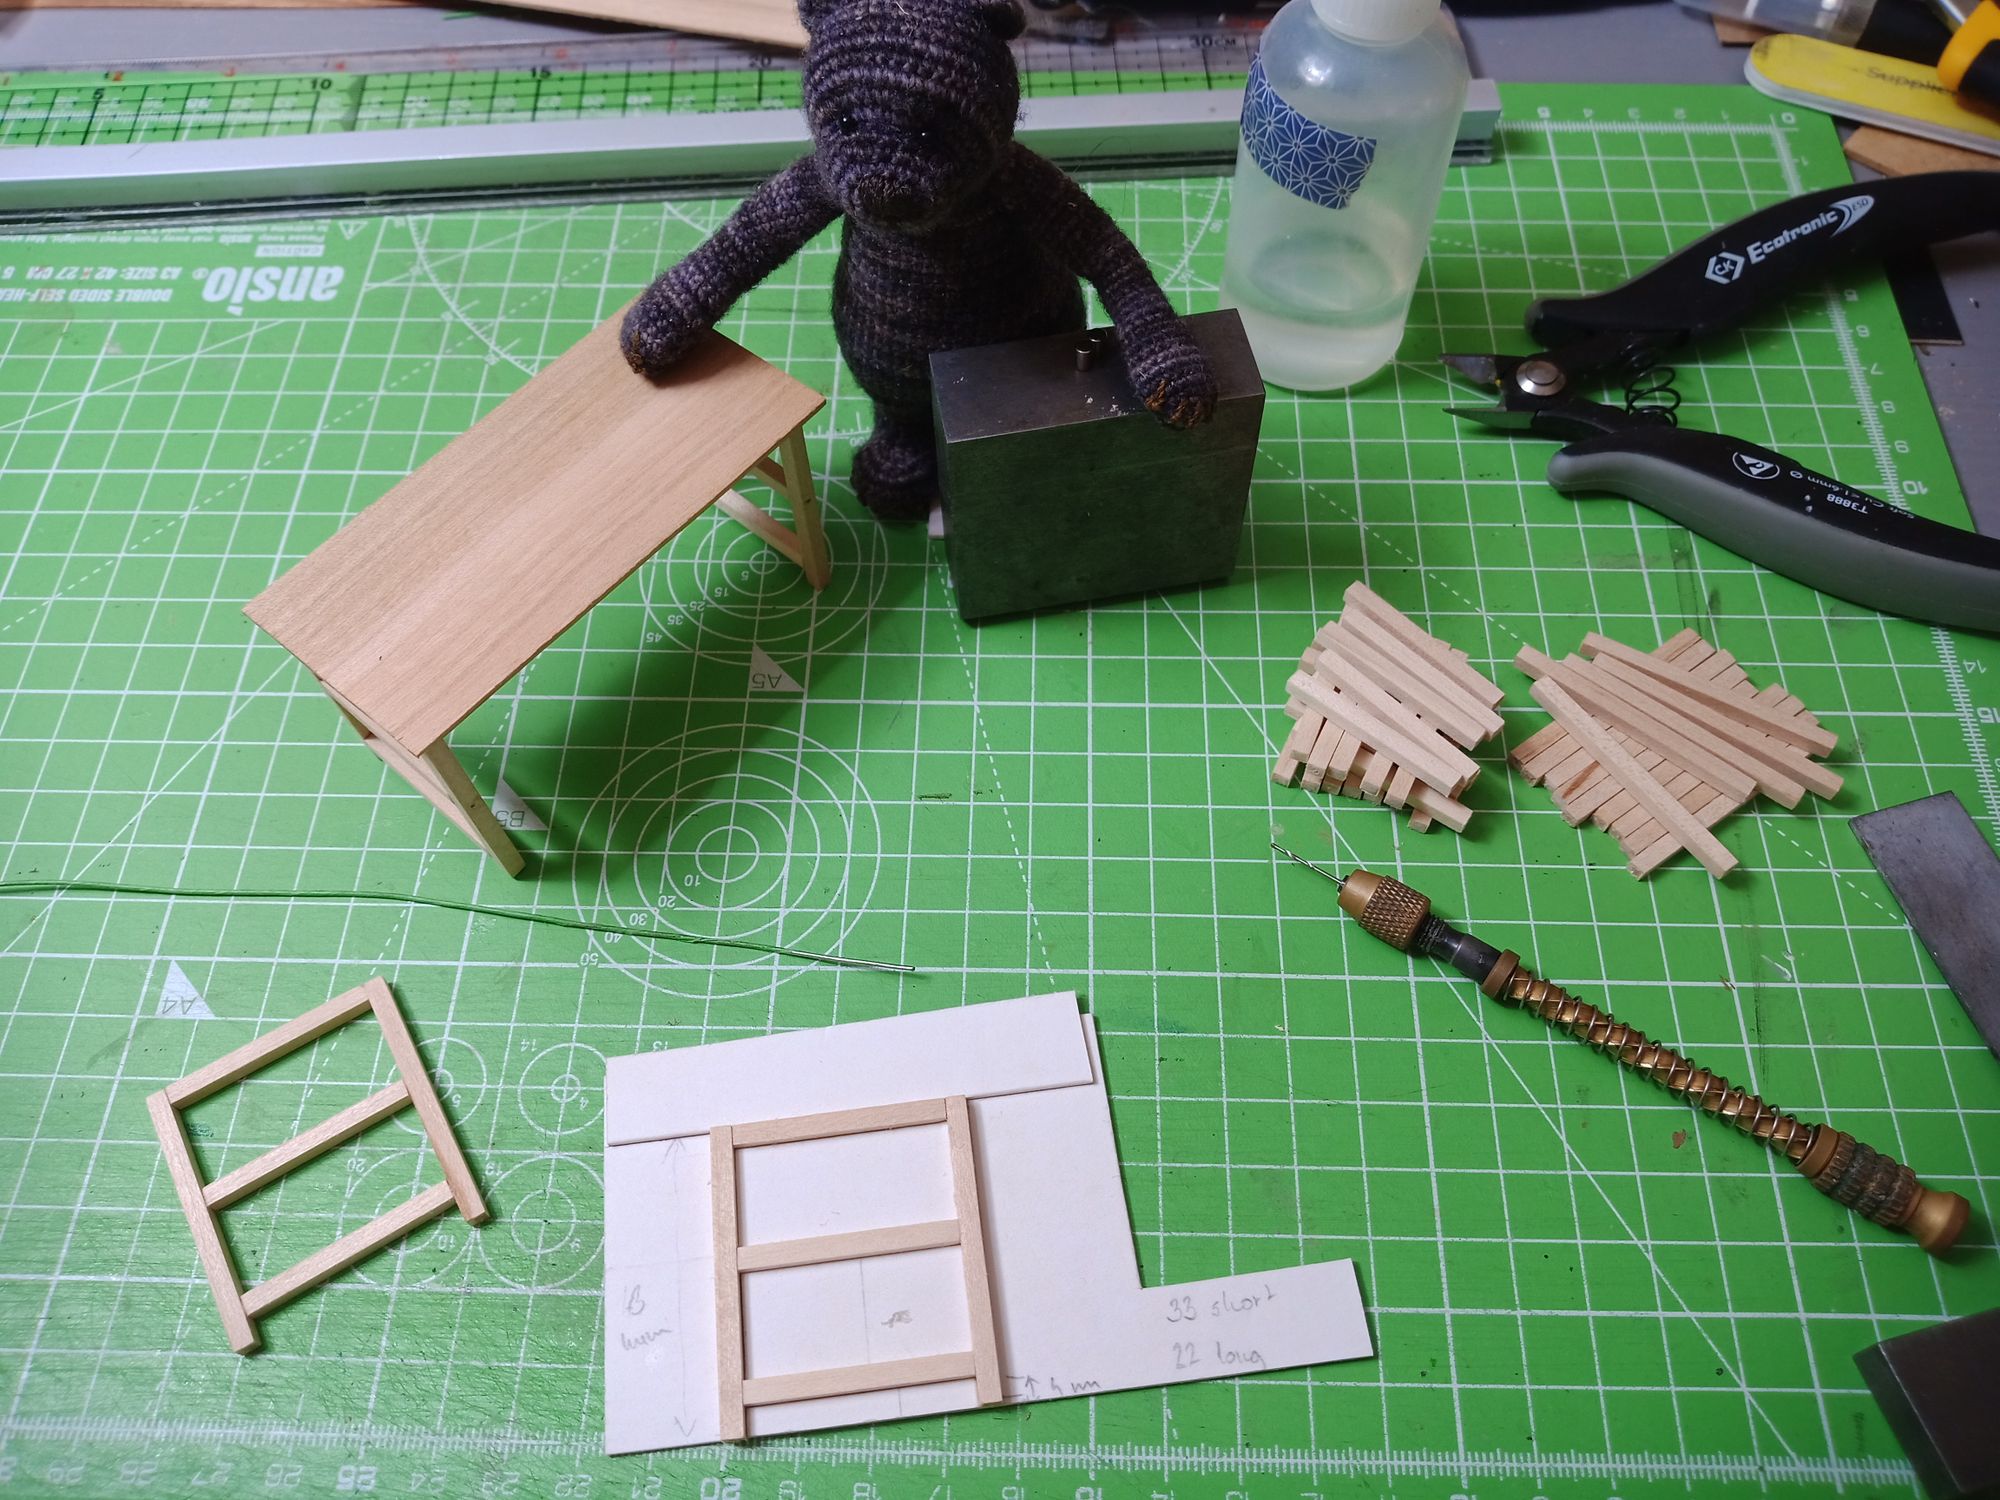
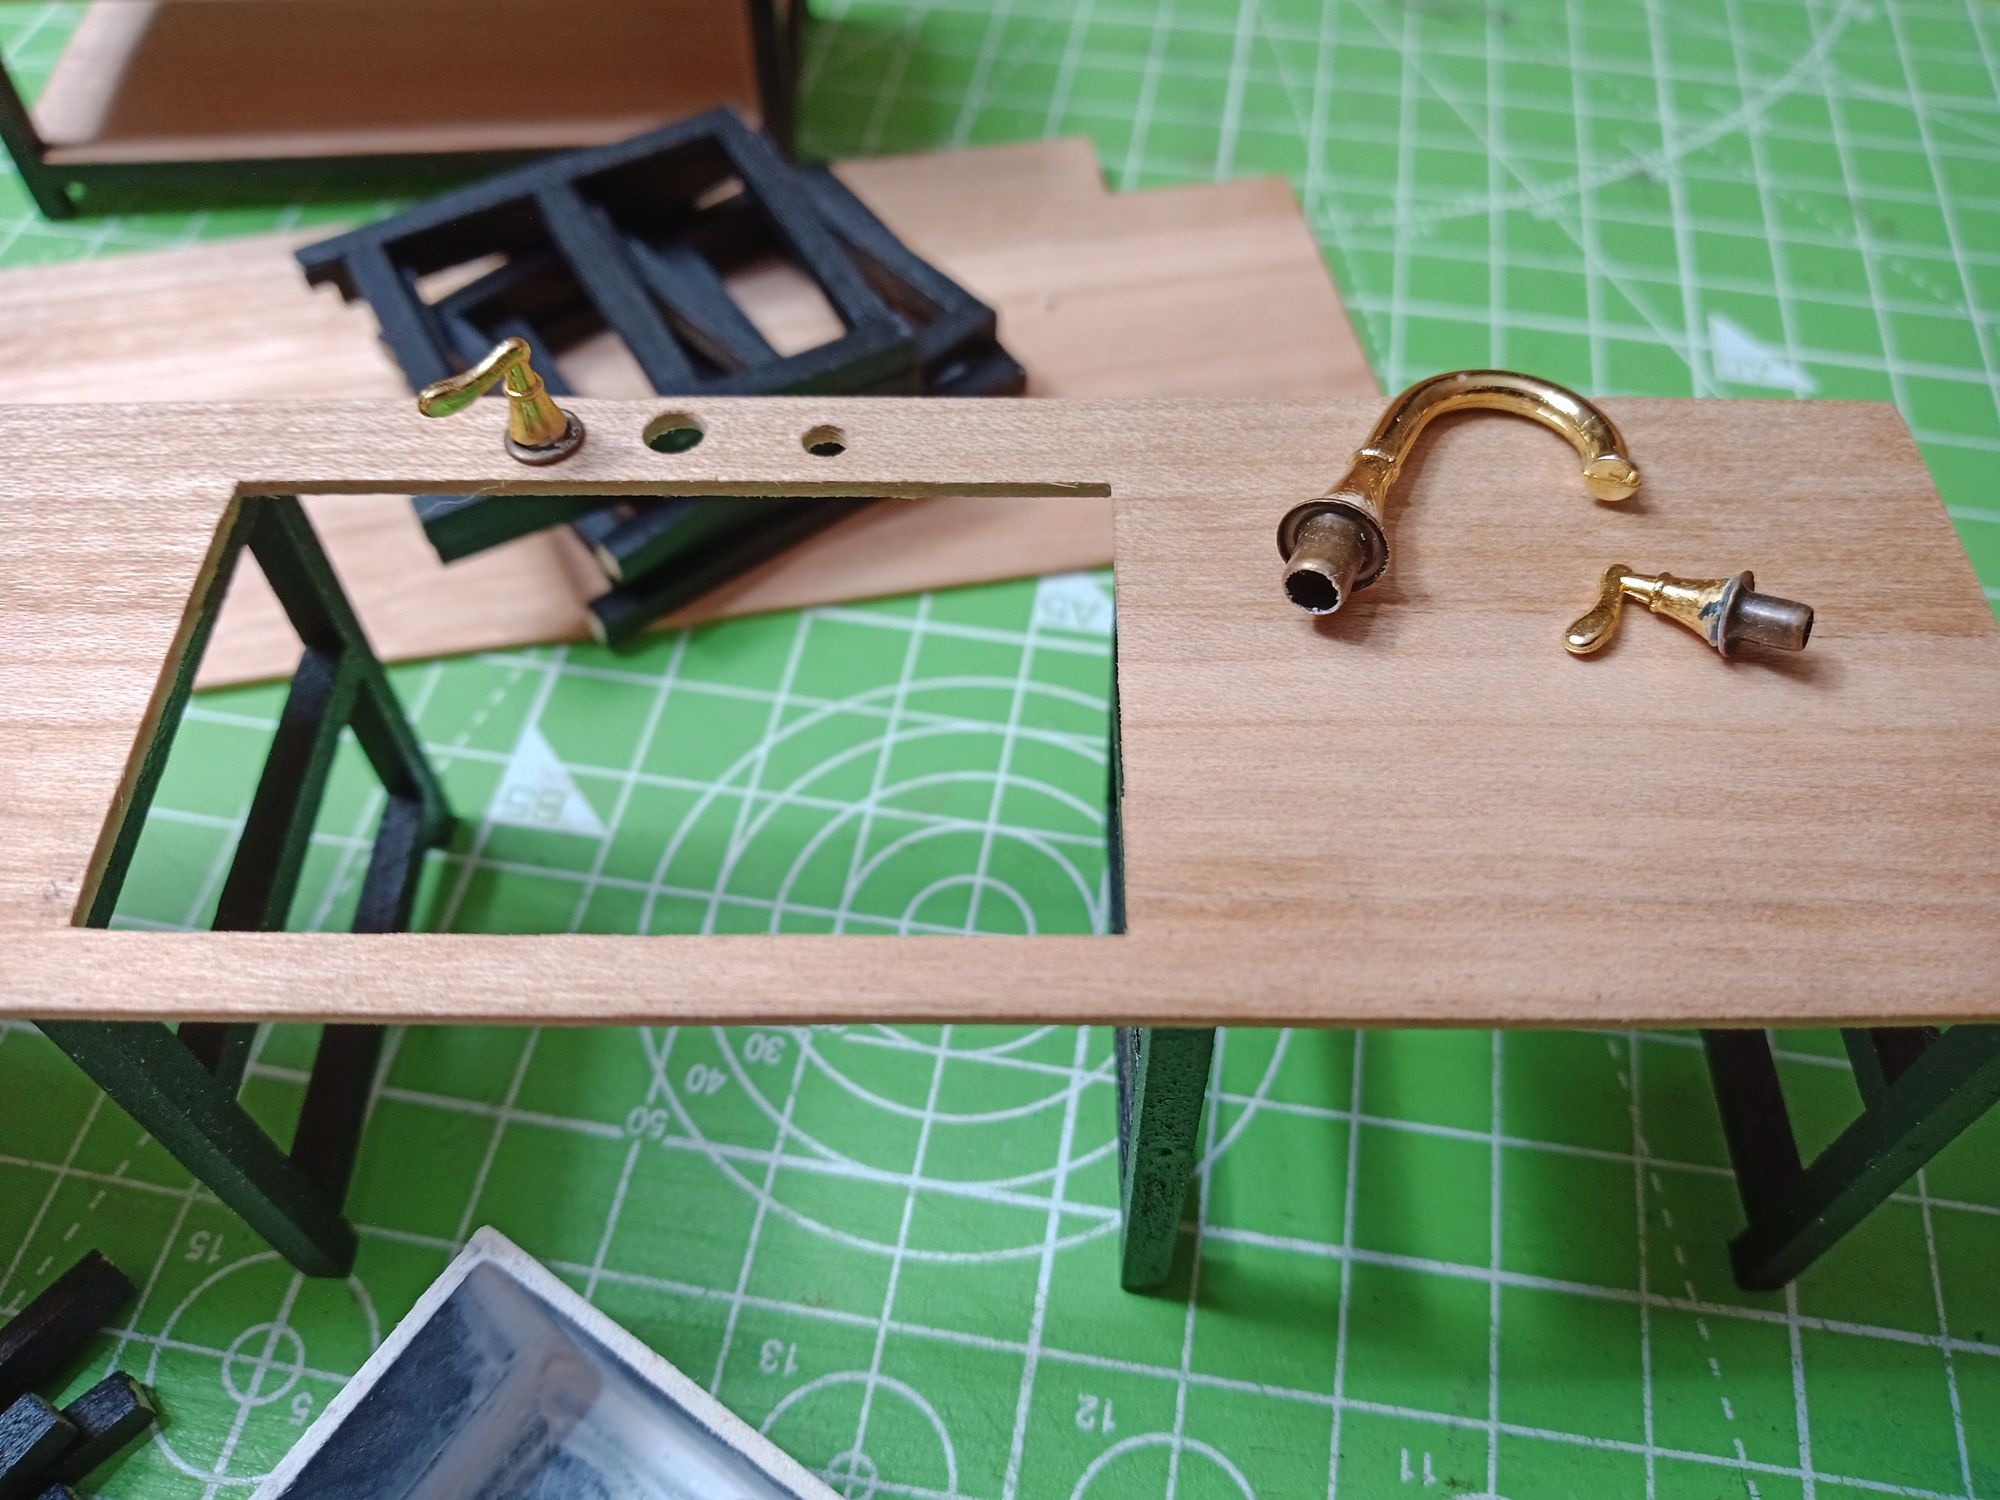
On the back of the cherry pieces I picked for the counter I drew in where the legs will go, cut the hole for the sink and drilled holes for the tap (or faucet for US readers :)). After the legs were glued in their correct position I cut the horizontal bits of the 3x3mm basswood I used for the legs.
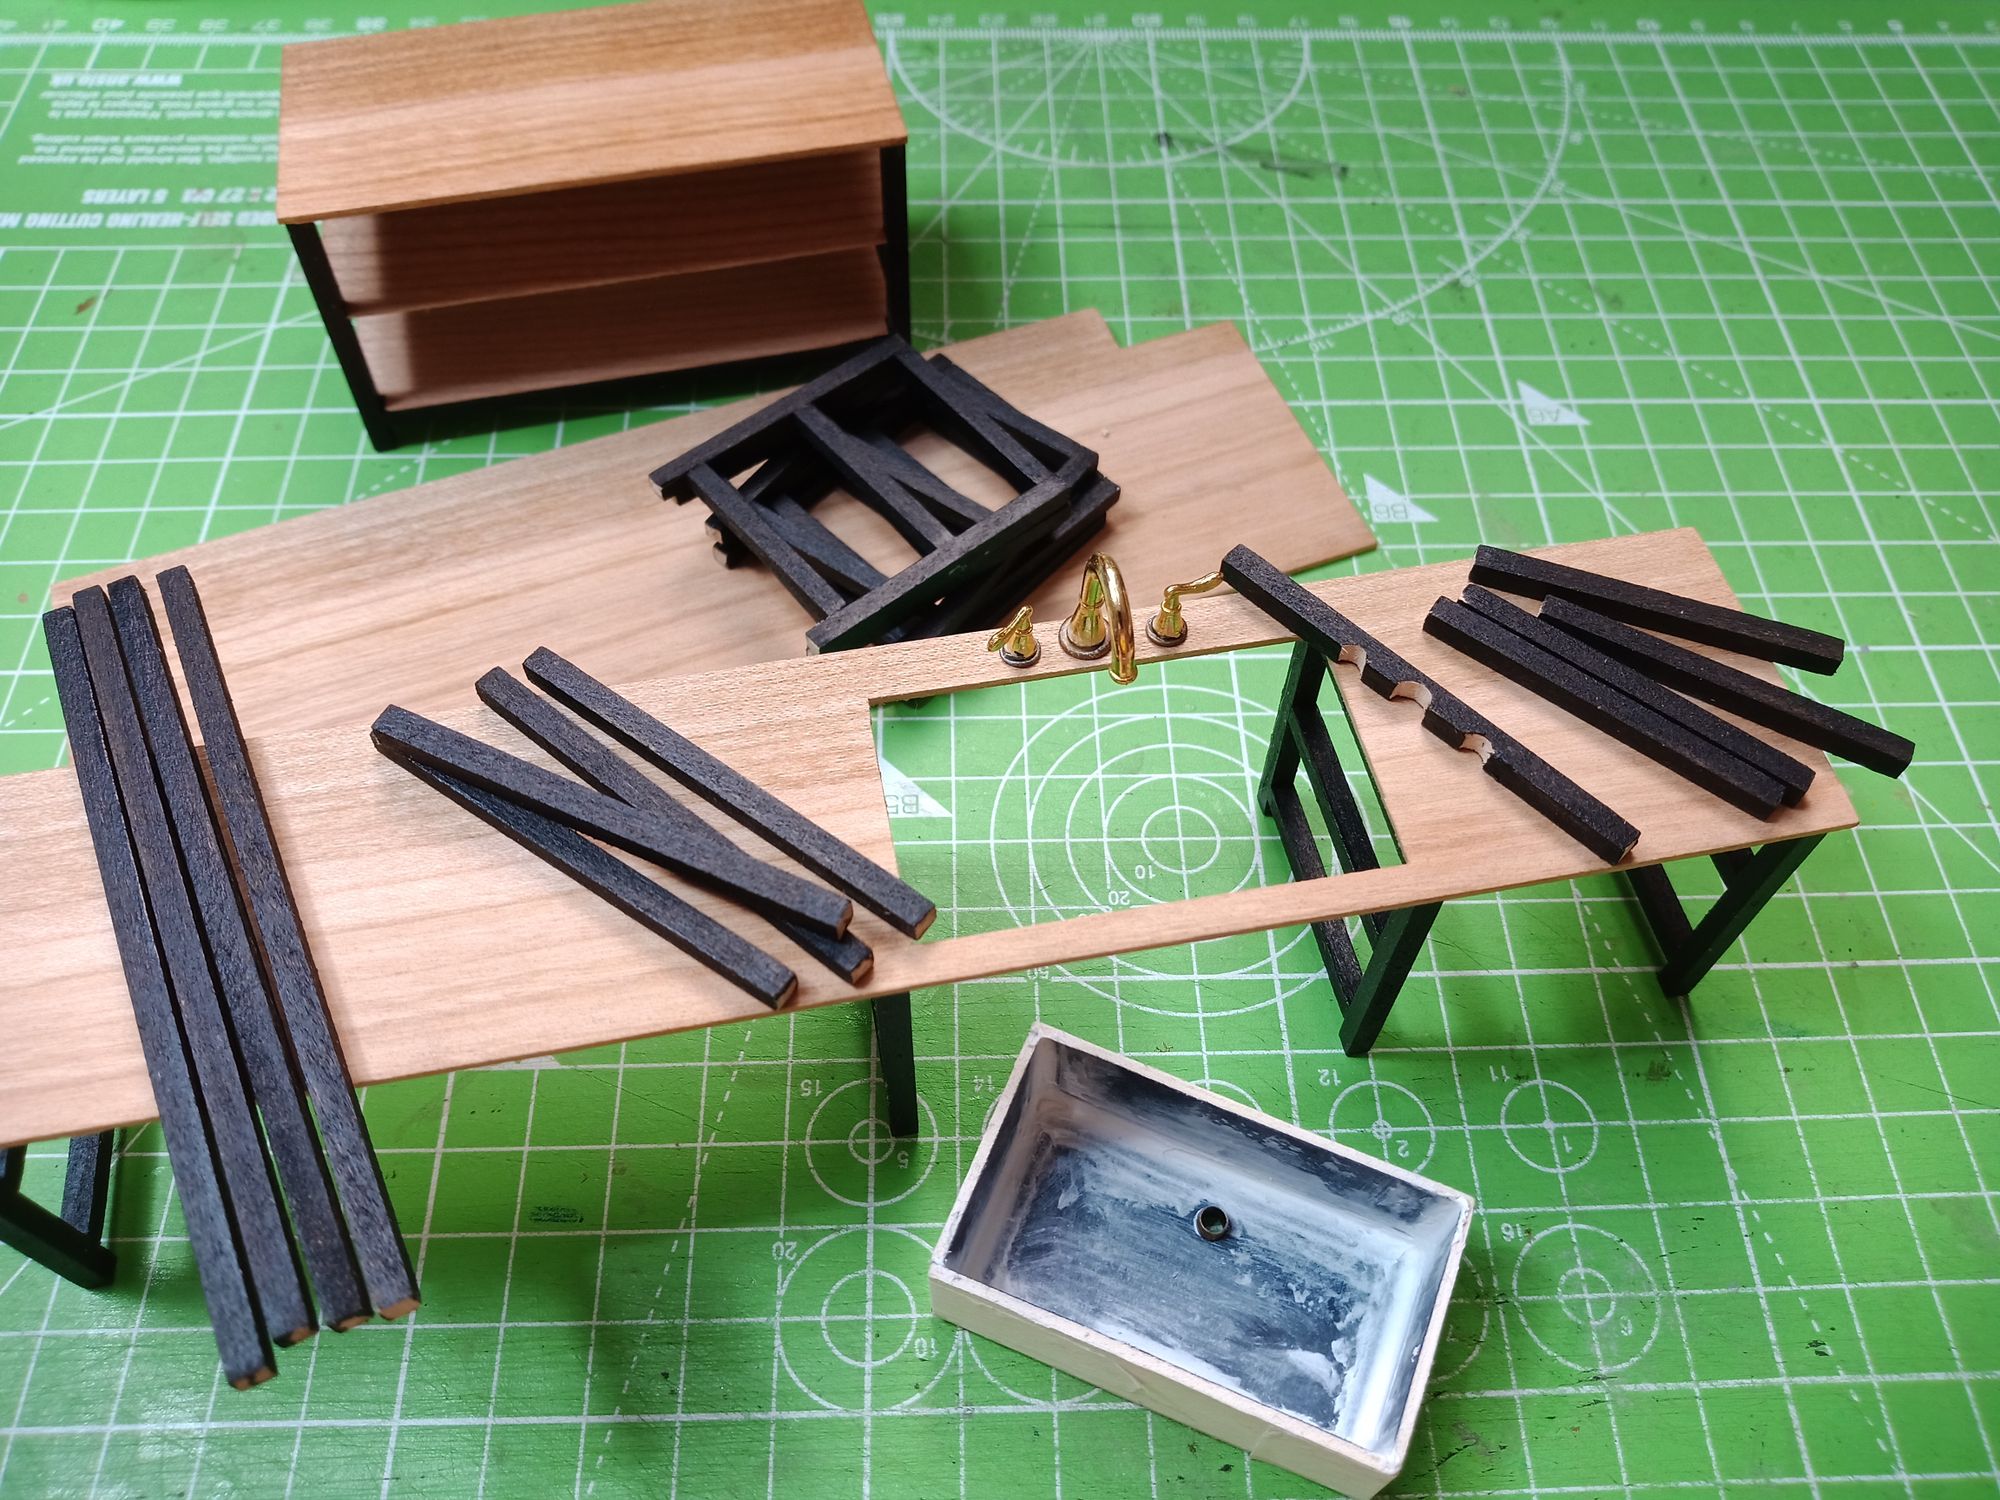
The tap was a store-bought plastic one which I cut up. It had an oversized block that it was sitting on and was real ugly. Imagine your tap sitting on a brick that was painted gold.
I glued the tap bits on to grommets, drilled the holes on the countertop so it's a snug fit and now we have a tap that can rotate. Later I will paint it with enamel paints, once we have weather that allows me to open the window without freezing my ass off.
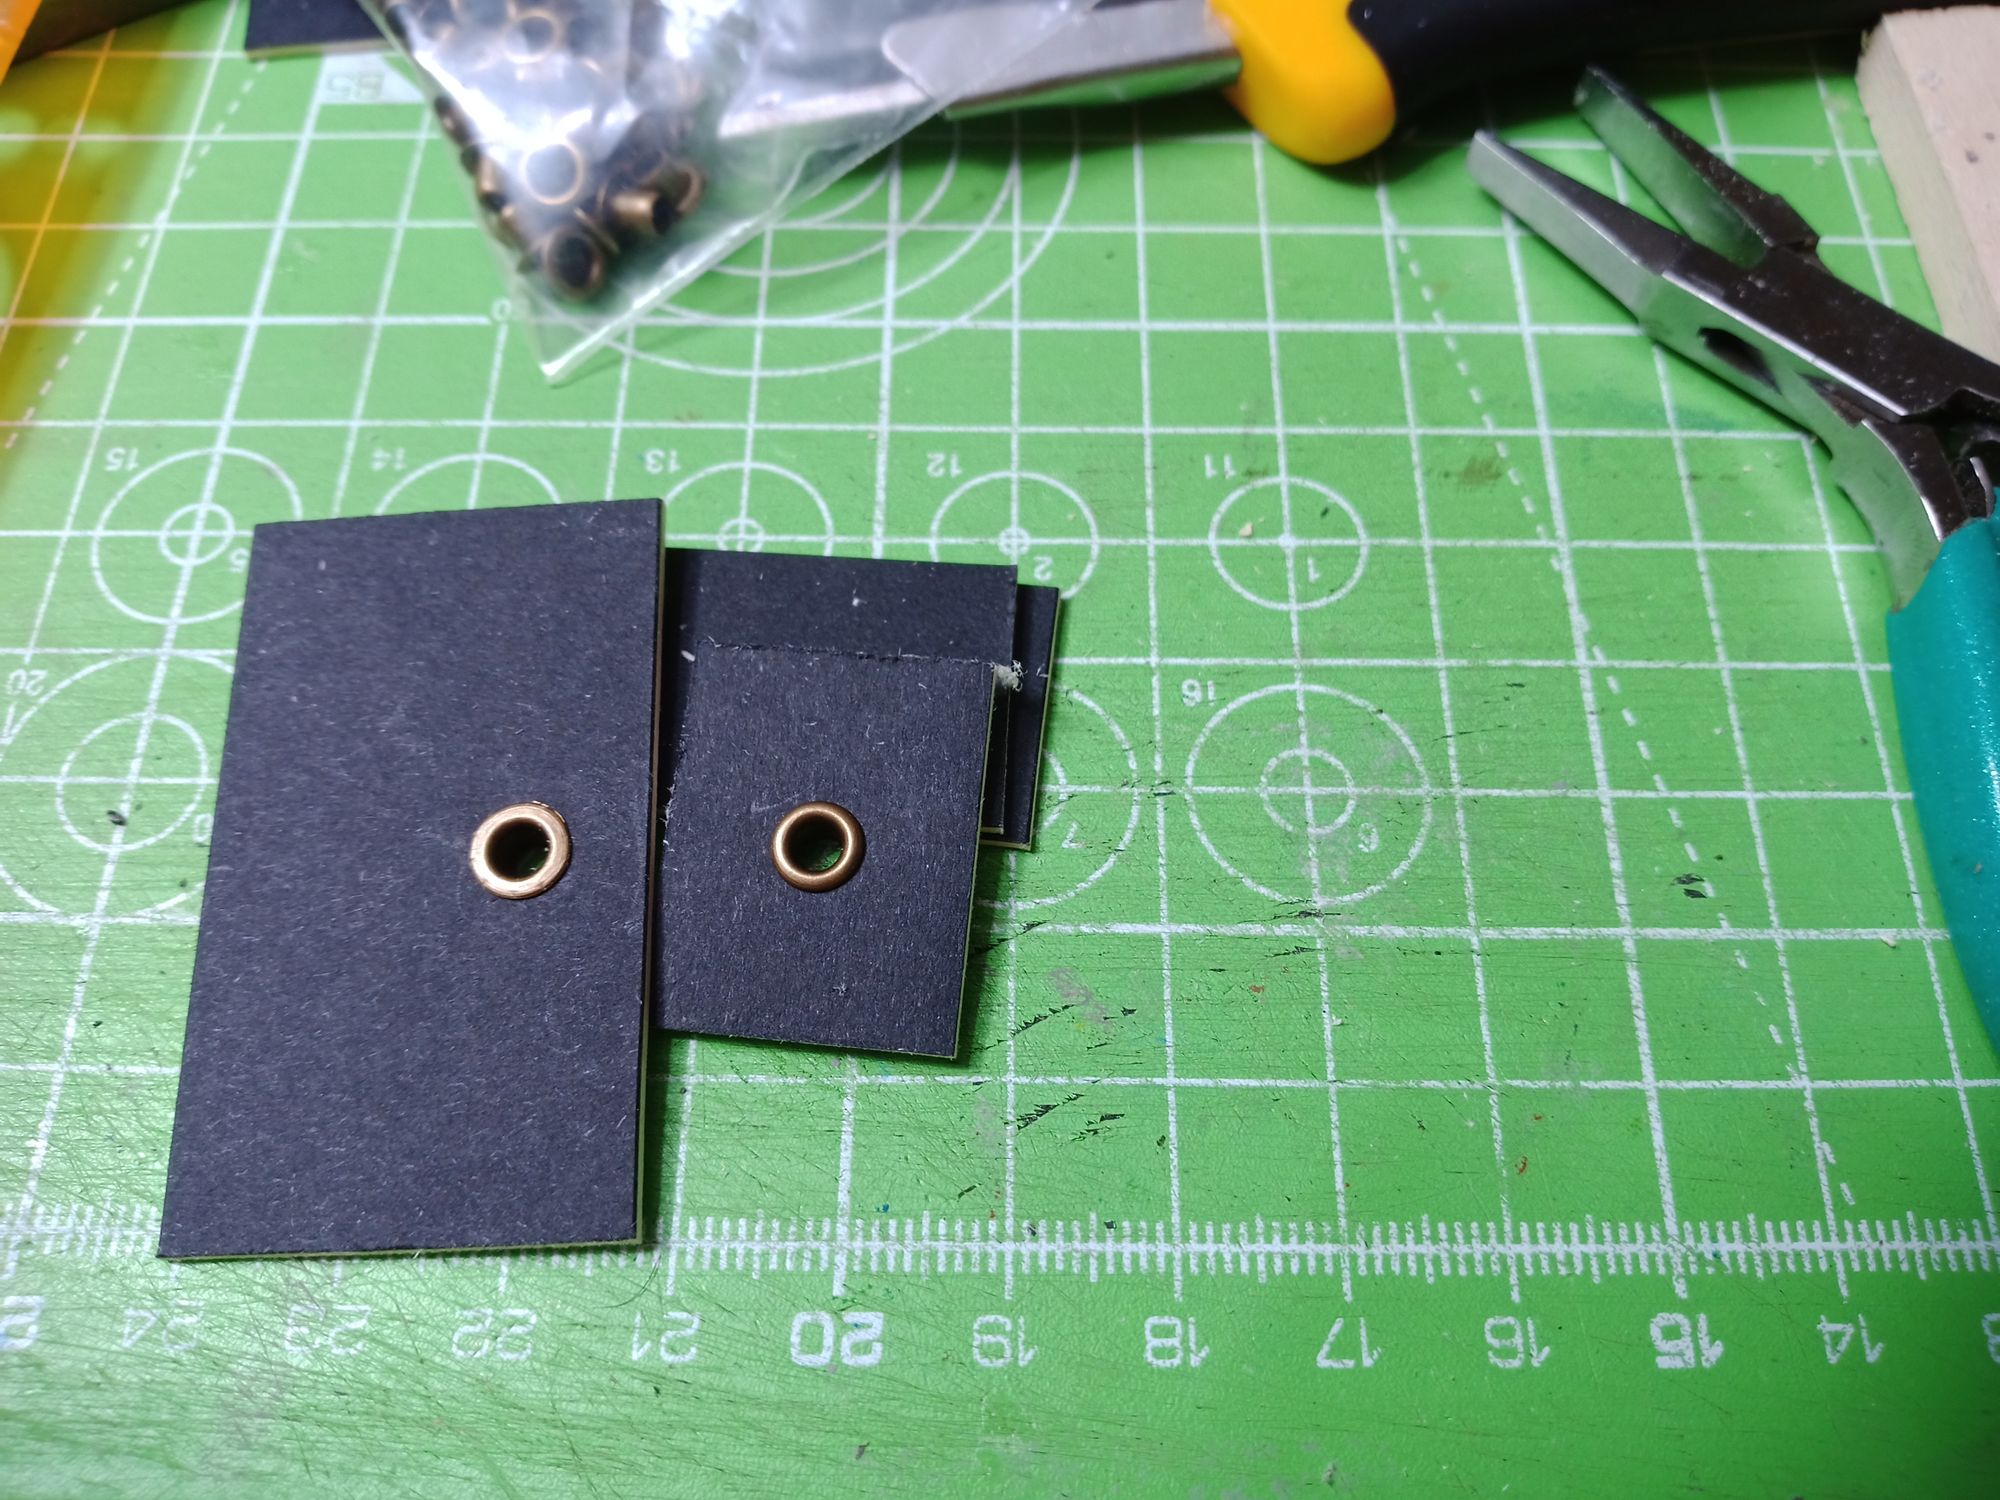
The sink I’m not yet satisfied with, I wanted to make the corners a bit more rounded and tried using filler but didn't manage to smooth it out perfectly (stupid fingernails). I will revisit the sink at a later date... probably. What I do know is that I will use a grommet for the drain. That is a popular solution in other miniature kitchens too. I have seen it in lots of houses, but never quite liked the look, it was a bit too rounded at the top so I tried to flatten it with a flat nosed plier and it turned out perfect!
Now that I had the three cherry and black counters, it was a bit too much wood. To lighten it I made a little shelving unit with a cheerful flowery back and painted it pale green, and because I liked that green also made a panelled half wall.
I've yet to make the tall unit on the back wall which will house the oven, all the appliances, the windows and back door, the other wall and the cabinetry...