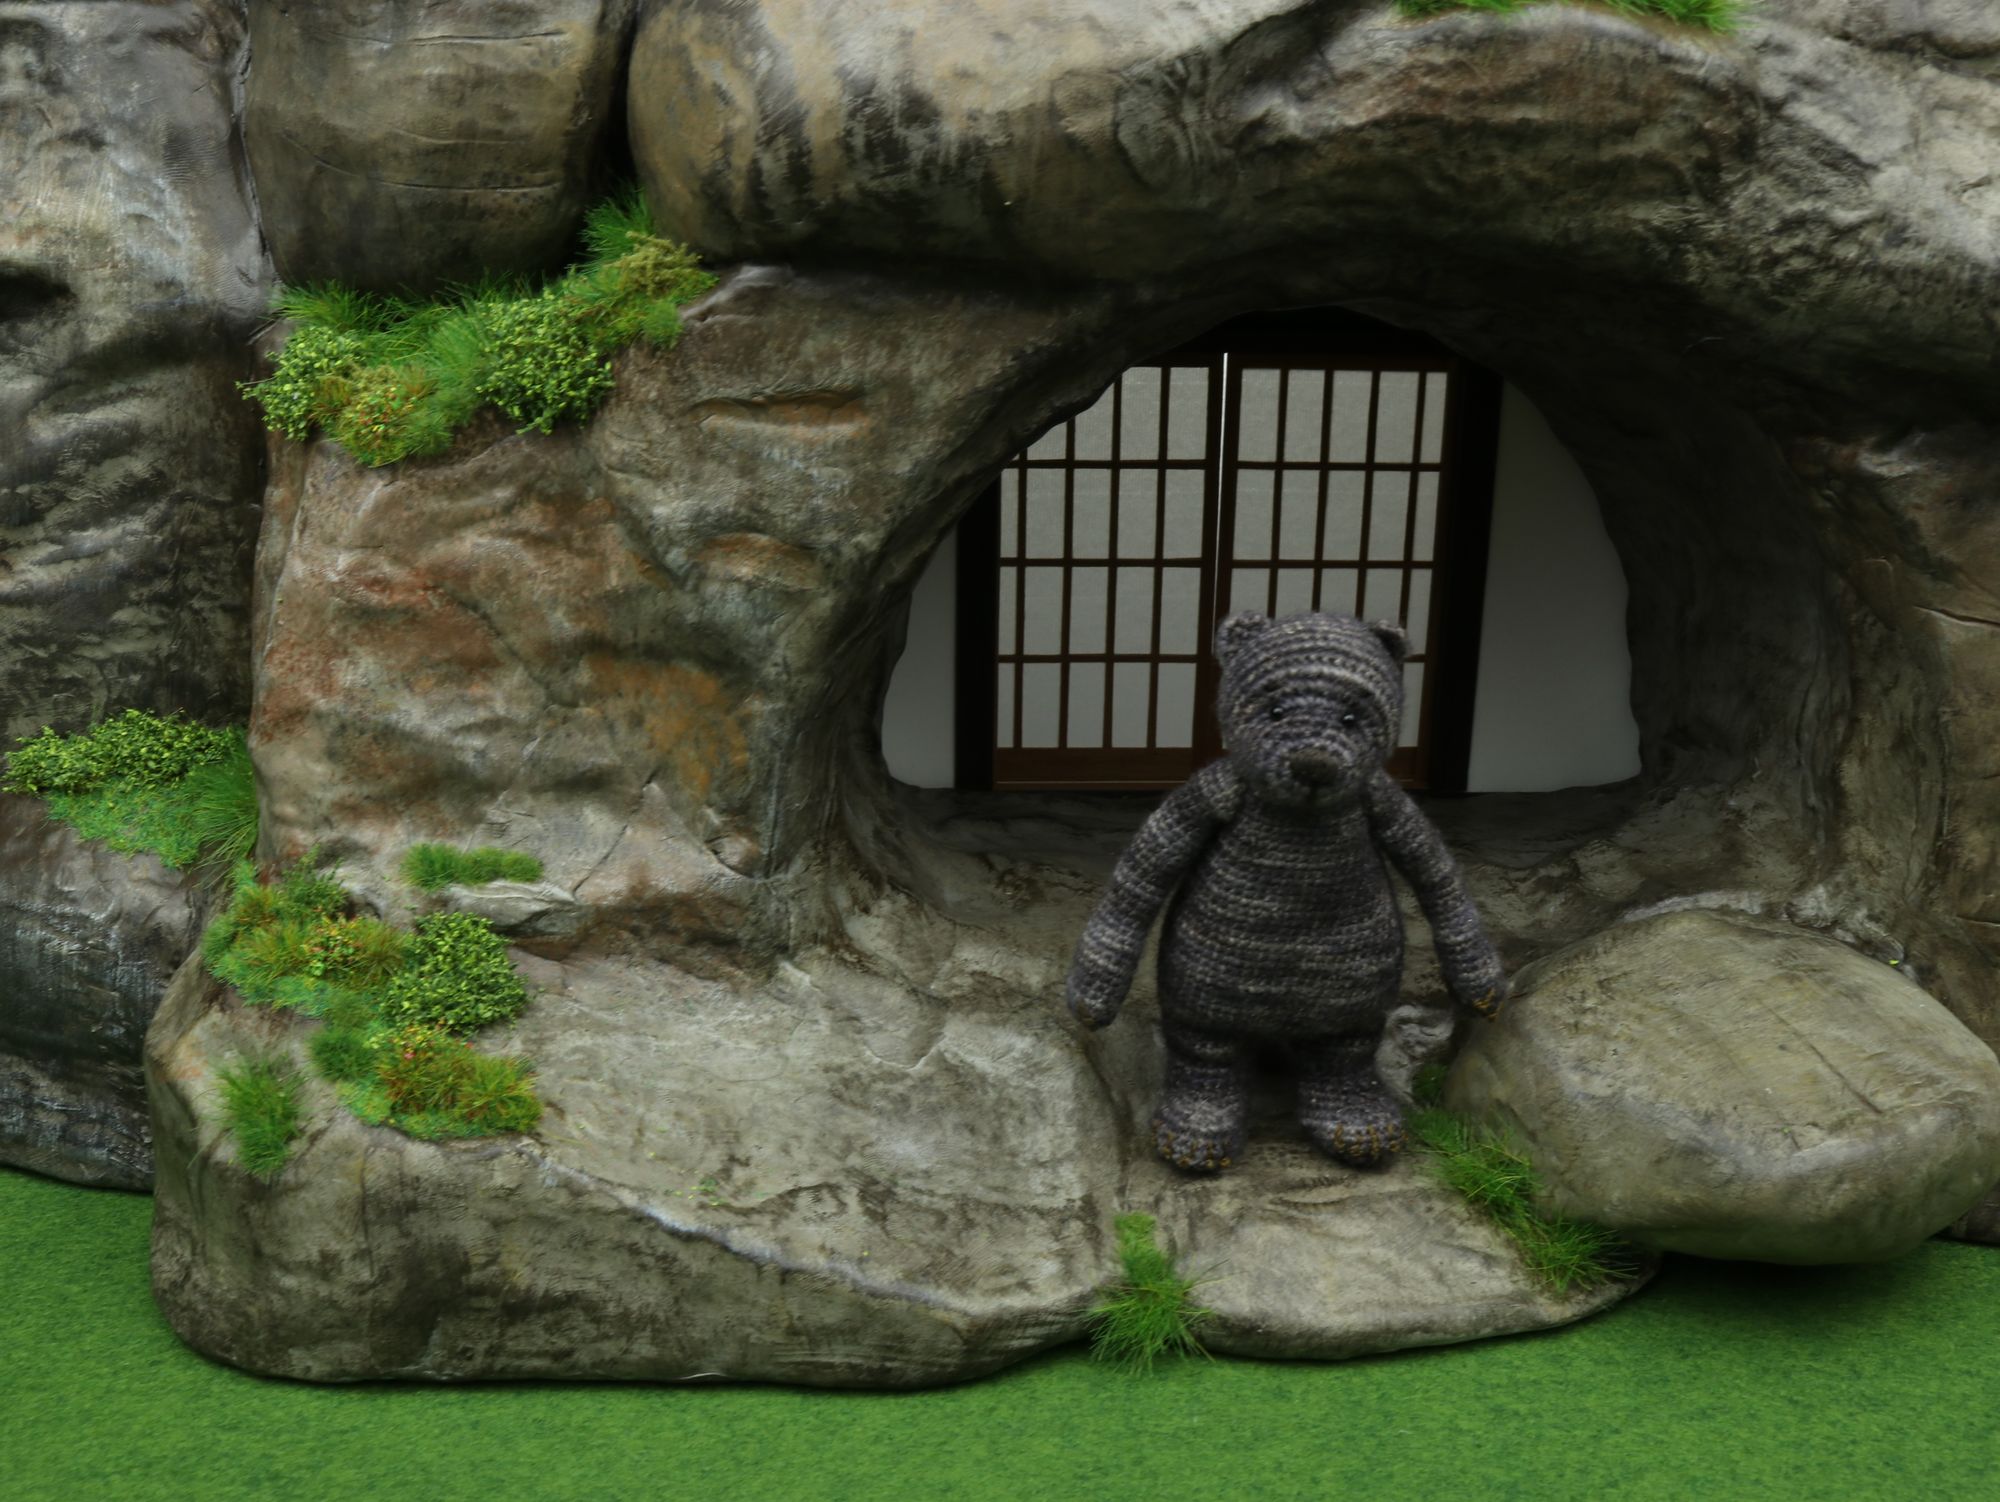
Ursula's Den: The Grand Entrance
This piece took a while, lucky for you, as each step took me days I had plenty of time to remember to take pictures :D
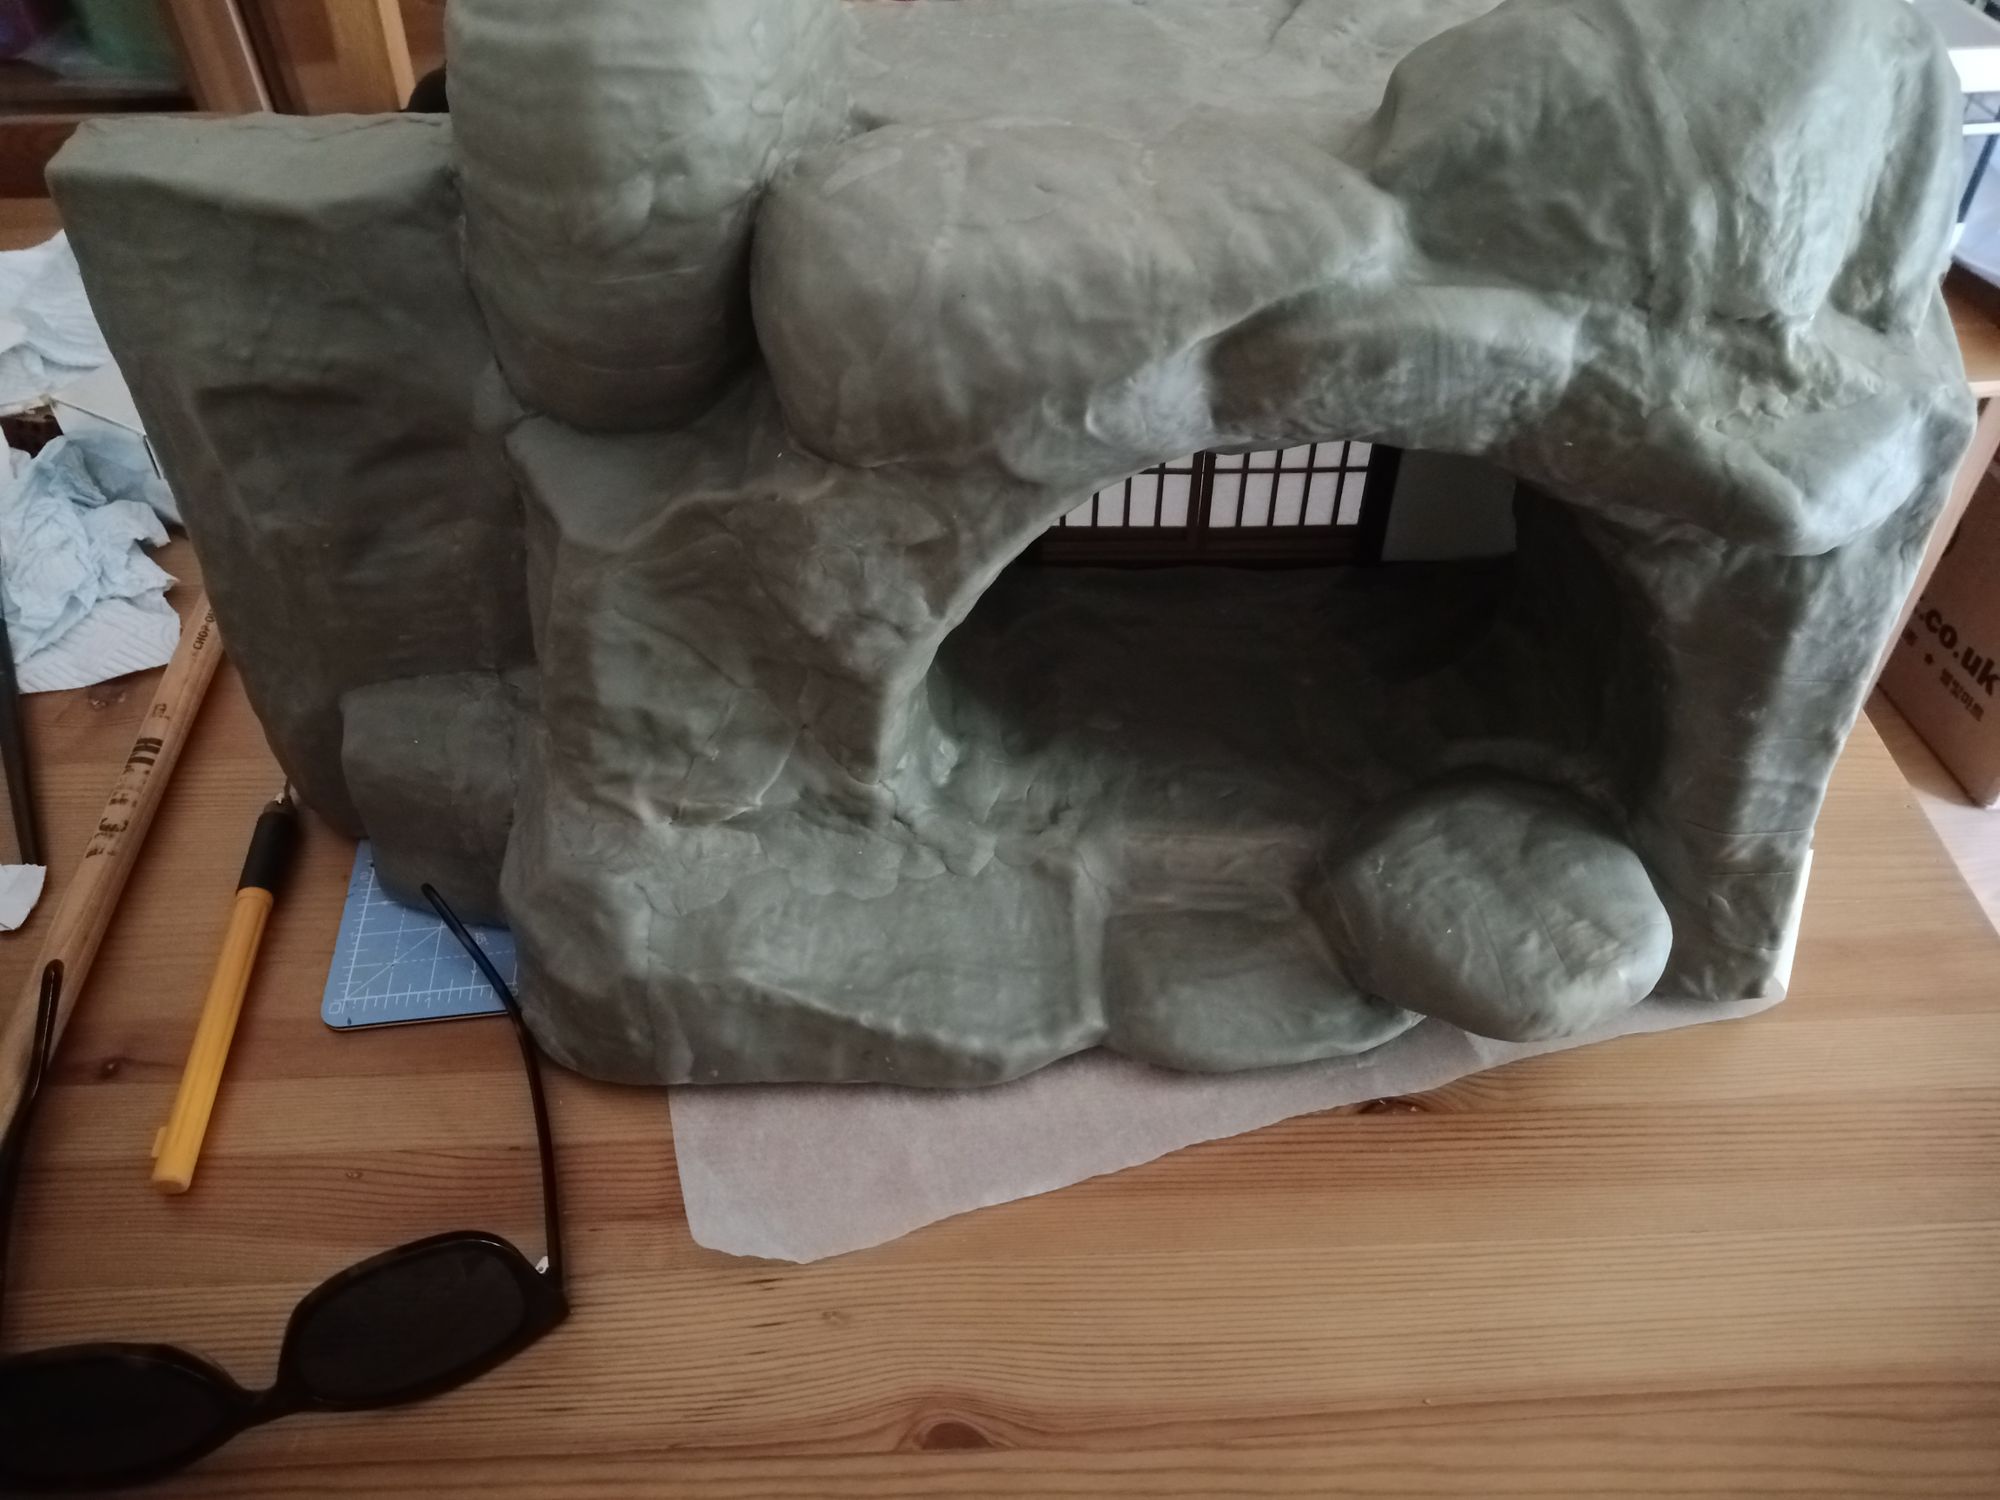
The cave entrance is the single biggest piece of prop I have built so far (50*30*20 cm to be exact) The core is expanded polystyrene, it started its life as packaging material and as all of a sudden I had a small heap (or a mountain depends on scale) of the stuff. instead of throwing it away I tried to repurpose it. The first thing I made was a molehill.
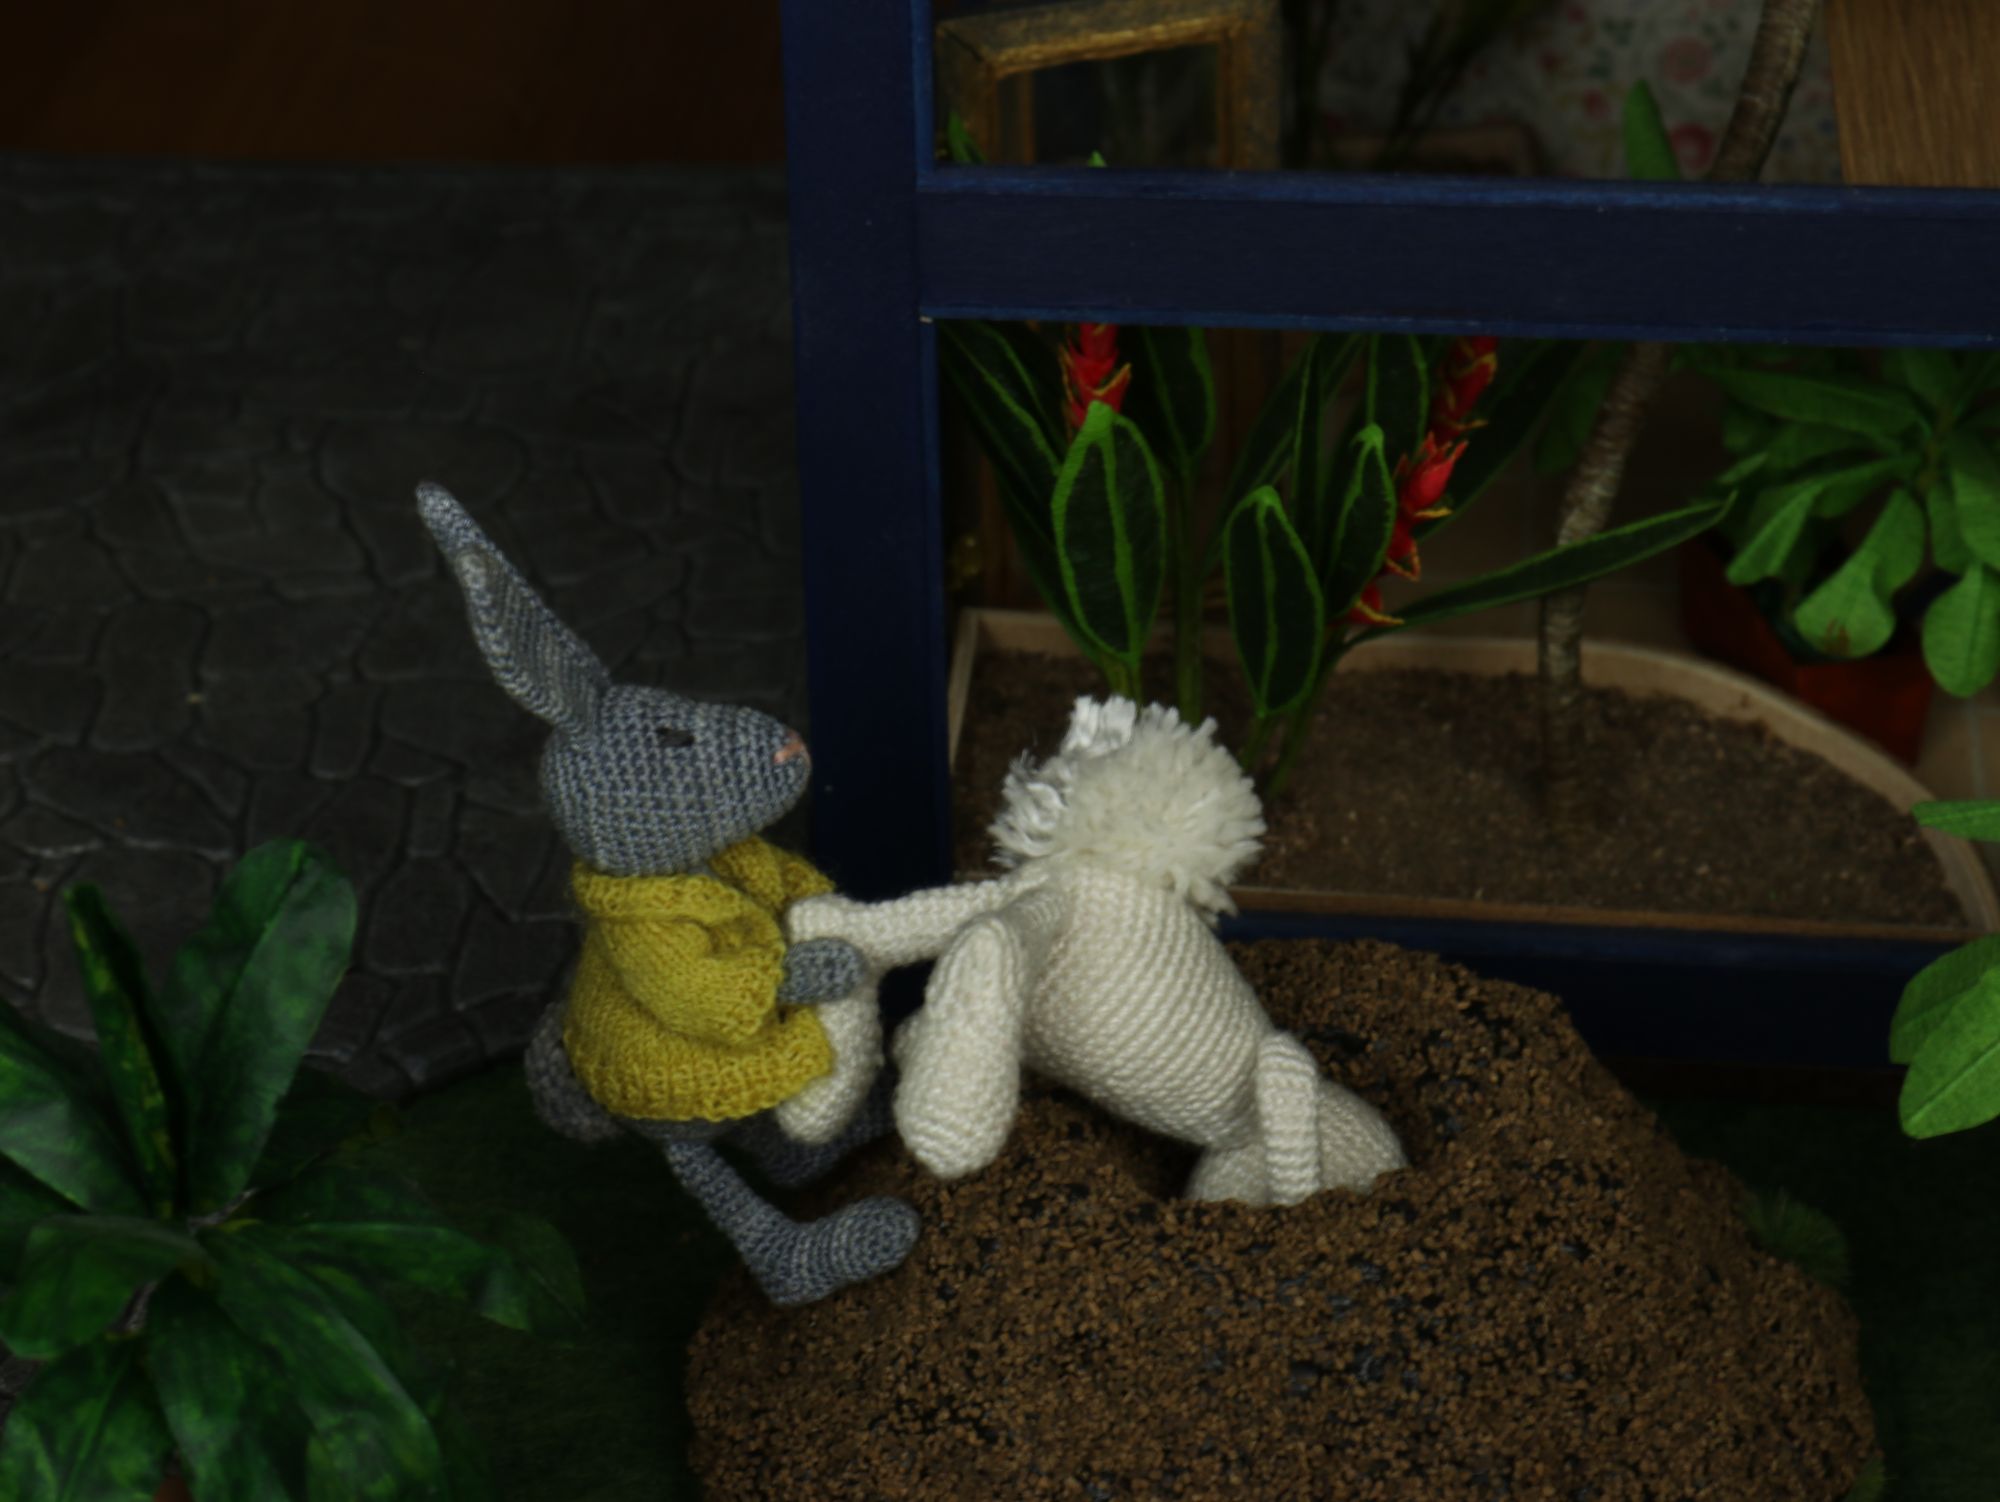
When I made this I didn't have proper tools for it, after trying to cut it and failing to produce a good looking molehill I started to just crumble away the little beads. The end result wasn't too bad but it is quite fragile, also for the next few days I kept finding little beads of the stuff all over the place. I knew that if I wanted to use the EPS for the cave it needs a durable -and I mean accidentally-dropping-it-on-the floor-and-surviving- shell. After a bit of research I came upon epoxy clay. Apoxie sculpt specifically. I still feel that this stuff might have been a bit of an overkill, but hey at some point I have to draw a line. Do I keep searching for something that may not even exist just to spare a few pounds?
The last thing I needed was a hot wire tool to carve the EPS. I picked a freehand router mainly because I was starting to run out of space and I just couldn't find the space to set one up on a desk and I didn't need to cut straight.
Finally I had all the tools and materials ready all I needed was a day when I could open up the balcony doors without the heating kicking in, that means no rain and a balmy 20C outside (mind you this was back in May, I finally made my first cut in the middle of July)
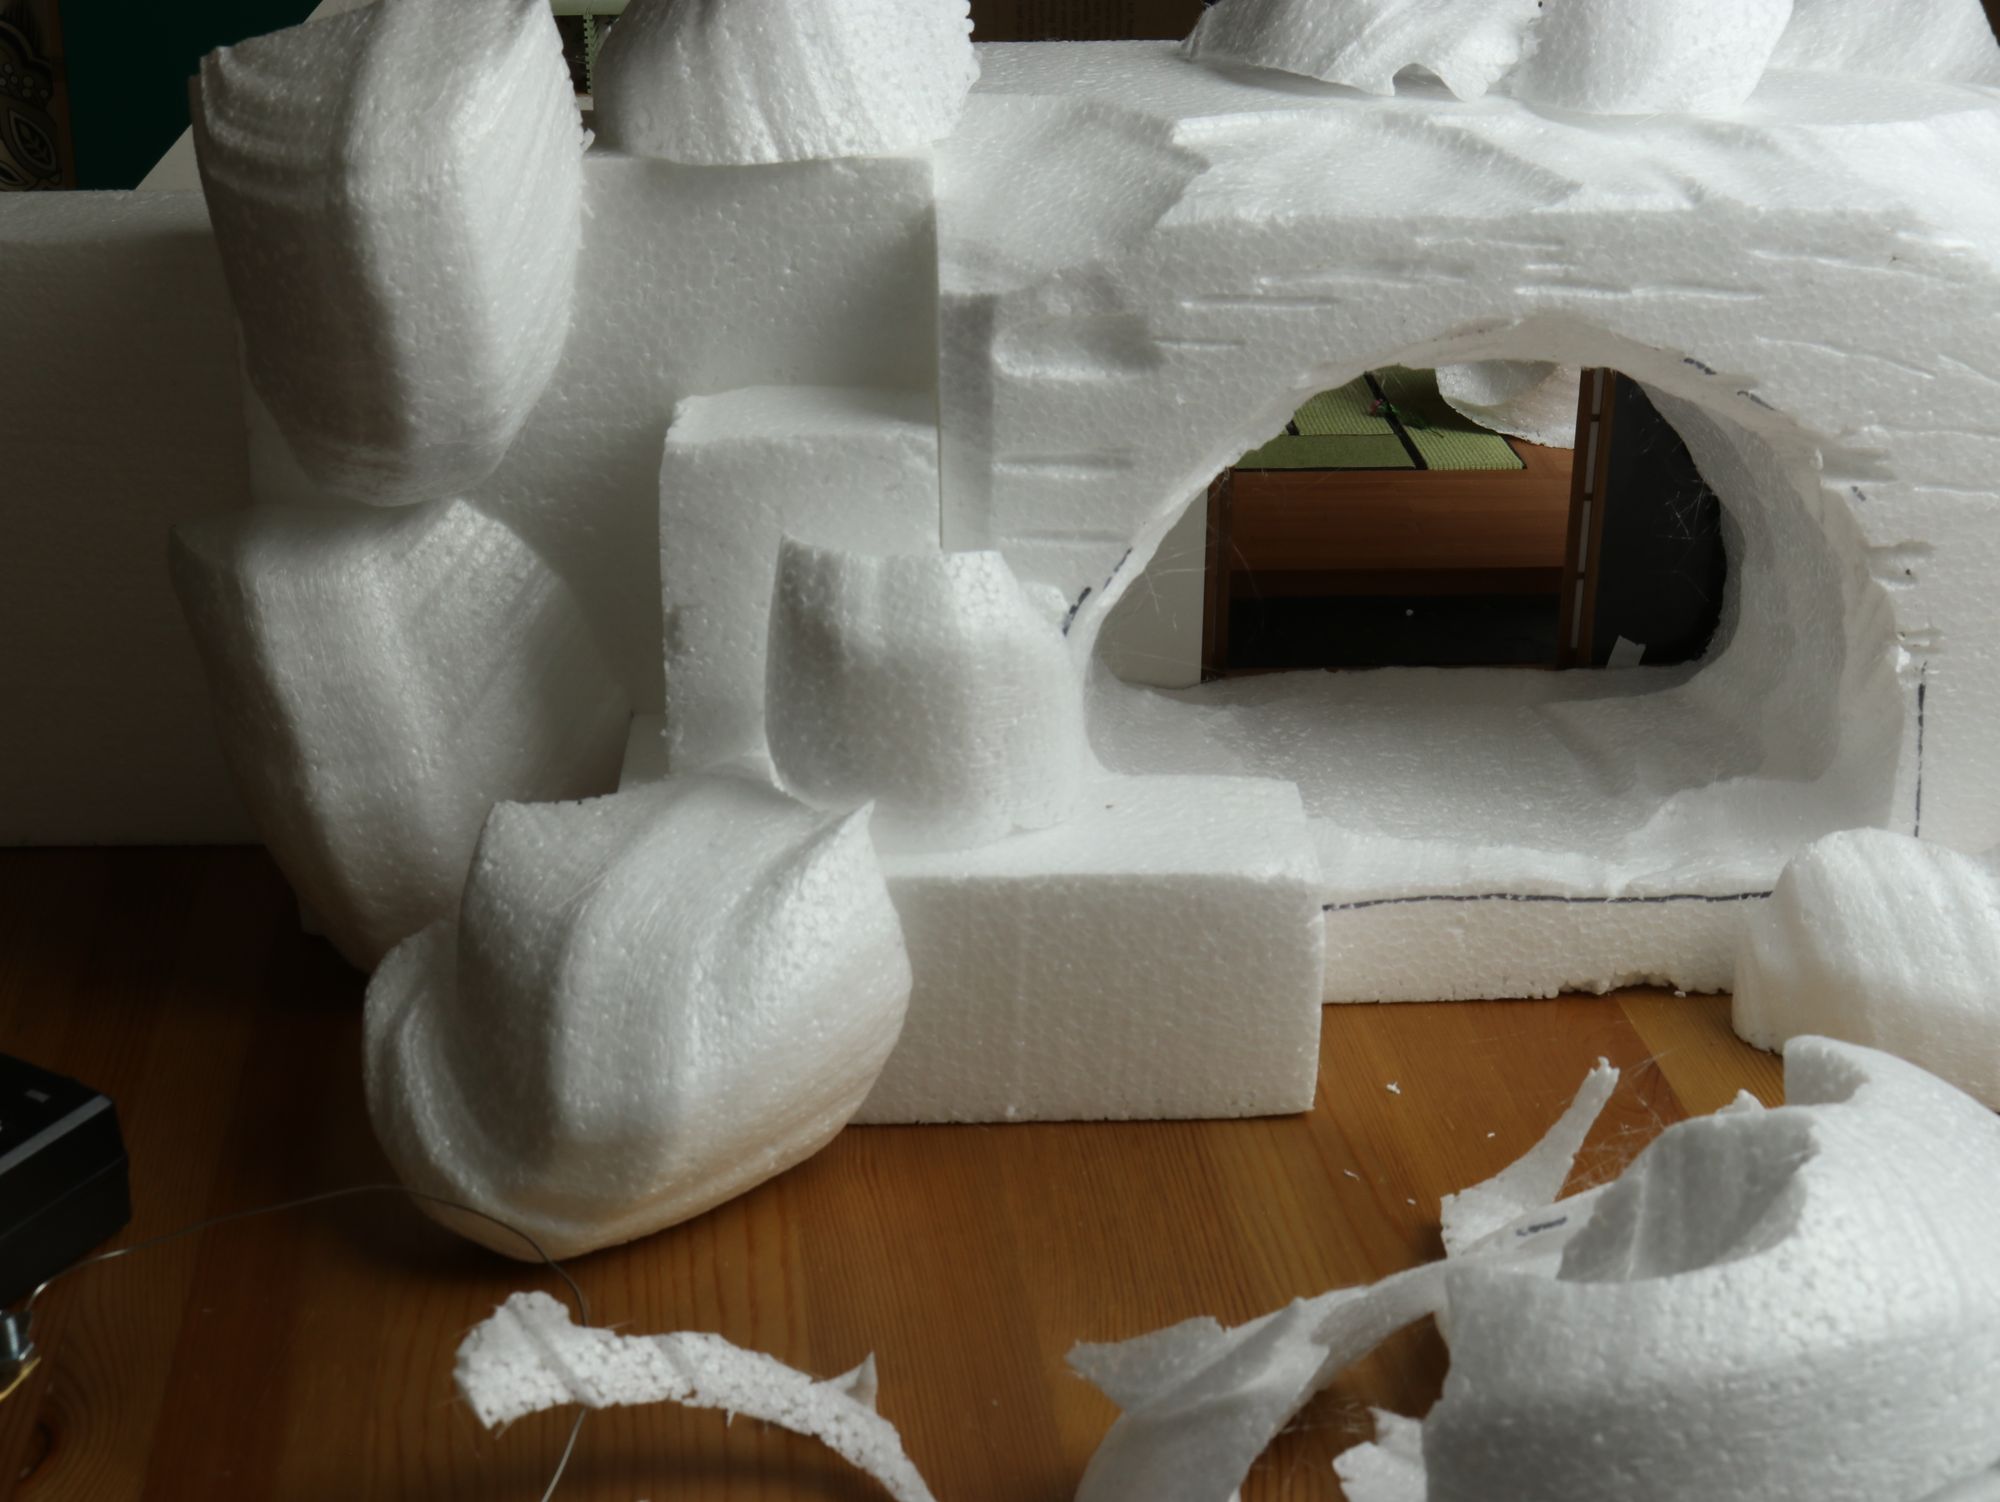
First thing was to carve out a cave mouth which needed to be big enough to accommodate the already built entrance doors. Then came the fun part of carving away then glueing pieces back on.
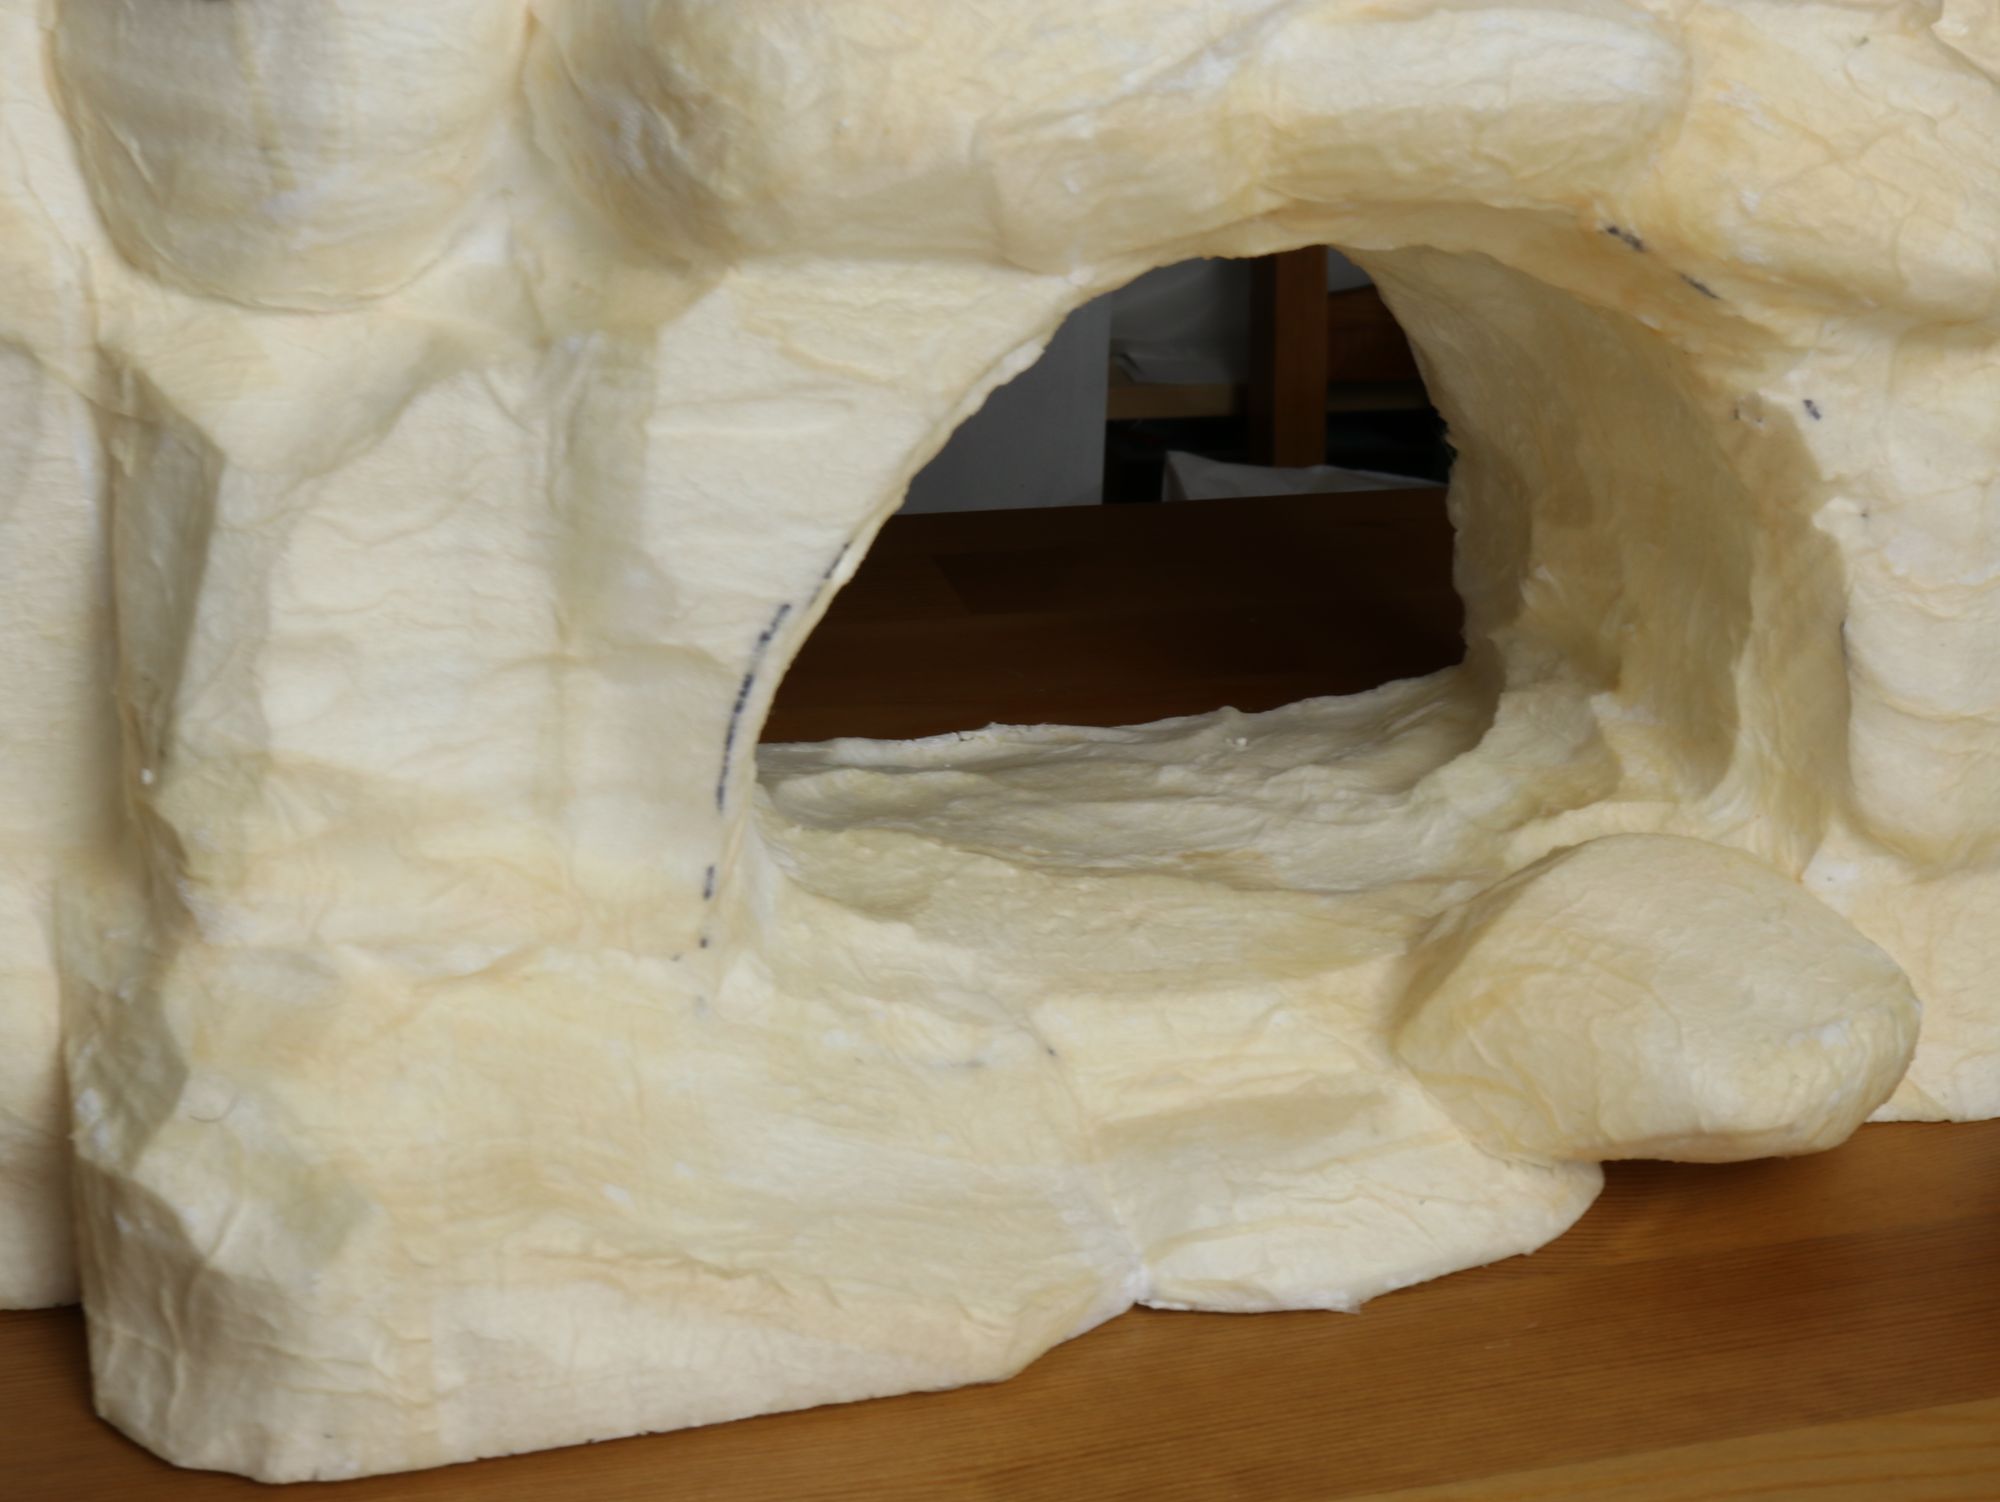
Once I was satisfied with the shape, I covered the whole thing with loo paper and PVA. The reason for this step is 1, Apoxie doesn't stick very well to smooth EPS (it can be done and would have been fine on the horizontal bits) and 2, with adding the glue and loo paper I also added some extra bit of texture to it and some extra protection until it has a sturdy shell.
The PVA was actually a wood glue which I knew dried with a yellowish tint that came really handy: it's easy to see if you missed a spot (also it was an old bottle)
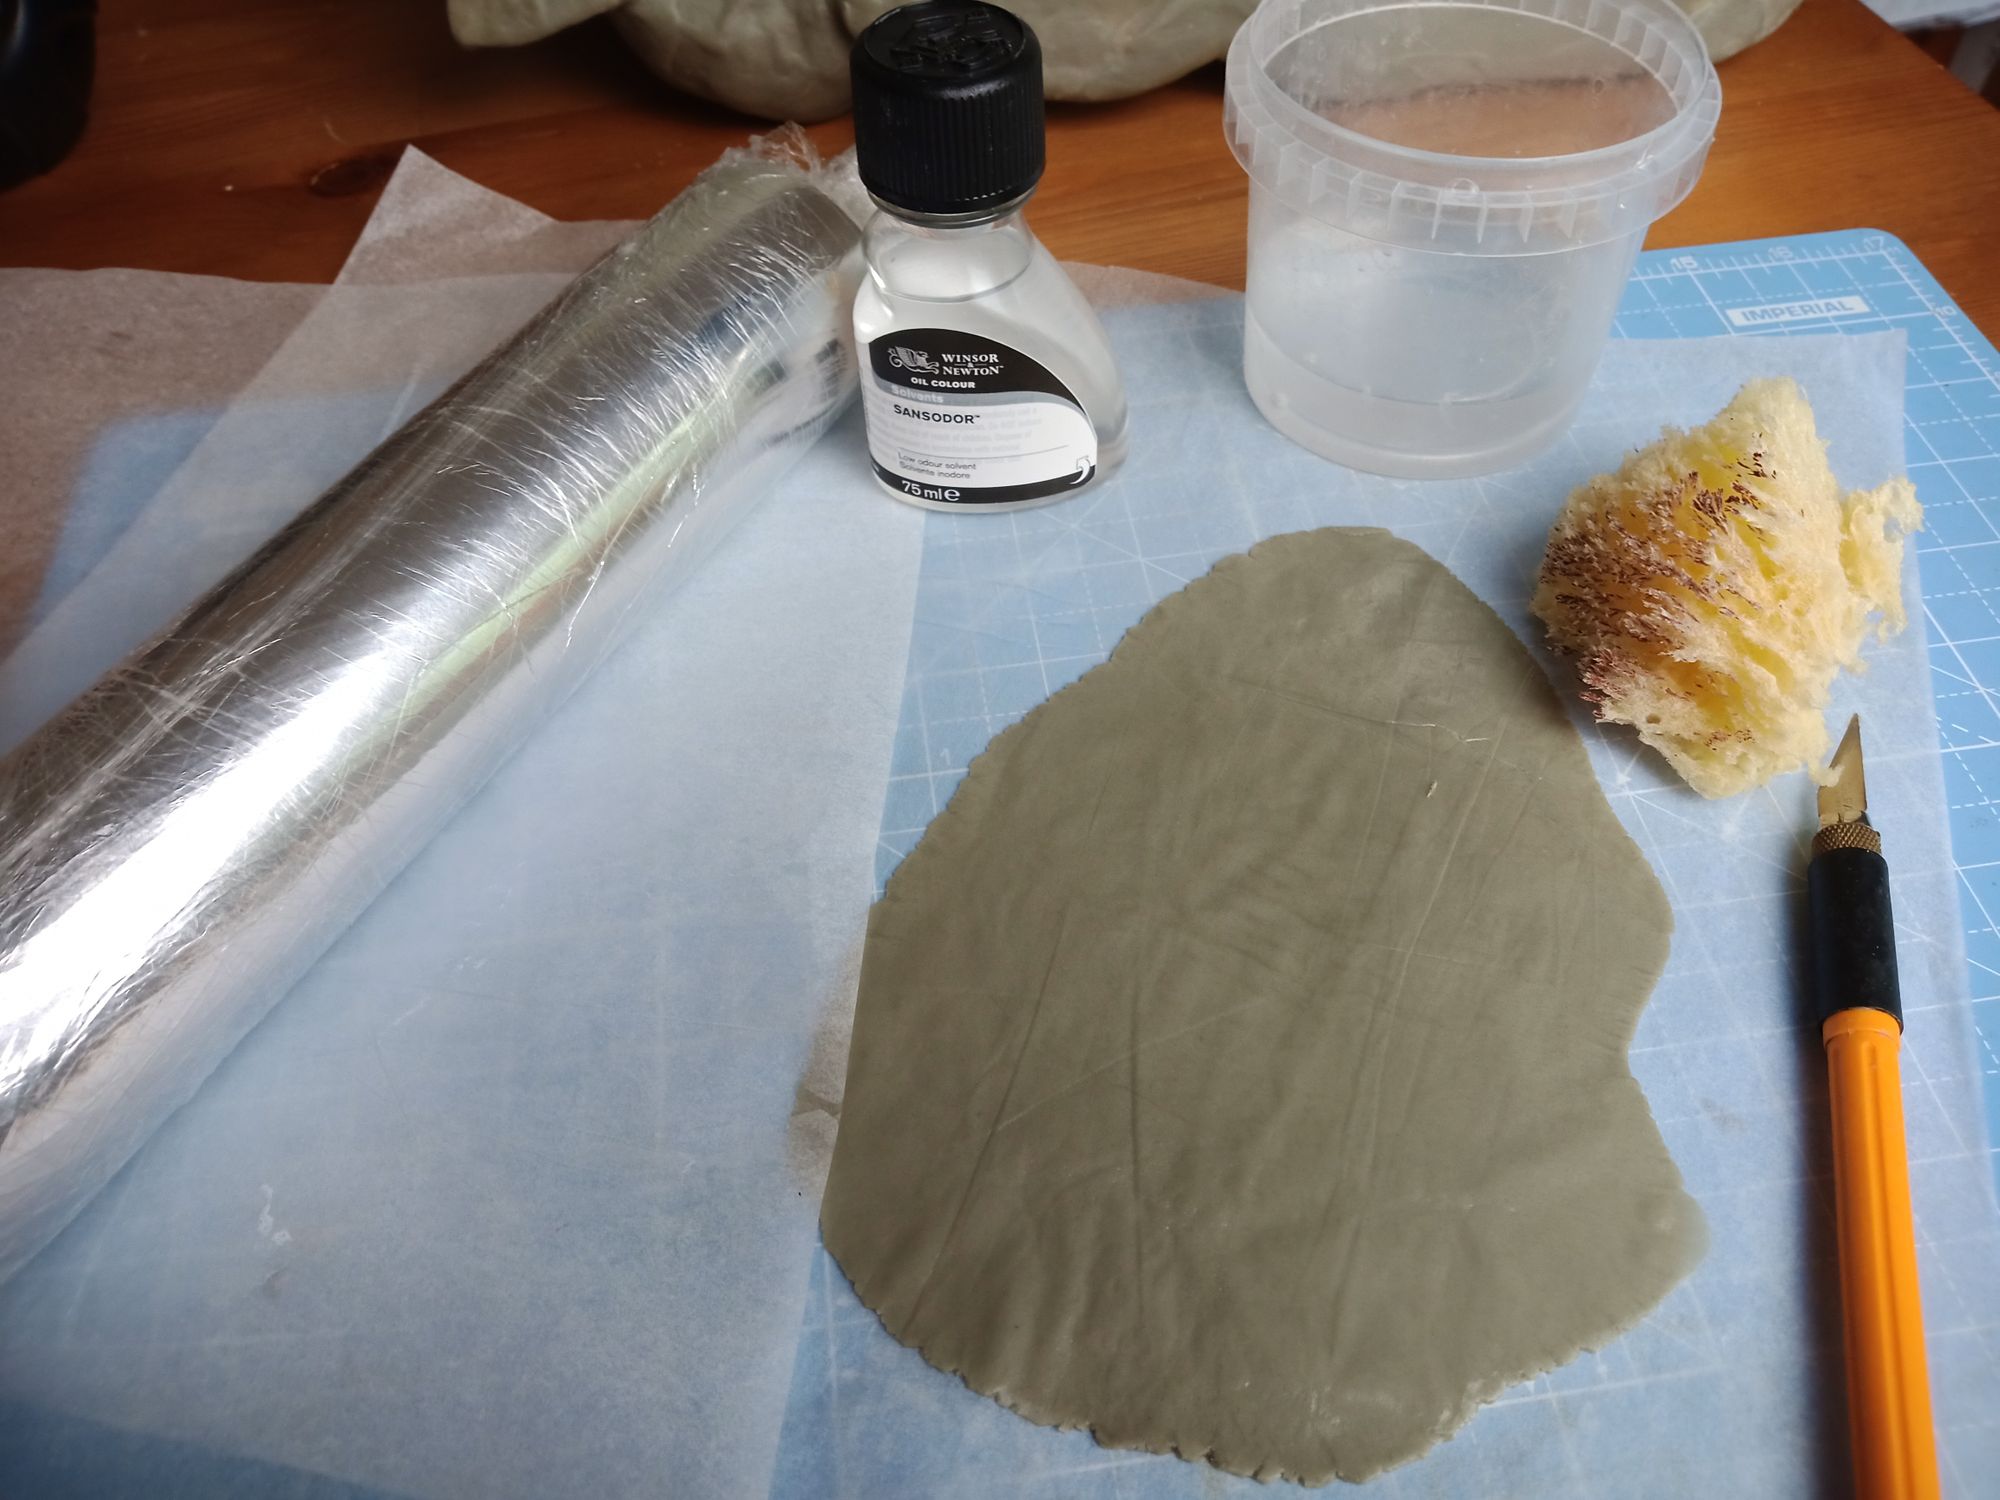
After the glue had dried it was time to cover it with the Apoxie. I found that the best method is to knead the 2 parts of the clay, then let it sit for 5 mins, brush on some solvent, put it between 2 sheets of baking paper and roll it. I rolled it to about 1mm thickness, then laid the Apoxie sheets on to the cave base and with a damp sponge(use water) I pushed it into the nooks and crevices.
You might have seen videos about using epoxy clay where they only shape it with water and although this is my first time, my advice is: if you don't want it to stick (rolling, moulding, using a pattern roller) brush it with solvent, if you just want to smooth out the joins you are good with water.
After a few days of kneading, rolling, sponging, smoothing and waiting I now have a really durable cave entrance (I had in fact accidentally dropped it and it survived!) I ended up using about 1.5 kg epoxy clay for this.
All that was left was to paint it. As I was unsure how well paint sticks to the Apoxie, I primed the whole thing. I am not good with this type of painting and the trouble is it was all a bit of a blur: I just dabbed on paint here and there while shoving it in my husband's face every 10 minutes asking if it looks good. (So the crappy paint job is not really my fault, right? :D ) Then, when he got fed up with this routine I stopped with the painting and started to add a bit of greenery.
I have a few ideas what I want to add to this ( bushes, trees, dangling vines, letterbox, a light up sign) but that's it for now.

.... now then where are those fancy new papers that came today...