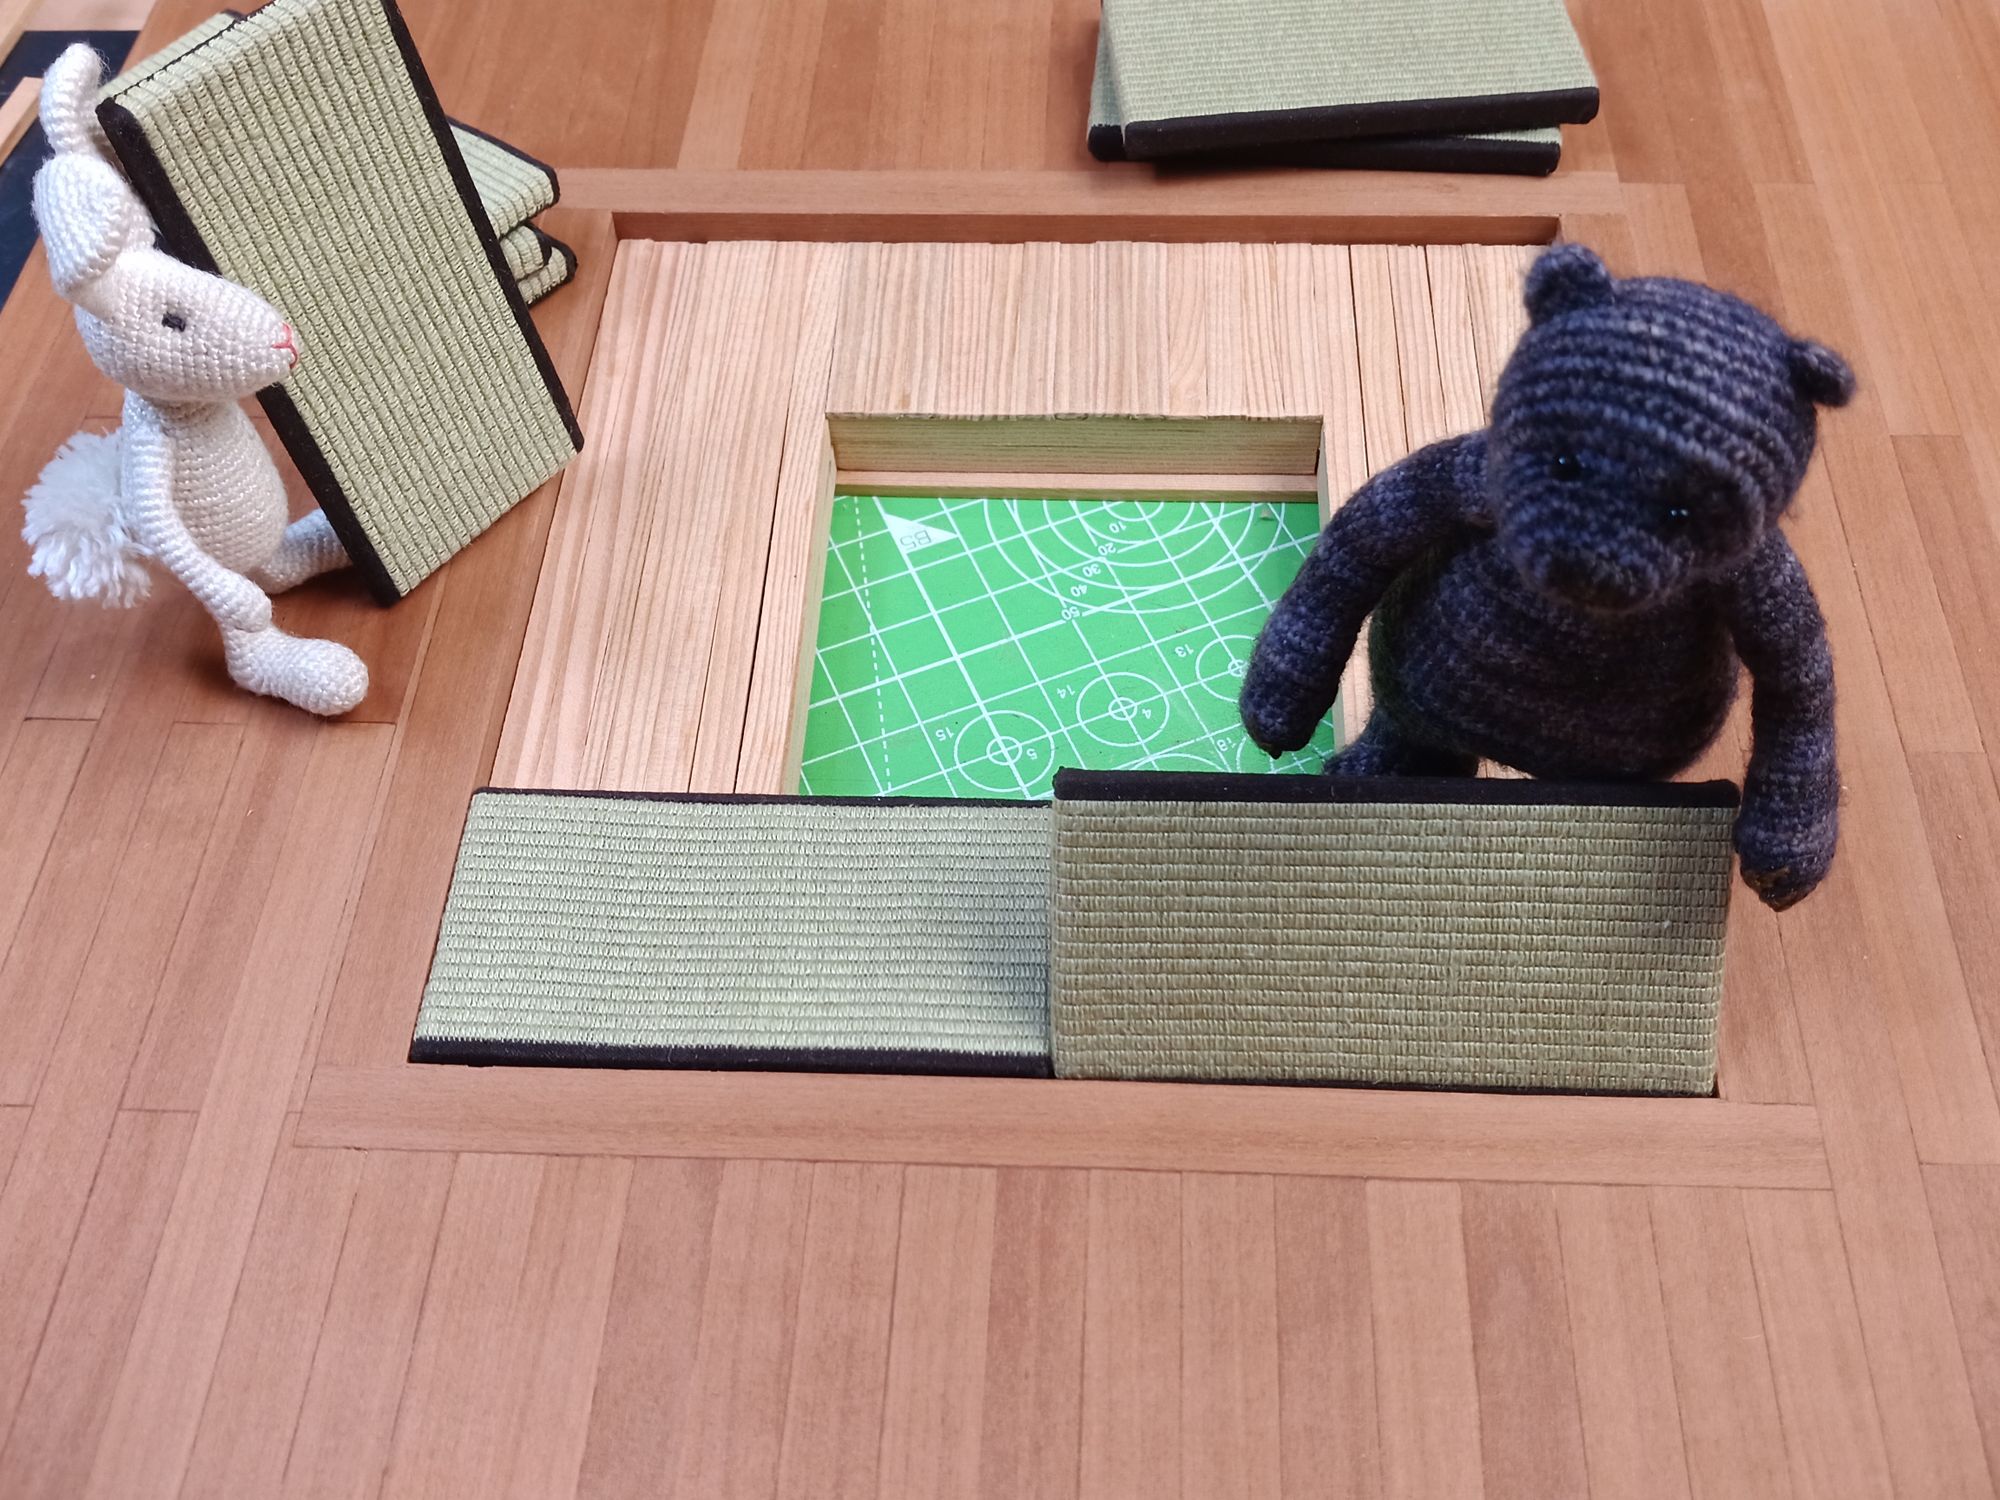
Ursula's Den: The main floor
Now that I have the exact measurements for the tatami mats it's time to create the rest of the living room floor, the idea is that the room has a lower entrance and a wood covered area a step higher, and in its centre is the tatami area.
For the more recent builds I use matboard and wood strips. I sketch the general idea on a mat board, pick a couple of items of furniture from the rabbits' home to check if the layout is too busy, then when I'm satisfied with the layout I measure and draft the actual plan on a new board, cut it according to the plan and make a matboard, wood strip, matboard sandwich. It's good for a photo prop but not strong enough for a dollhouse that's intended for kids.
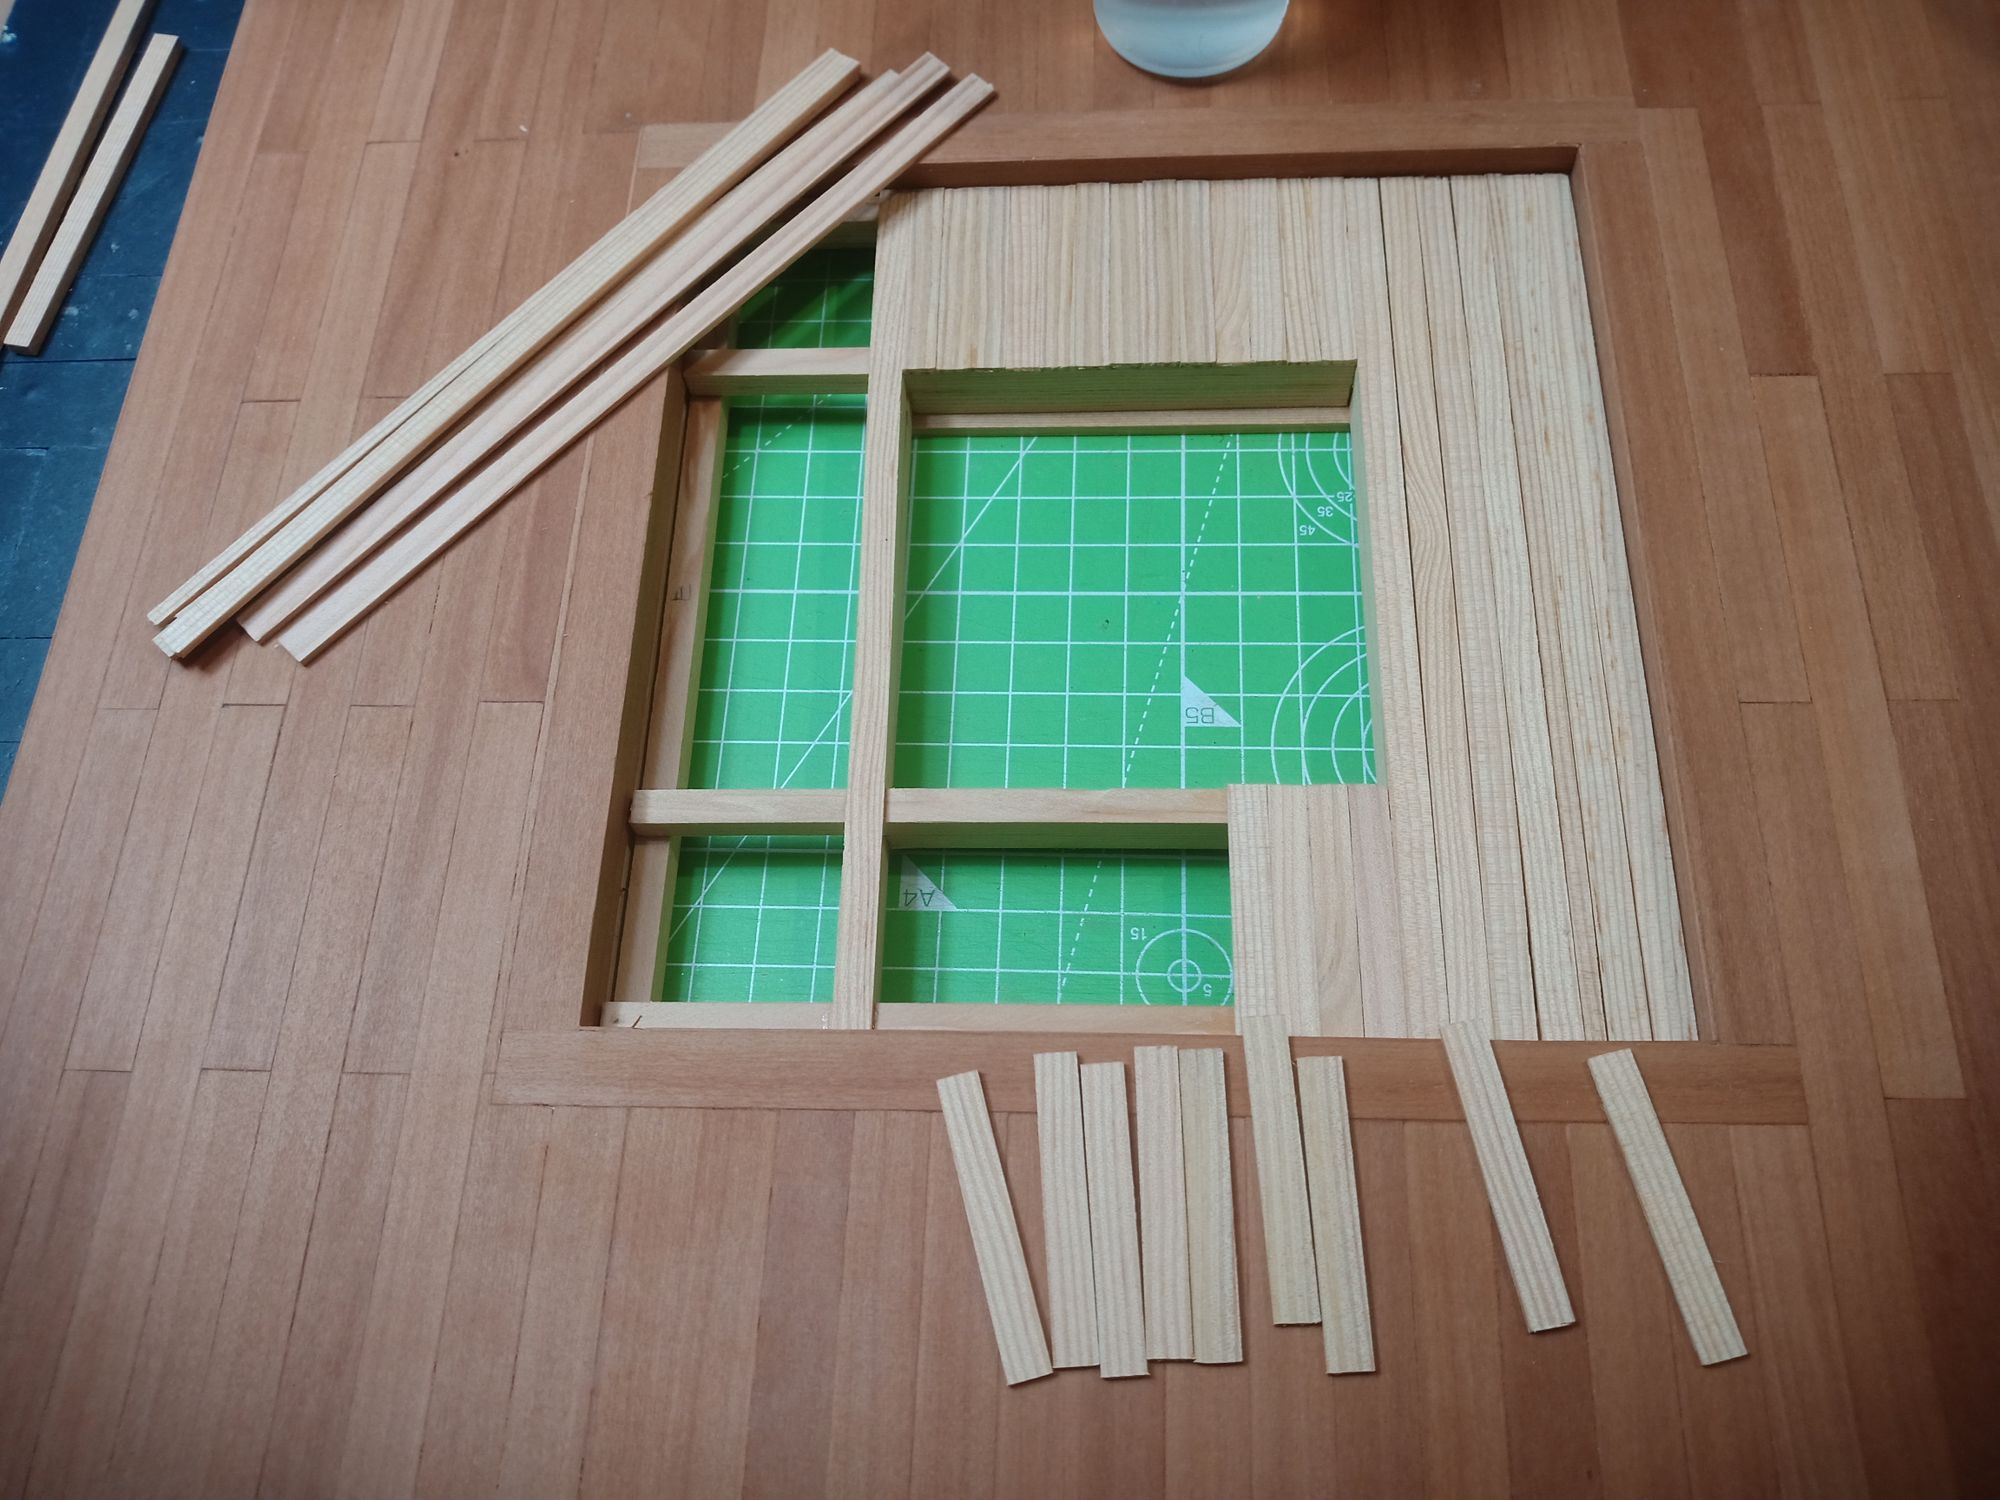
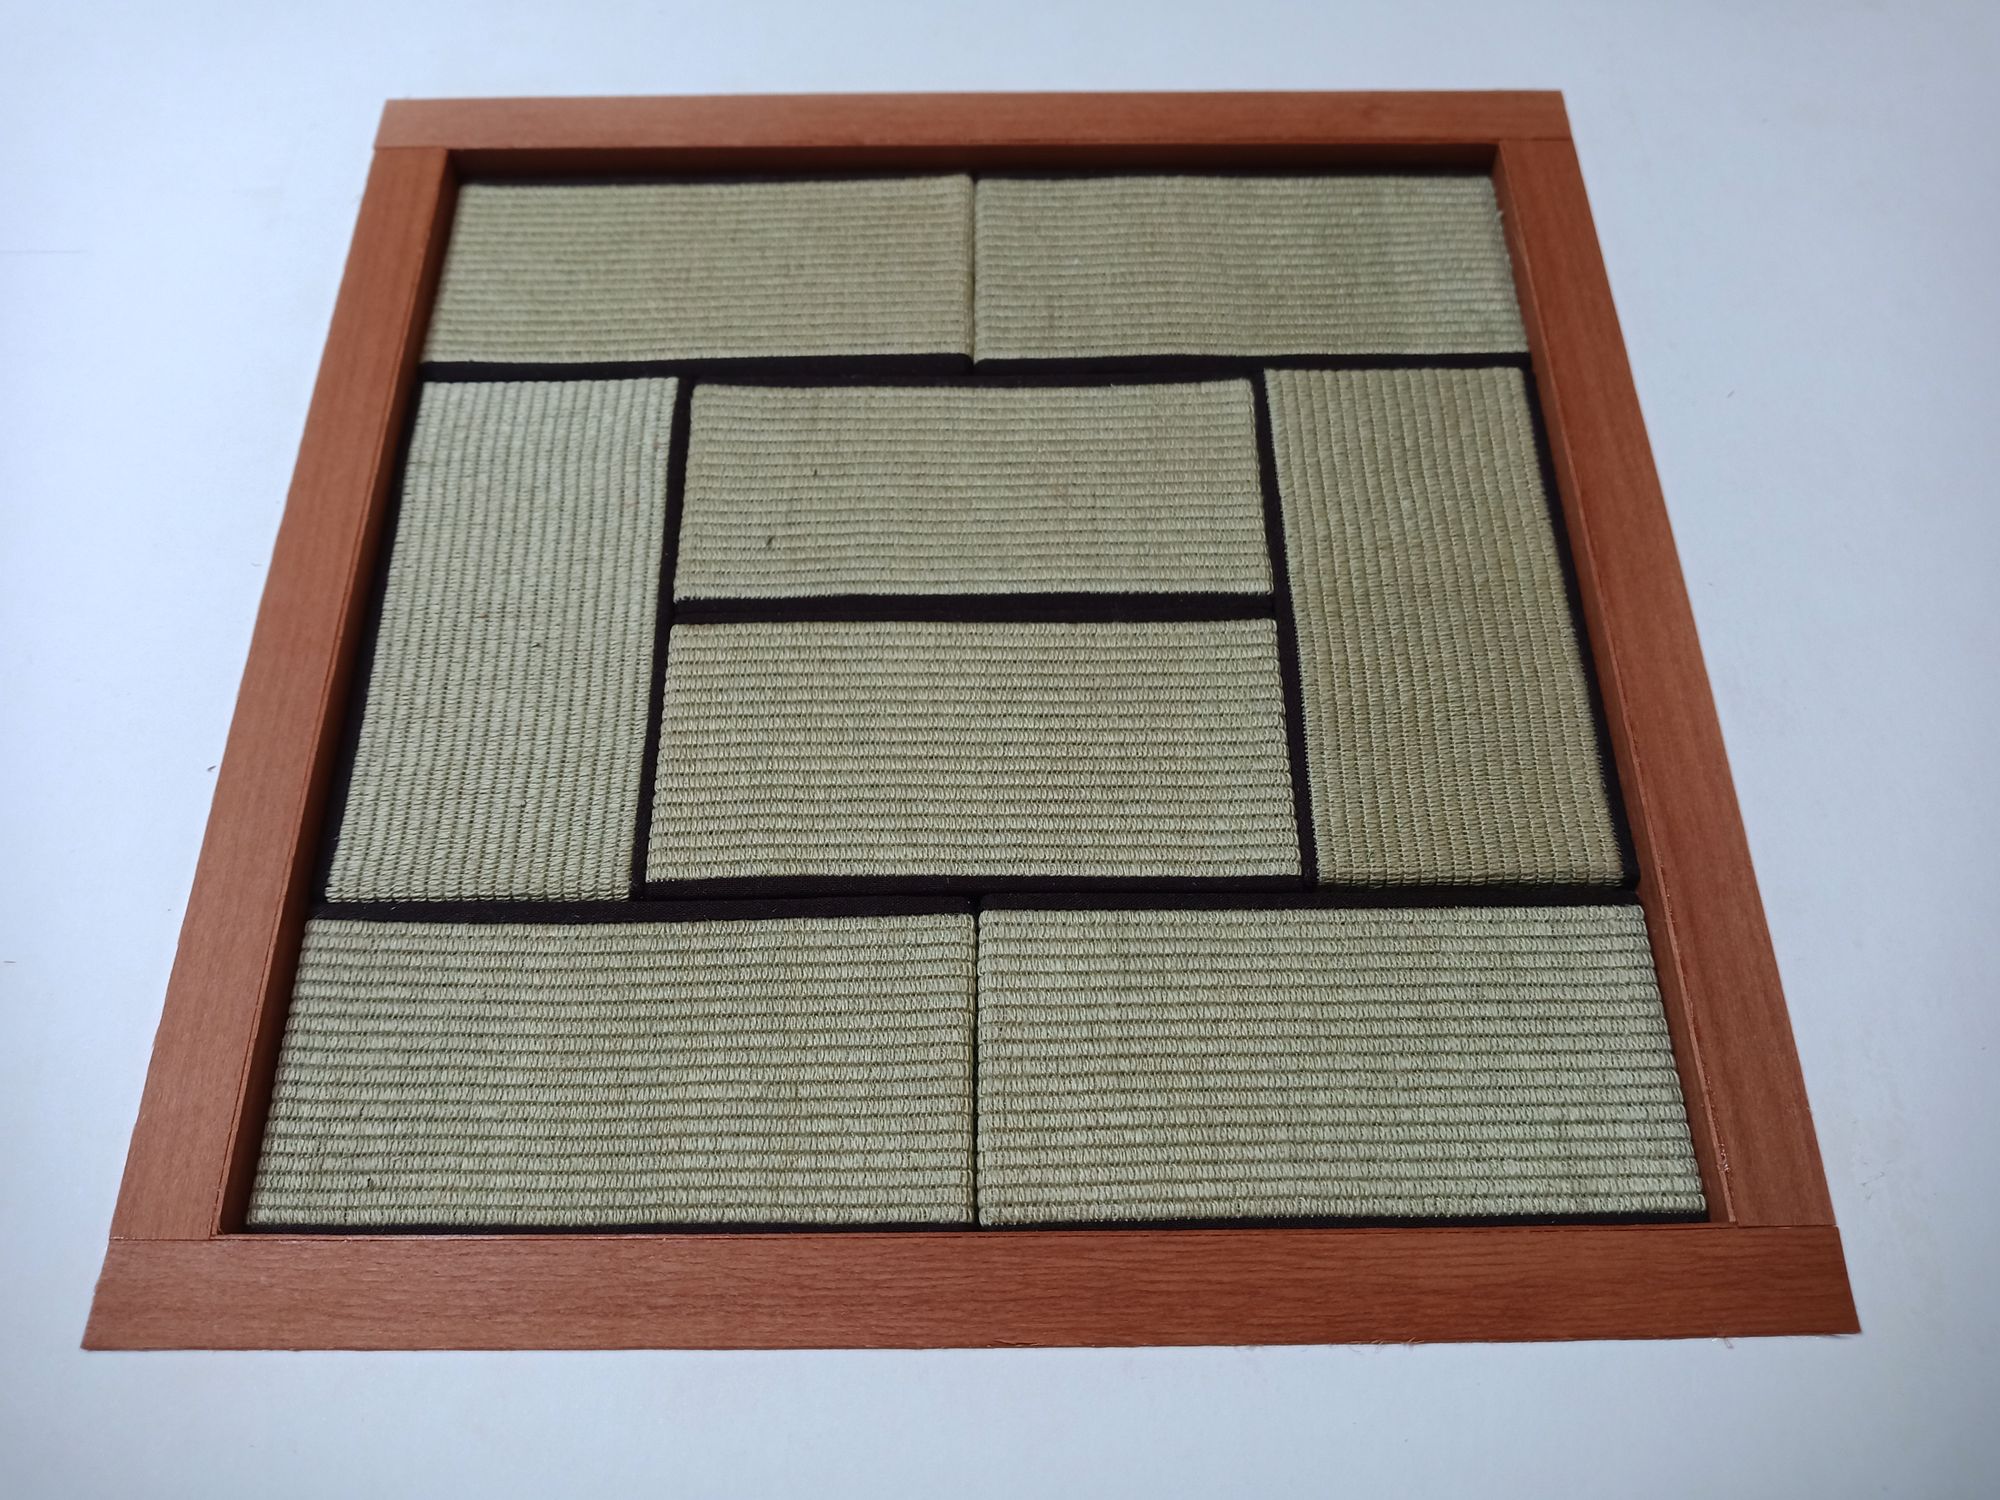
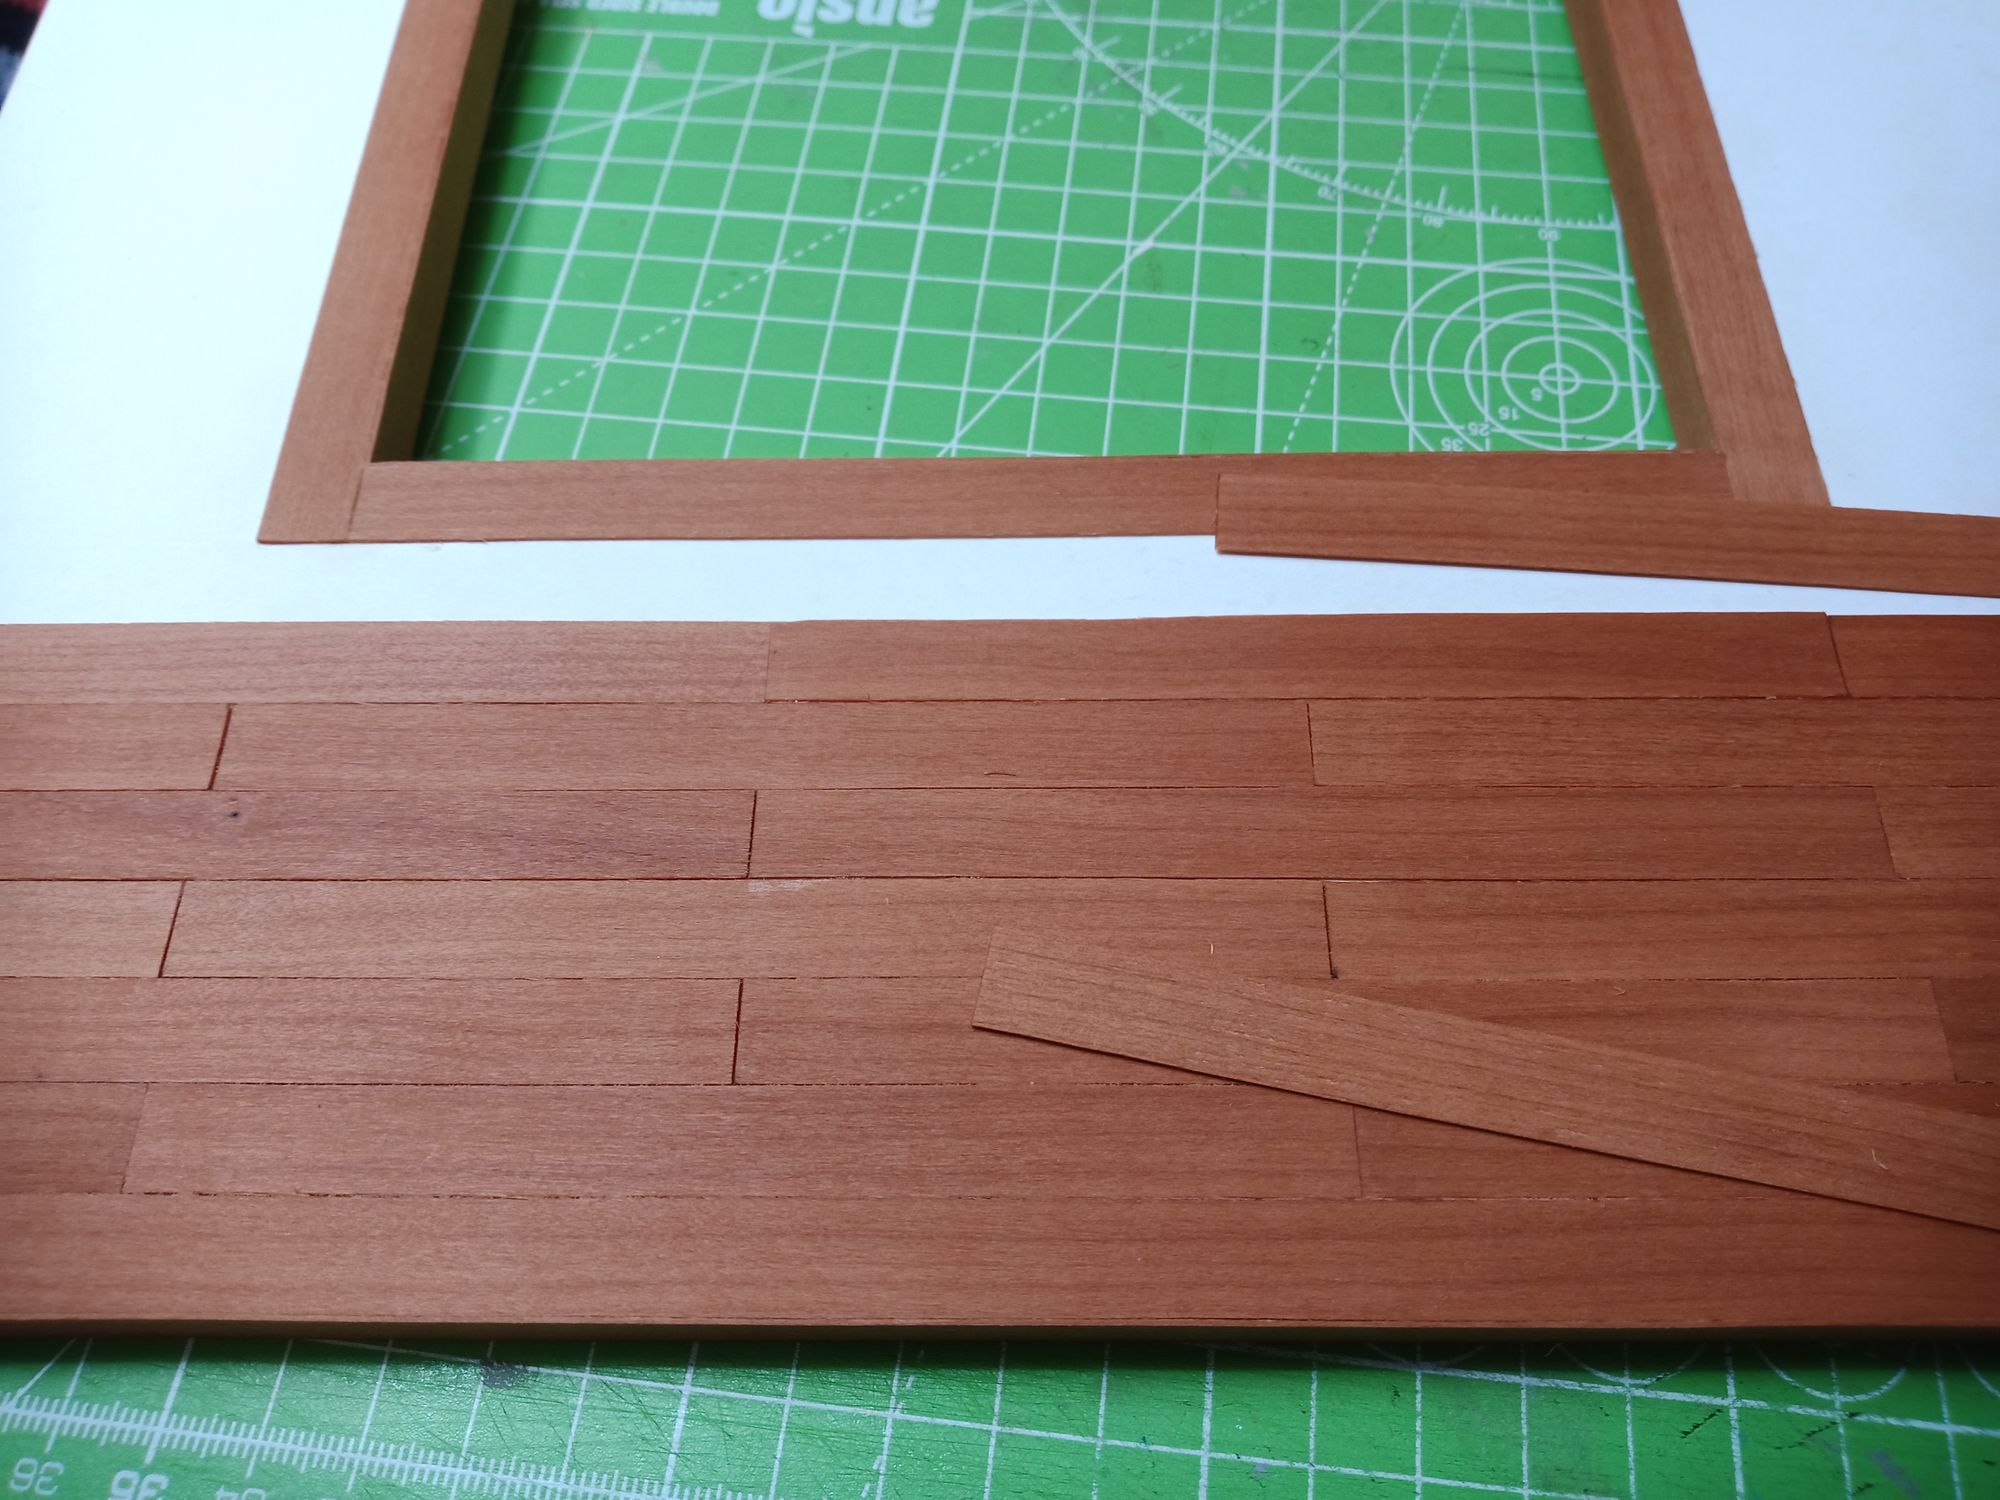
First step is to group the tatami mats and measure them and make a frame around them. Cut a hole in the matboard the same size as the frame's inner measurements and start gluing in the wood strips and the frame. This time I use swiss pear wood veneer for the flooring and “structural” tatami frame. I love the look of natural wood and also hate painting and lacquering, so the perfect finish for me is sanding and hemp oil and a bit more sanding, and after a month or so a buff with wood balsam.
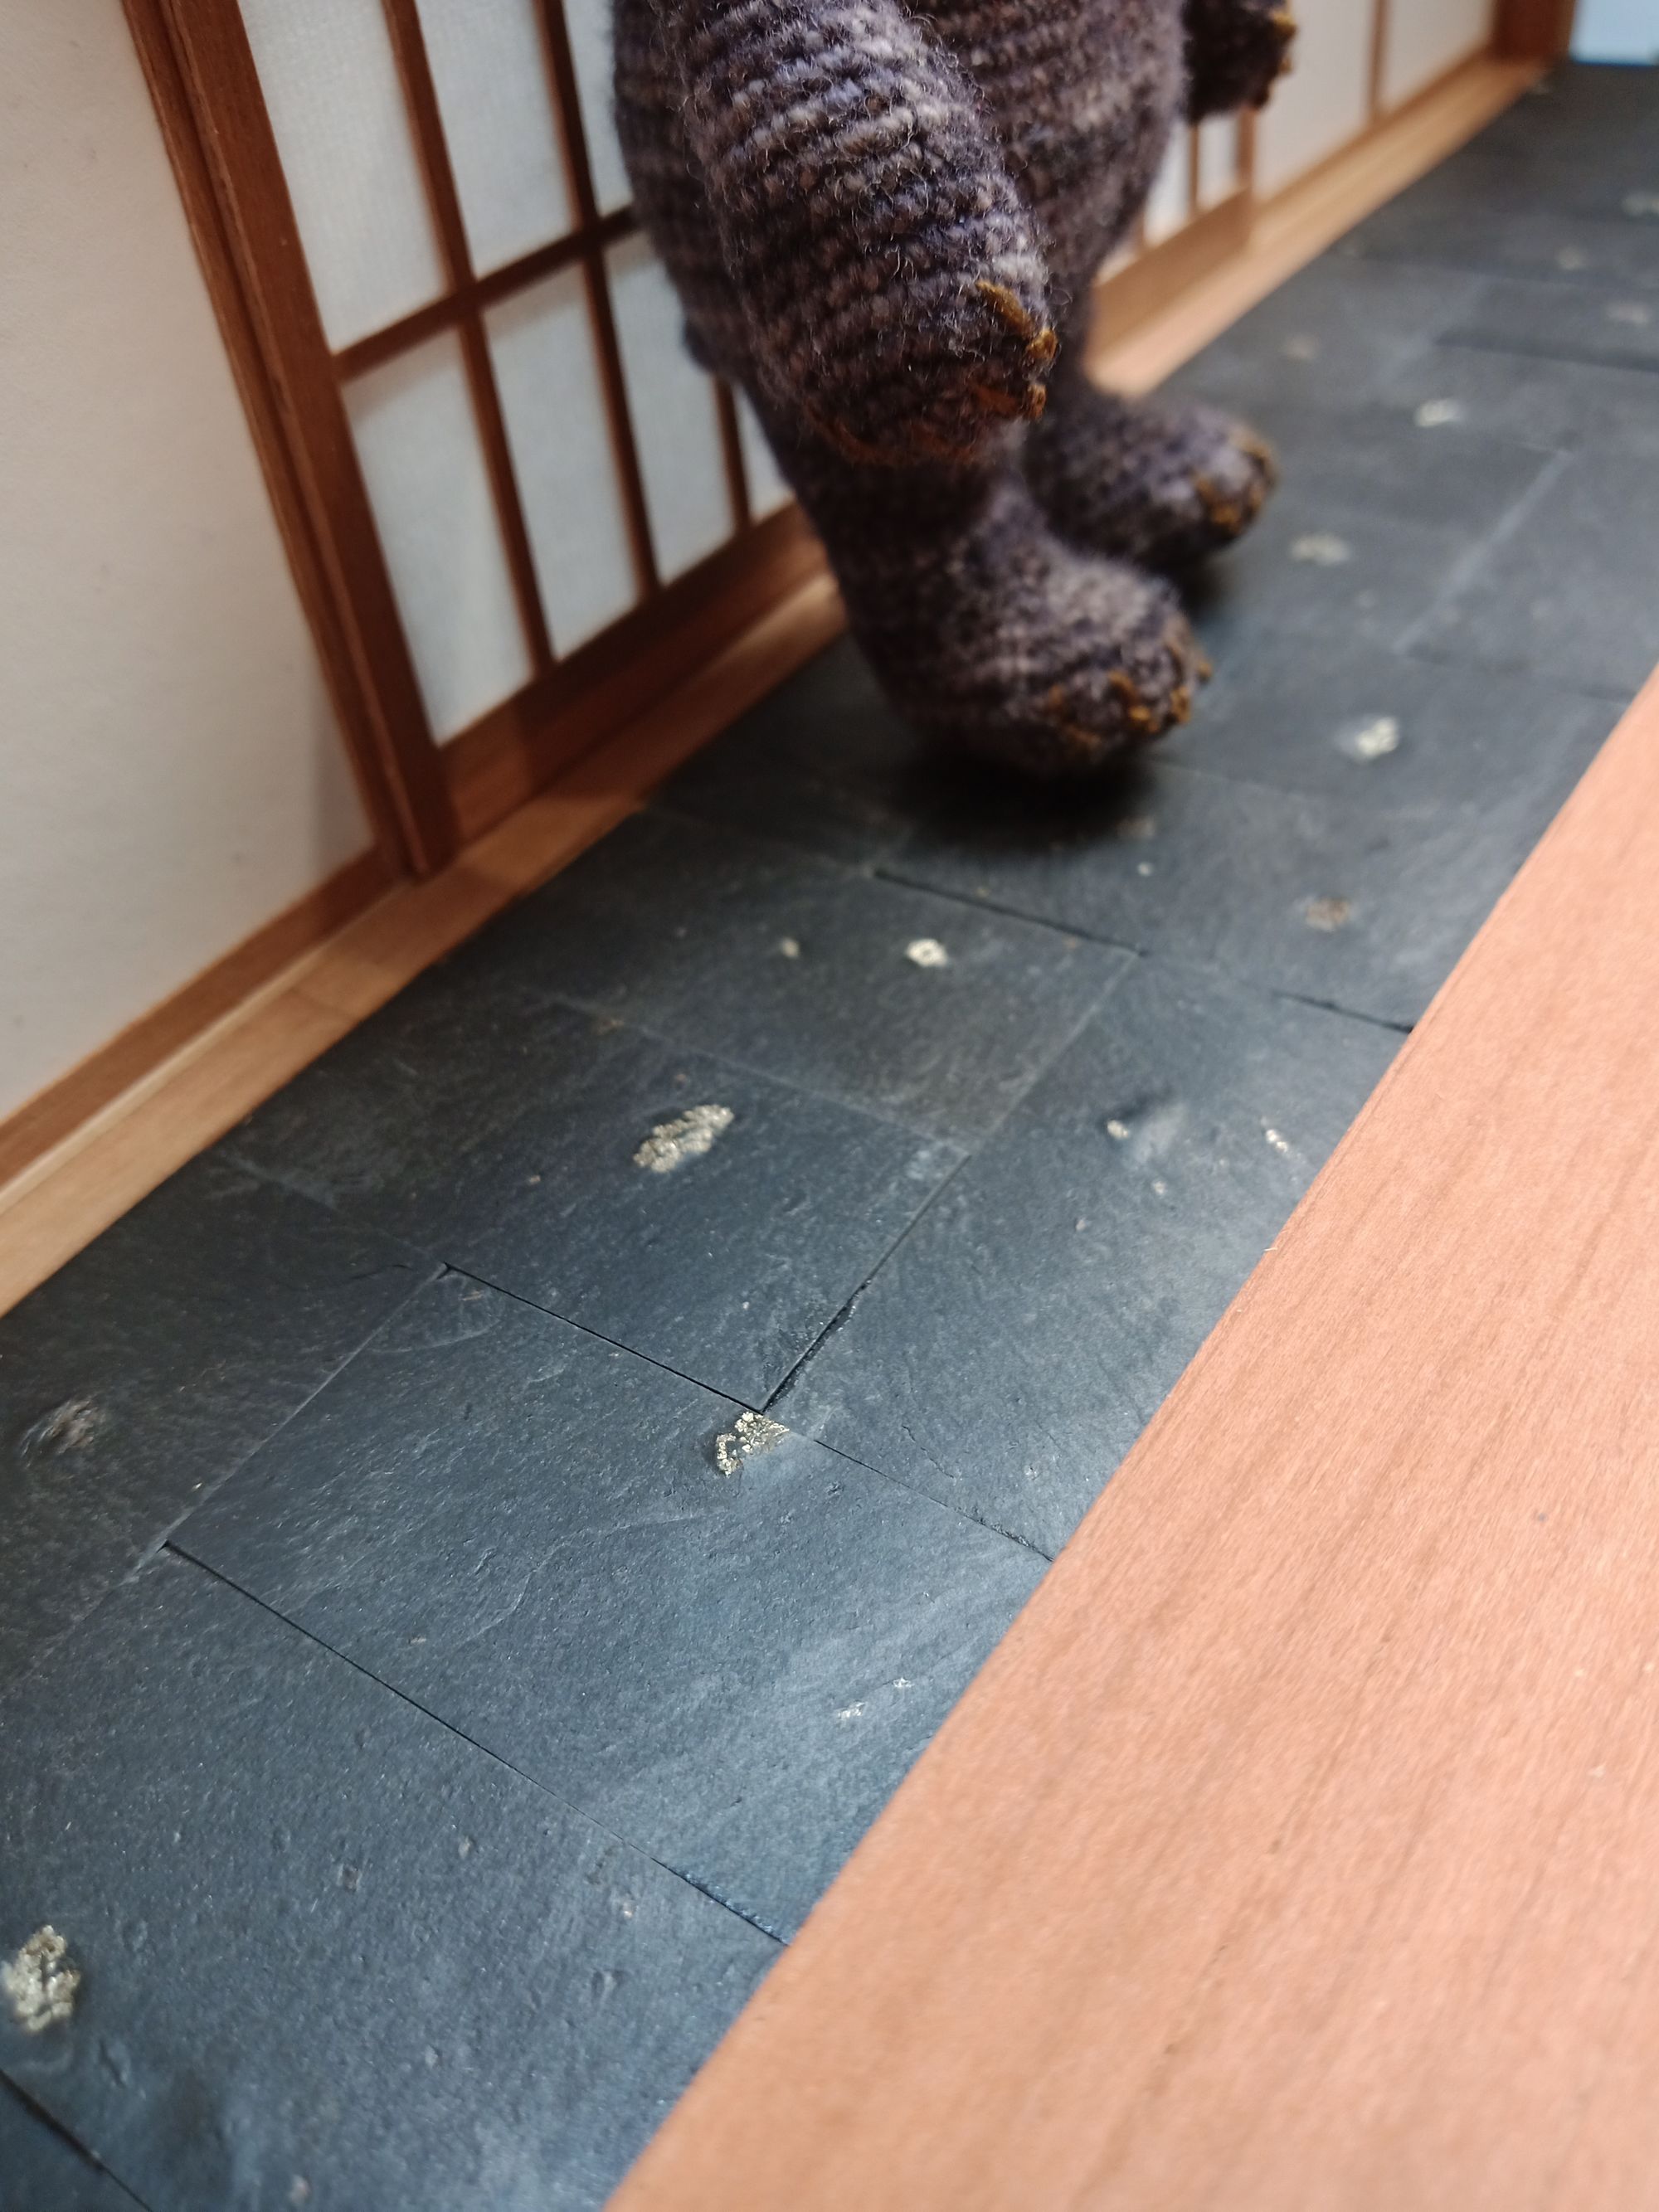
The entrance was easy, a few years back I bought a little bag of real slate roof tiles, they were in the bargain bin because of the pyrite inclusions and although I don't have the right tools to cut them straight, the slate is soft enough so that I could file down the tiny bit of excess on the one piece I needed to break in two.
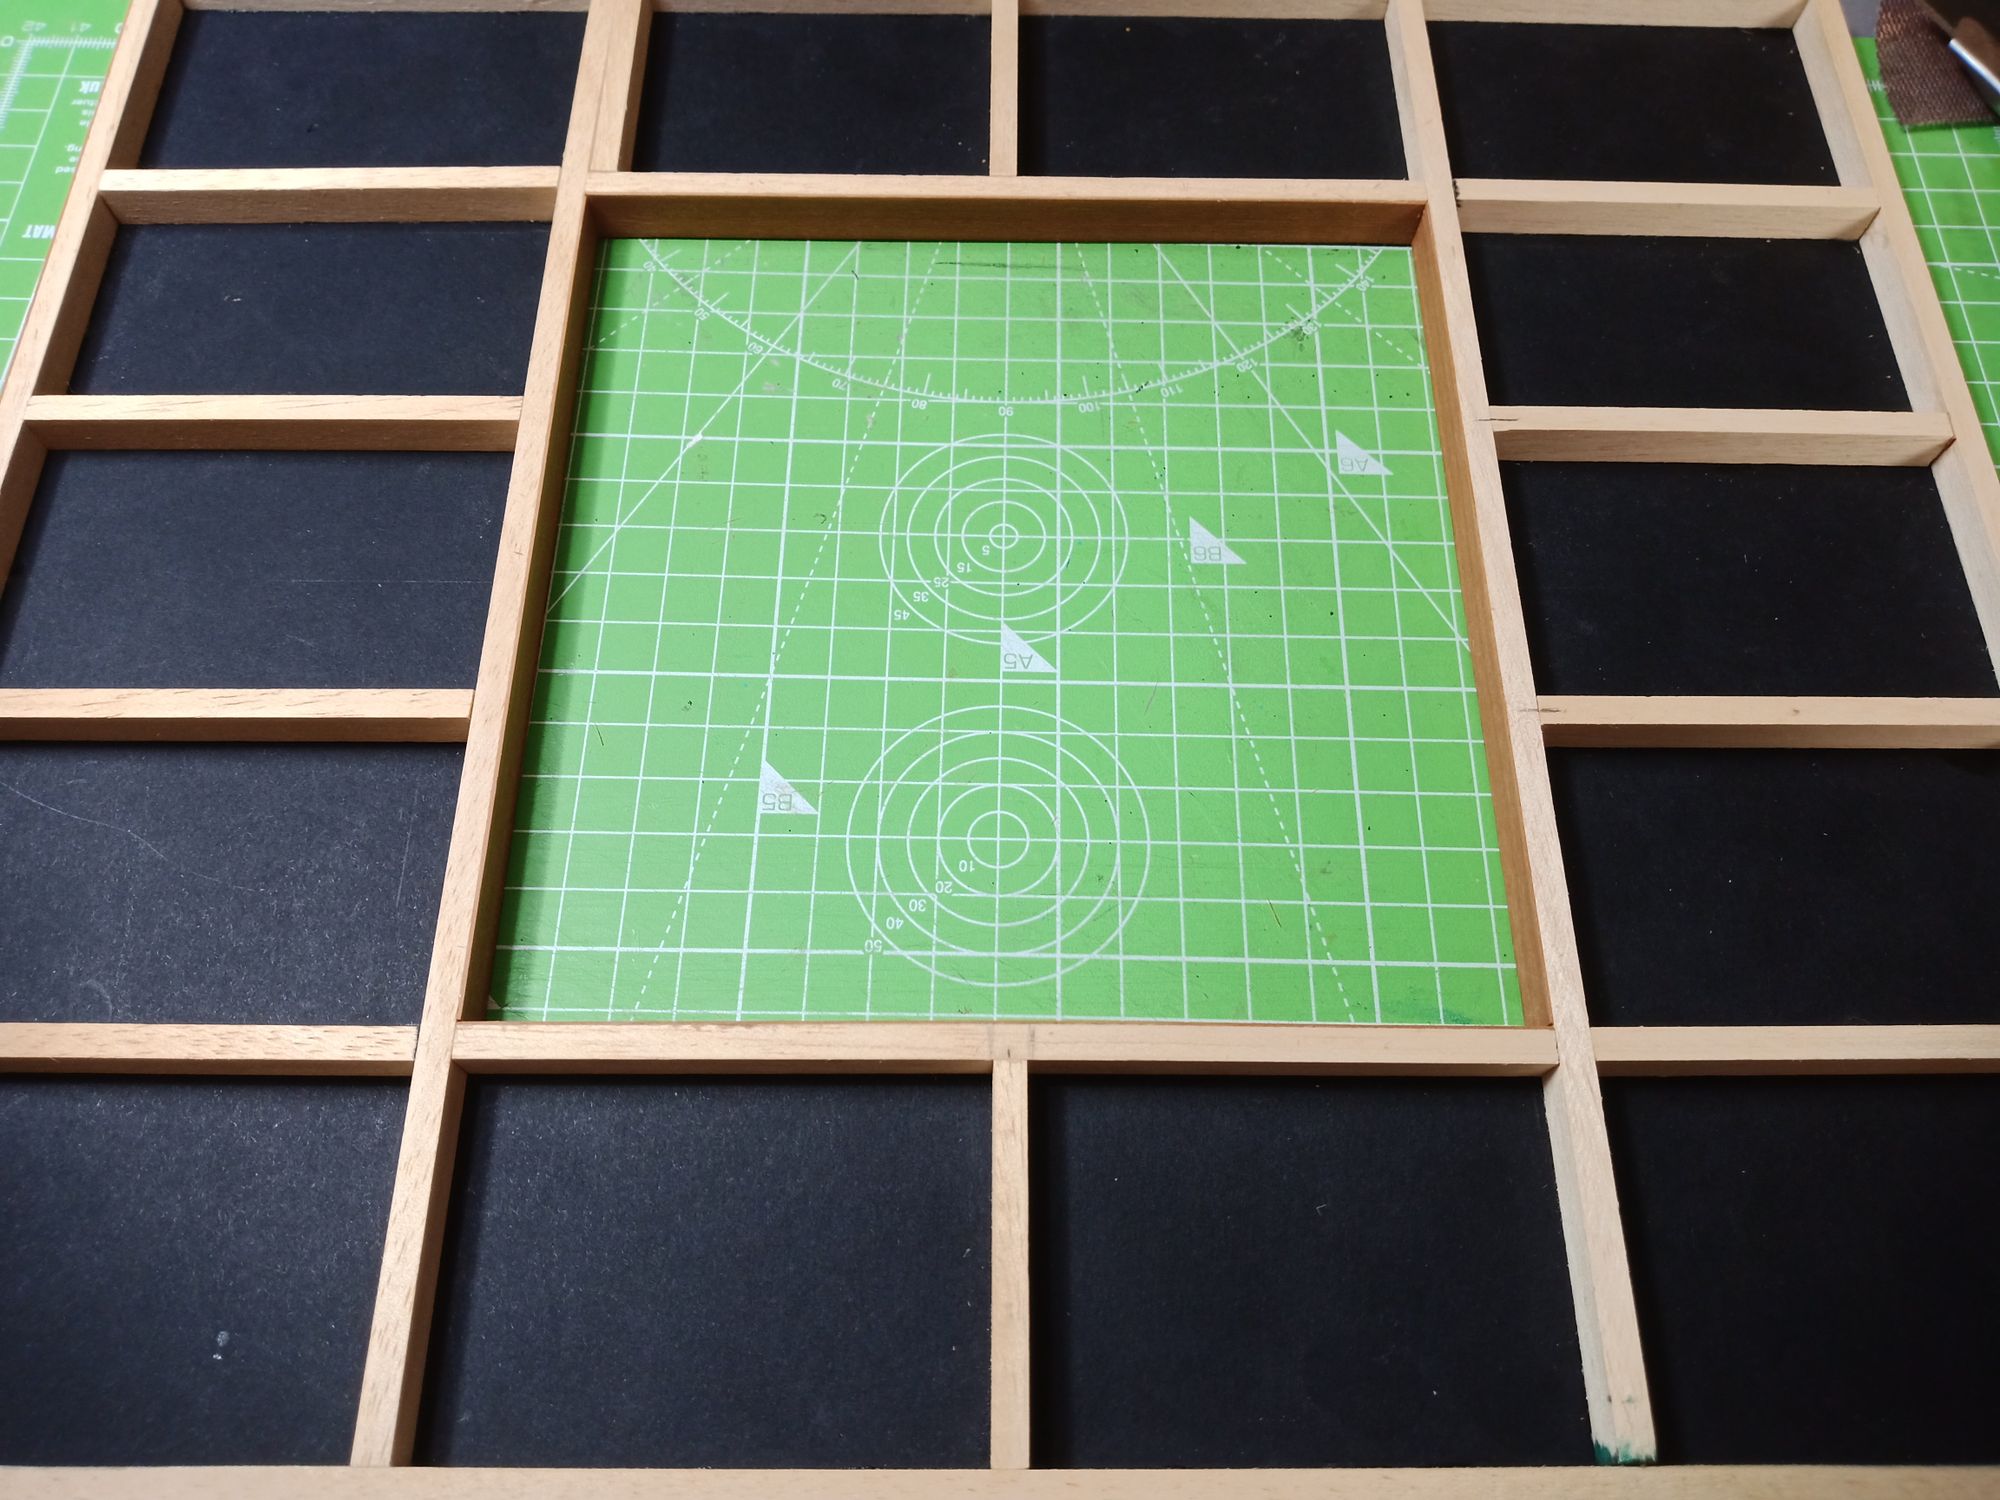
The next step took a bit of thinking, I wanted a hidden foldable table underneath the middle 2 tatami mats.
Mainly because I already have a fun little idea for a comic with it, and also the area is more versatile if I can hide the table. And thirdly: finally I will know exactly where to store it. I now have loads of mini props, the more I can put away in their respective scenes, the better!
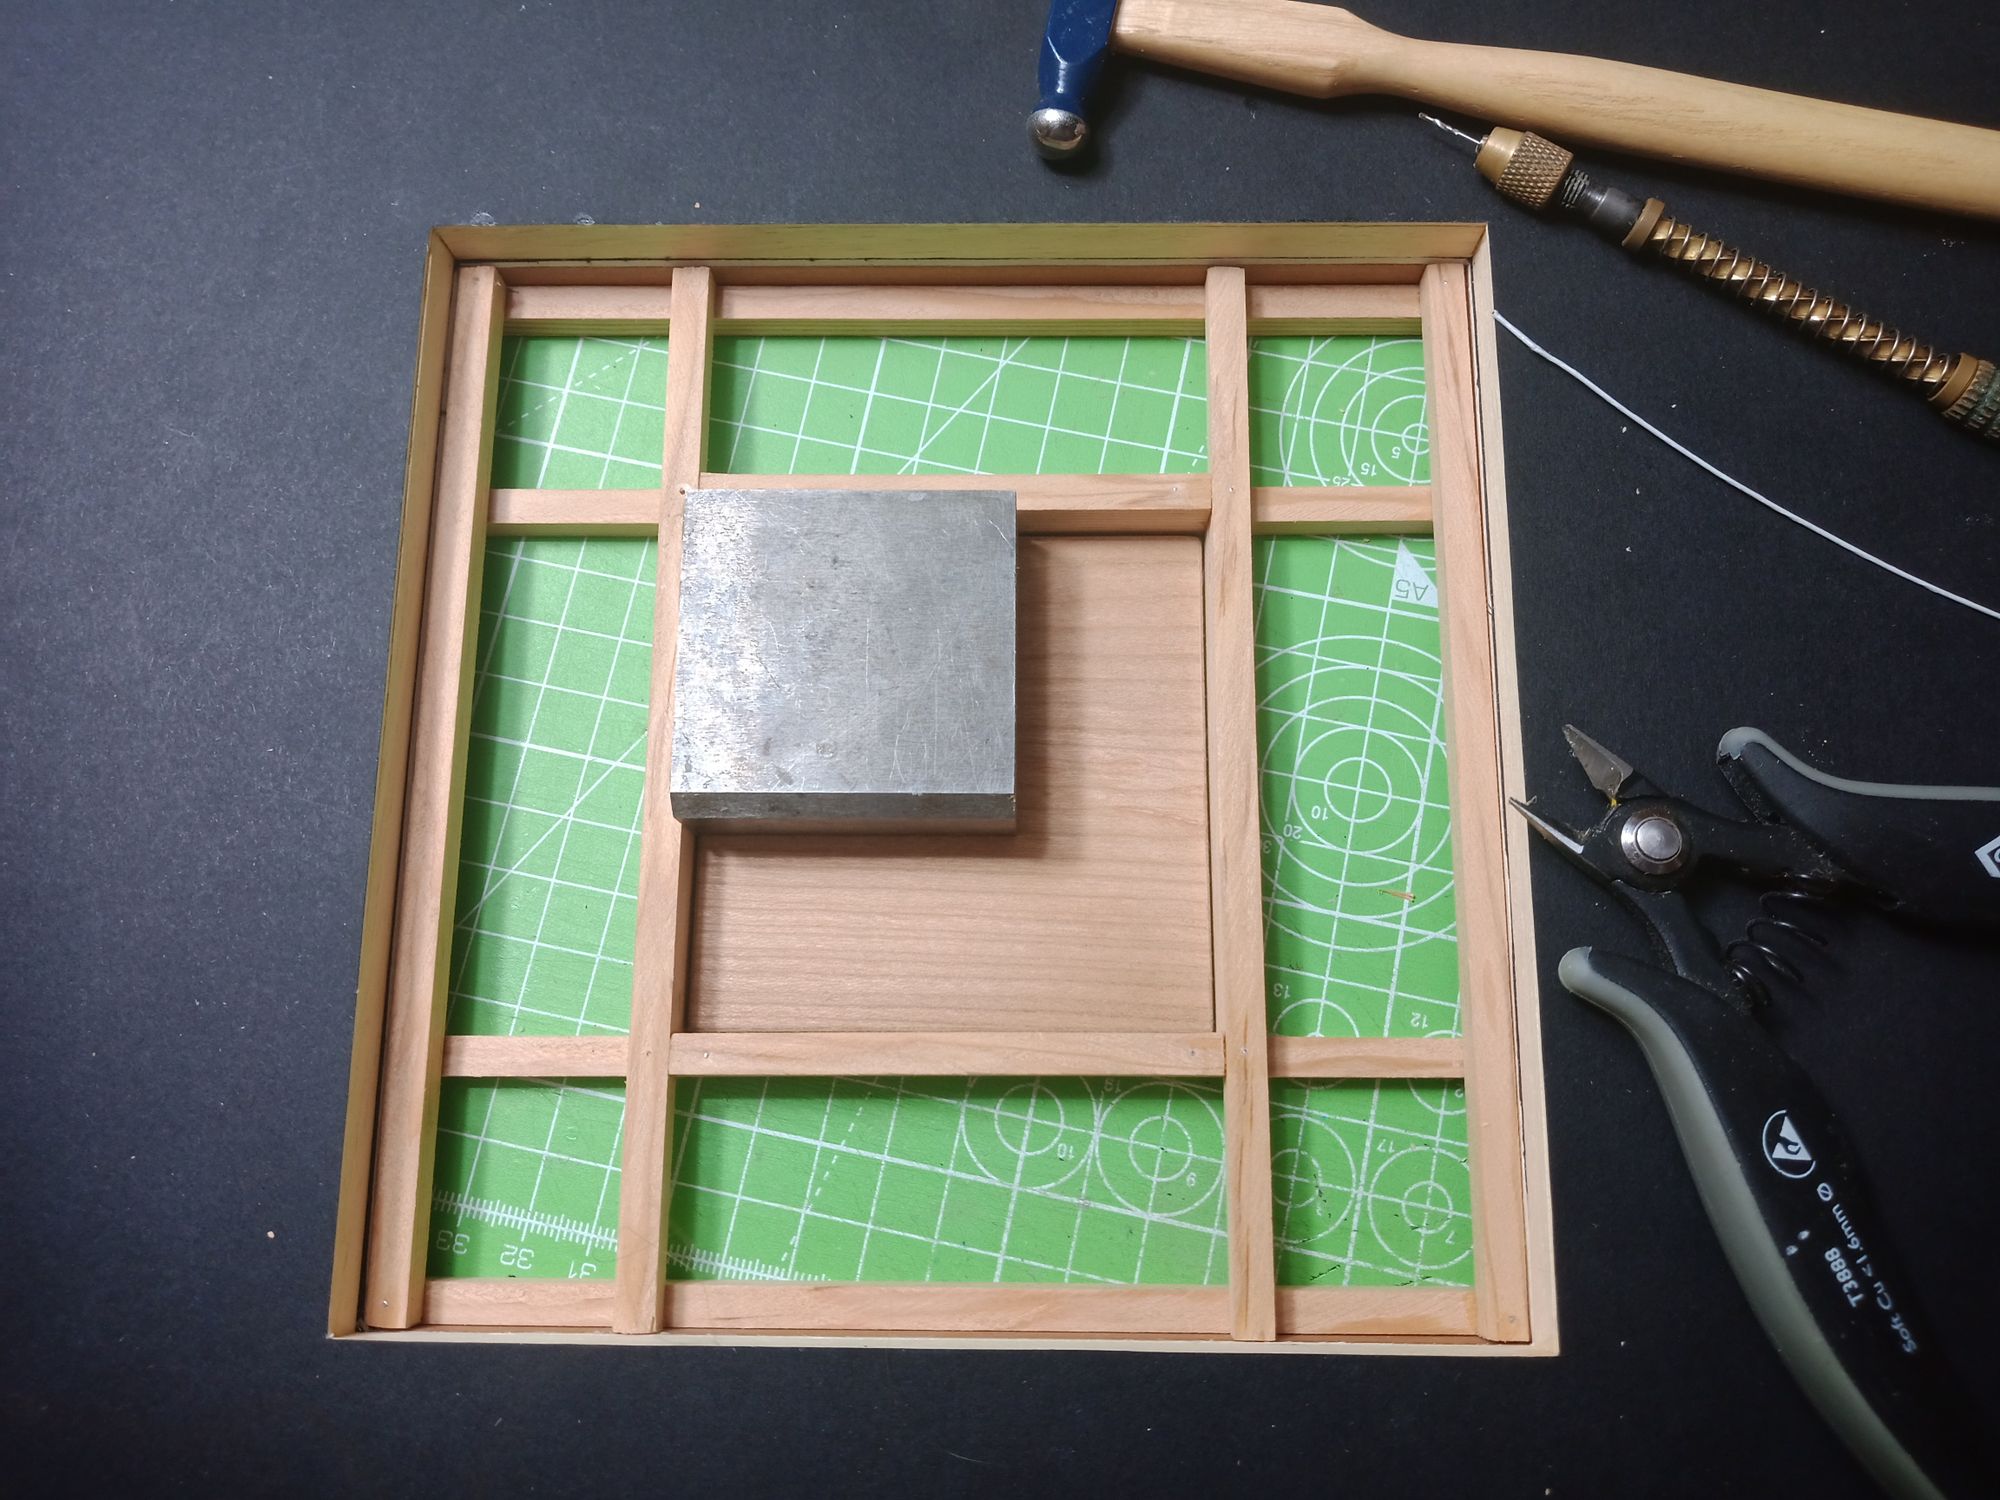
Usually I am a patient woman unless you are drying glue or paint. Instead of waiting for the glue to dry I drilled tiny little holes and pinned it together with a bit of wire in the sensitive corners just to make sure that everything stays square while I move on with the next step.