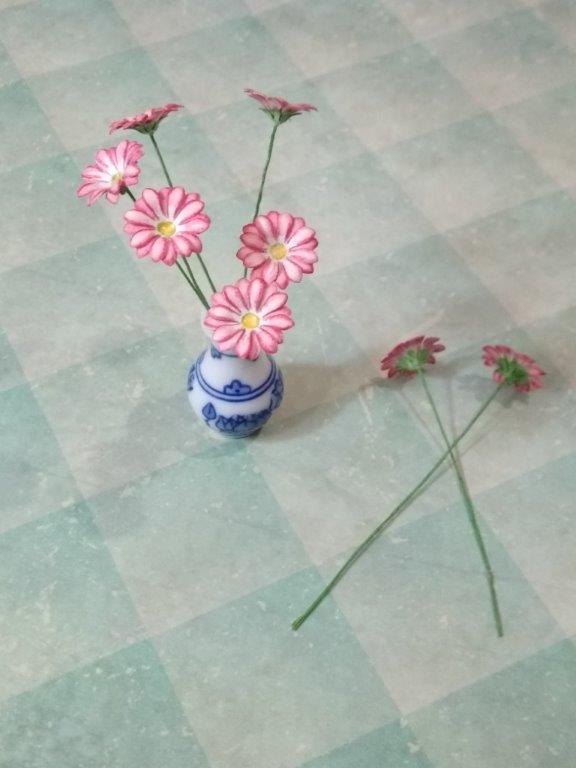
Paper Daisies
Materials List
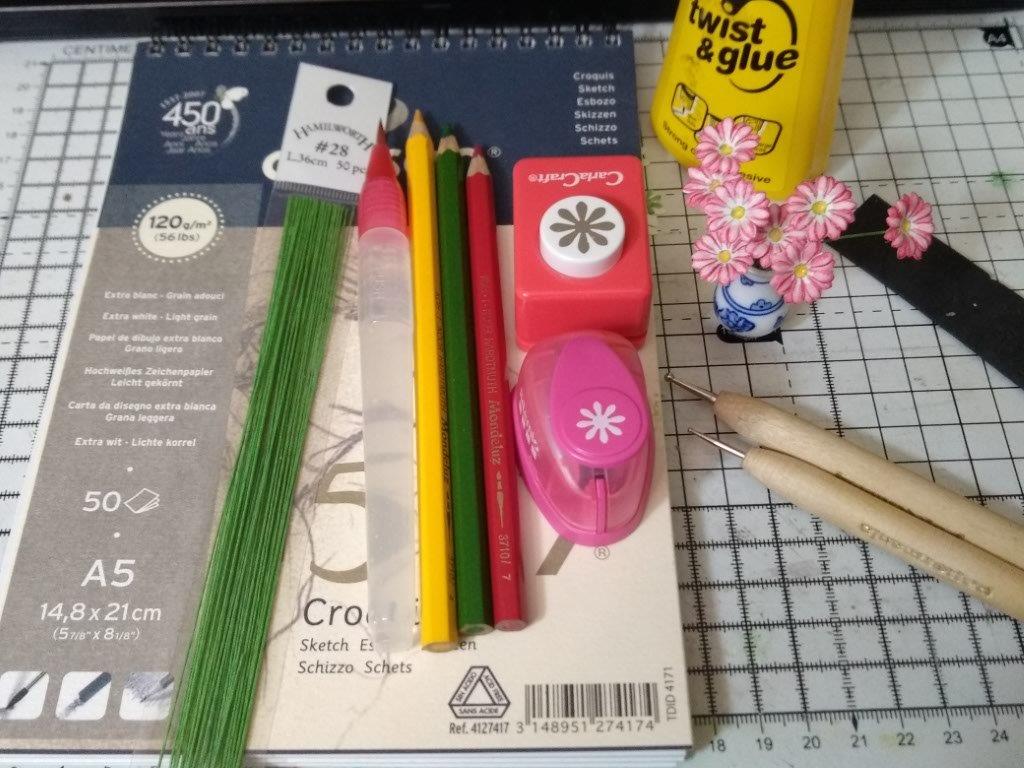
- Paper: 120gsm paper that is suitable for watercolour
- Watercolour pencil in yellow, green and red
- Waterbrush
- Daisy shaped punch in two sizes, 10mm and 16mm
- #28 gauge green paper covered wire
- Round headed embossing tool in two sizes (I used 1.5mm and 2mm)
- A piece of foam sheet or some kind of thin and soft material (a piece of craft felt would work too)
- Glue
- Wirecutter or an old pair of scissors
- A pin
If you don’t have a waterbrush or watercolour pencils, you can use watercolour and brush, it is probably faster (if you make dozens of daisies) but messier (with the waterbrush you don't have to worry that you accidentally spill your waterpot, and less time needed for setup and cleanup).
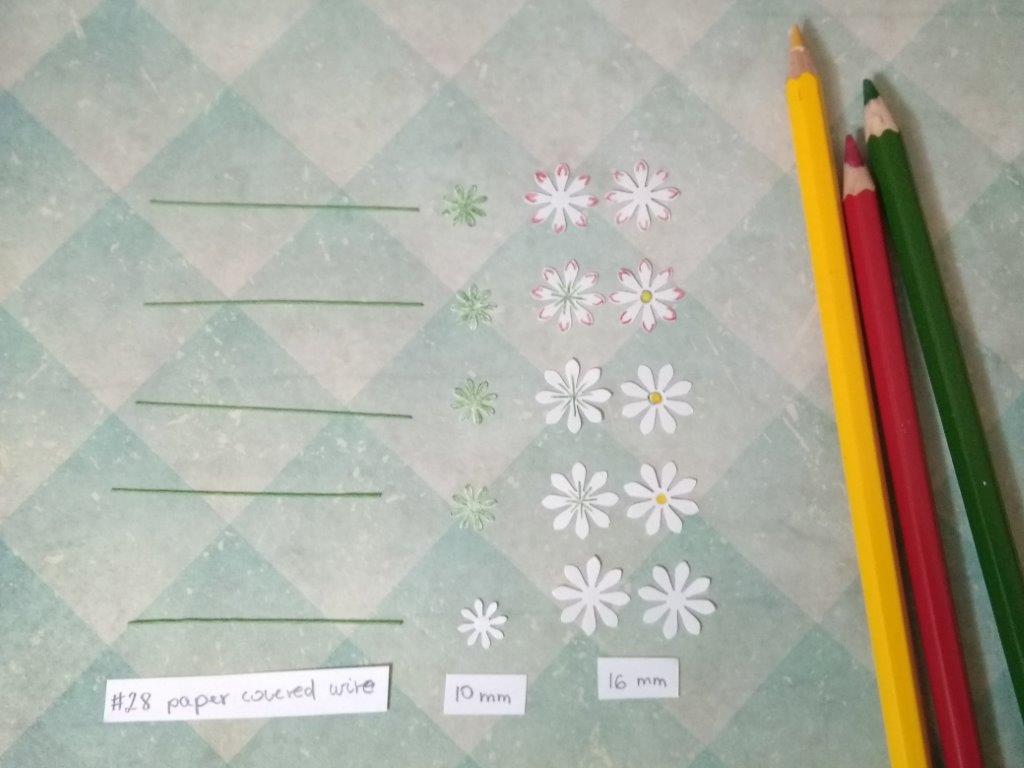
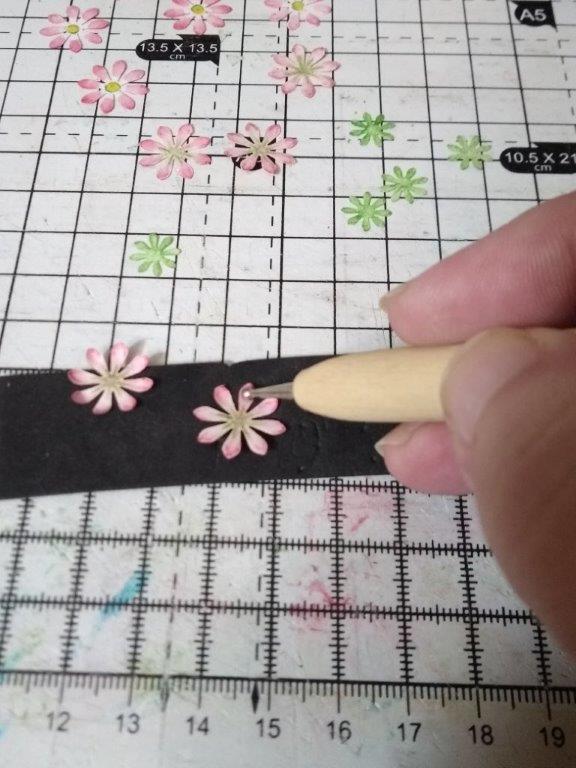
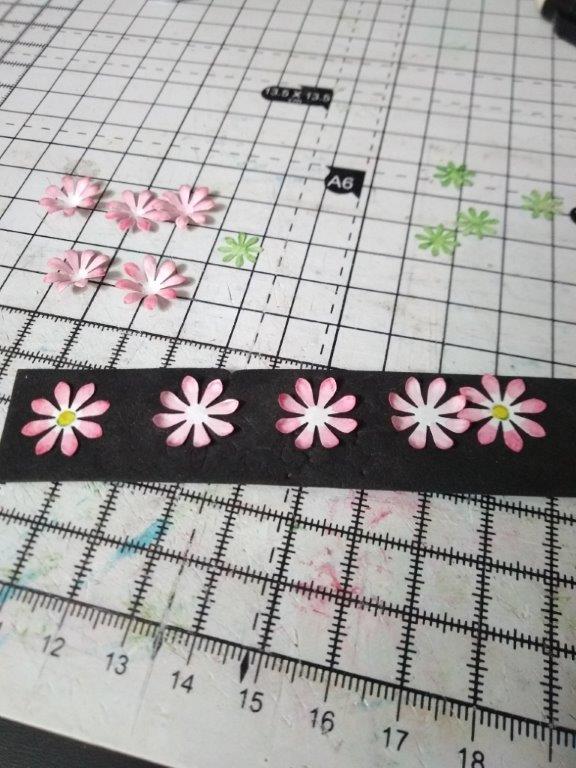
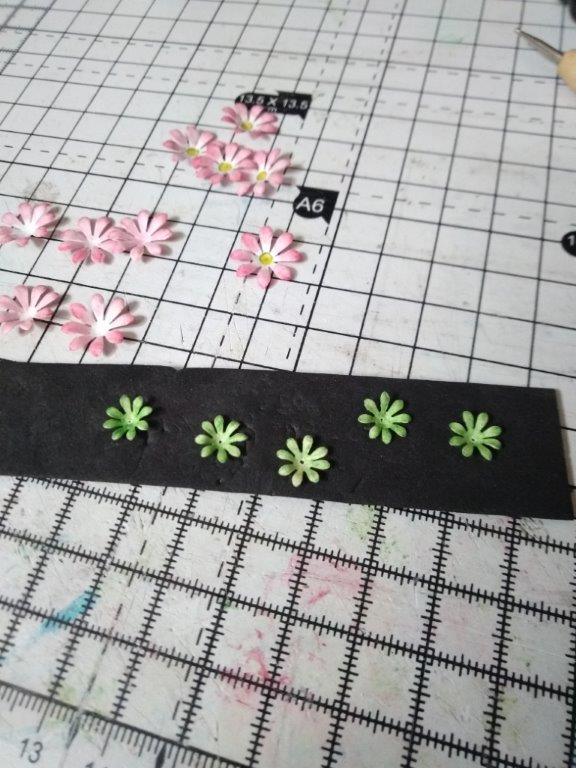
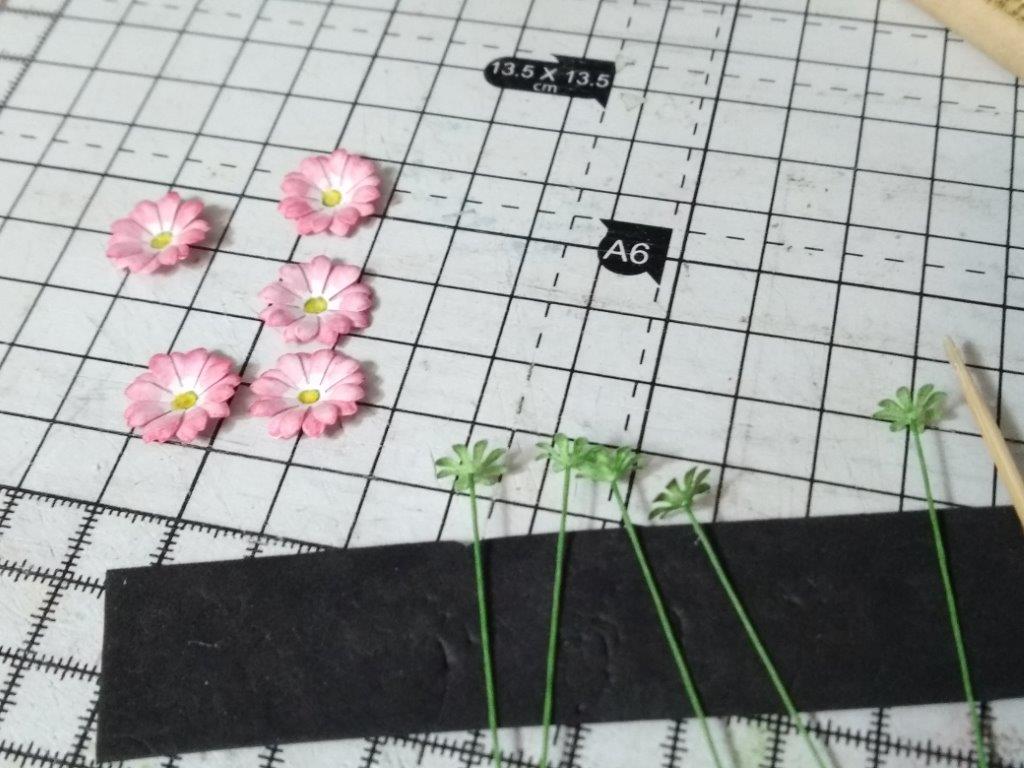
For each flower you will need a piece of wire (approx 5cm), one small and 2 large daisy shapes.
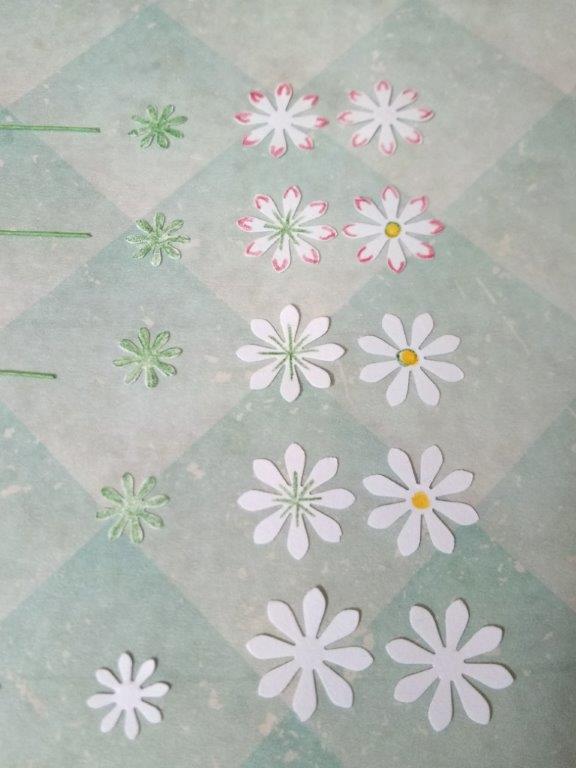
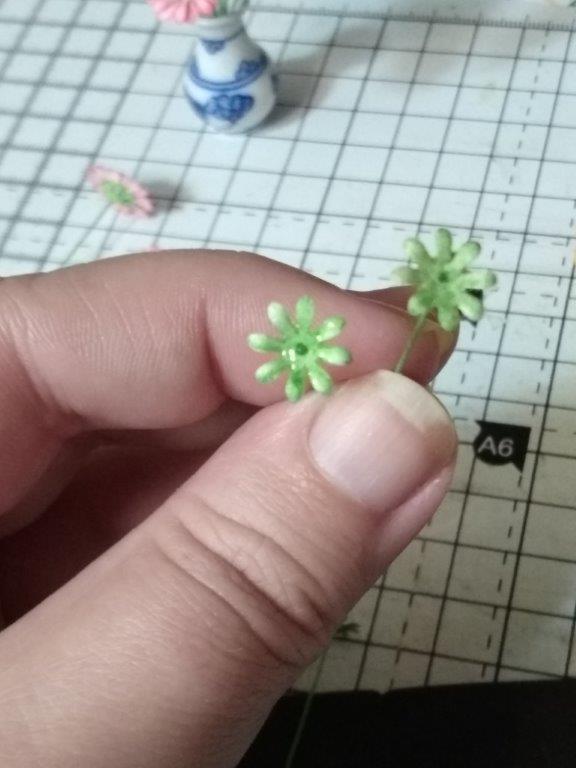
Colour the small daisy shape on both sides with green. It will form the calyx (the green bits around the stem), while the larger daisy shapes will form the petals.
For the bottom petals: on one side make a cross in the center with green as shown.
For the upper petals: on one side make a yellow dot, then draw a circle around it with green.
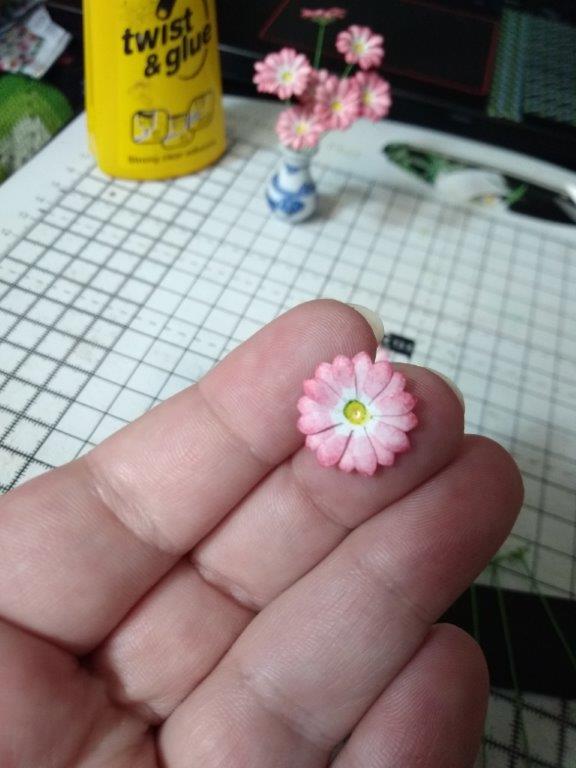
For both petals on both sides: make a V shape with the red pencil.
Now grab the waterbrush!
Start with the small green daisy shape, that way you can get used to the brush without the risk of ruining something, brush it on both sides, leave to dry, clean your brush (check the water in the brush too).
Start on the petals on the side where there are only the red V shapes. With the brush start at the tip, wet the pencil mark – ideally you should not see where exactly the pencilmark was after this, just a darker red blot –, then with a few brushtrokes colour in the rest of the petal.
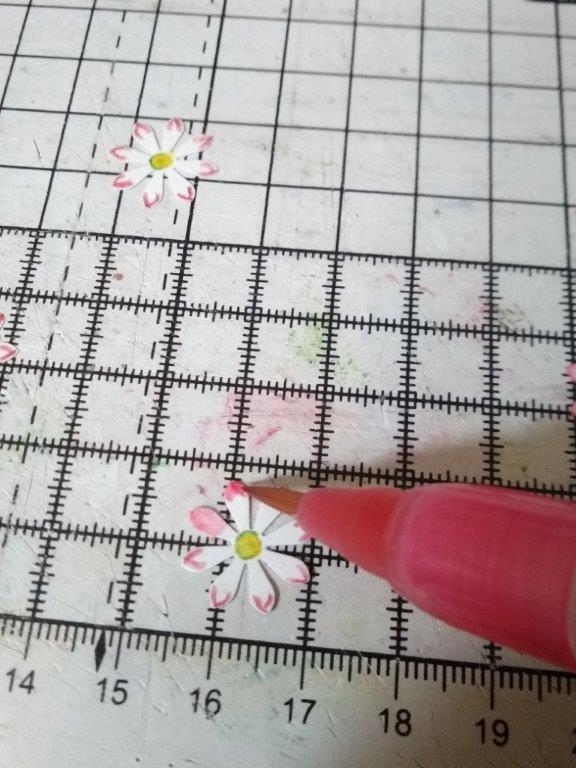

Wait until they dry, then turn them over and with the same method paint the rest of the petals. On the upper petals (the ones with the yellow-green dot) leave a small gap between the yellow and pink or be very careful not to mush together the colours :)

Once you finished all the petals, clean your brush and proceed with the yellow dot. Start in the middle and following a spiral wet the center of the flower.
Shaping
The petals: top petals with yellow center facing down, bottom petals wtih green cross facing up, shape the tips of the petals with the bigger embossing tool, turn them around, then push your tool in the center, carefully so as not to crunch the petals, and shape them into a bowl.
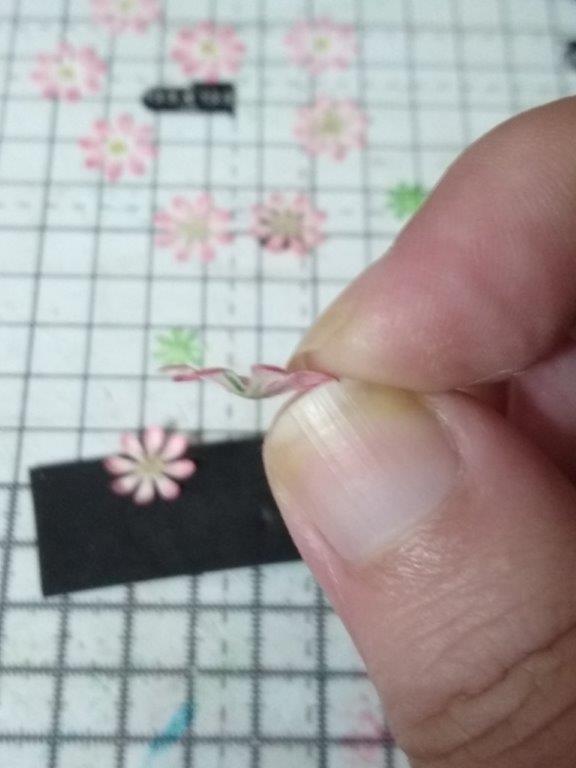
The calyx: with the pin make a hole big enough for the wire to pass through, grab the smaller embossing tool, shape the tips on one side, then turn over and with the larger embossing tool make a bowl shape (it should be deeper than the petals).
Assembly
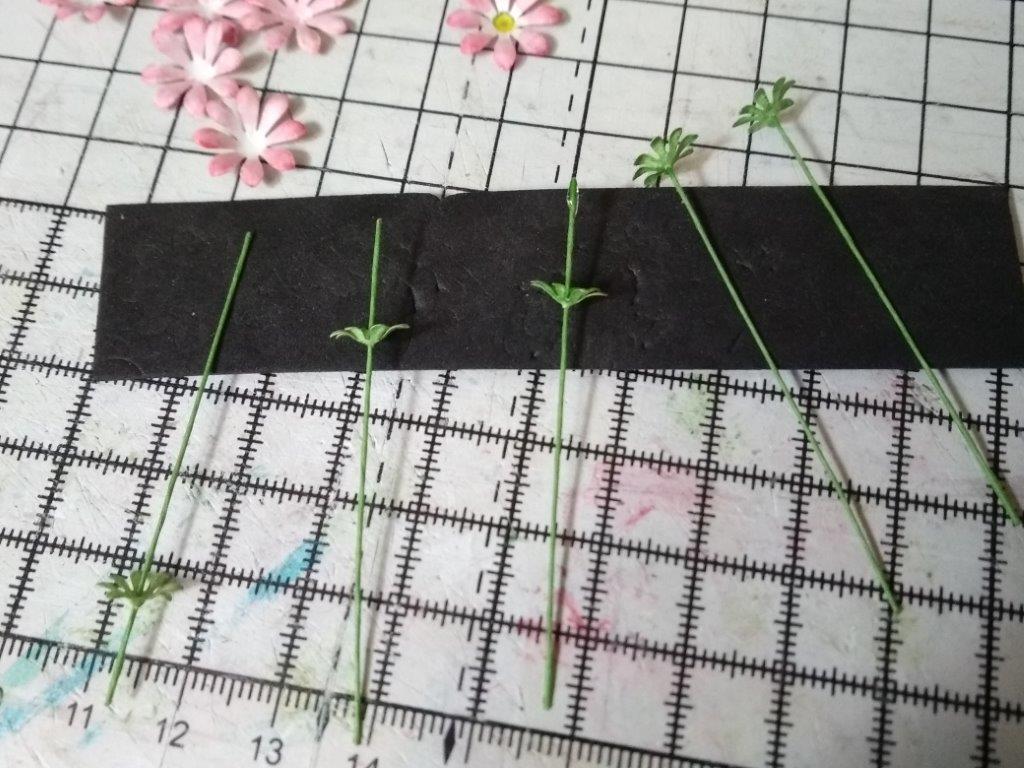
Push the wire through from the inside of the green cup, add a bit of glue to the tip of the wire and slide the green cup onto it (the cup has to sit on the very end of the wire so that it's almost flush). Let the glue dry.
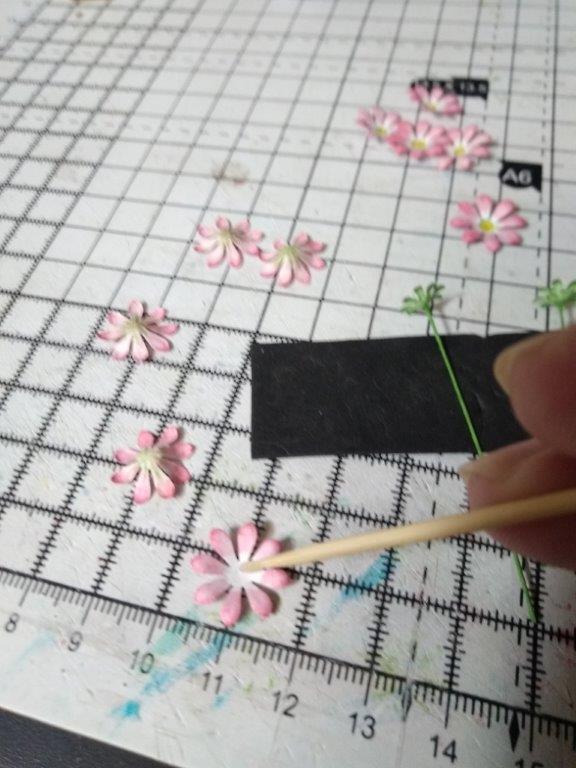
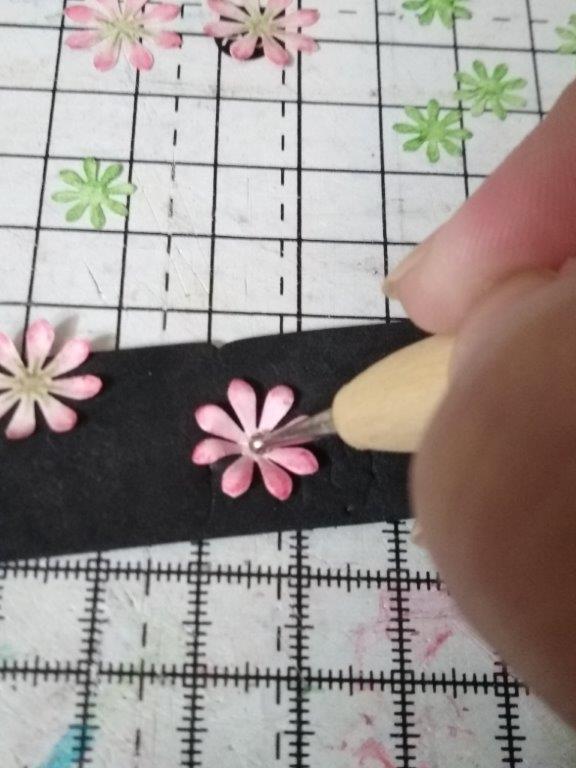
The petals: add a tiny bit of glue to the centre, rotate them so that the petals don’t overlap. then press them together.
Once all the glue has dried, put some more glue in the green cup, smudge out the glue onto the sepals (just like petals, but green) too, but leaving the tips free. Put the assembled flower on top of the green cup, pushing the green sepals gently against it. Wait for the glue to dry again, then take your flower and push it into the face of your friends and family shouting "Look what I've just made!"
And that's it, yay!
If something is not clear, send me a message on Instagram, Facebook, Twitter or email